We’d like to remind Forumites to please avoid political debate on the Forum.
This is to keep it a safe and useful space for MoneySaving discussions. Threads that are – or become – political in nature may be removed in line with the Forum’s rules. Thank you for your understanding.
DIY Stable Renovation: Need Your Advice and Ideas!
Comments
-
What does your electricion say about the regs when you asked them?
I take it you're going to do the backfilling for this trench also?
1 -
If you put a duct in the trench then you could use standard (/outdoor) CAT6 won't need the expensive armoured version. It would also mean you can have more than one cable, and if a cable has a conductor breakage you could pull a replacement through the duct, without having to dig another trench. Having part-dug one trench you've probably now got the idea what hard work it is, and something you ideally only do once.
As for the trench depth, ask the electrician. It is them who will be signing the work off, they need to be happy the regs have been complied with.
1 -
If you put a duct in the trench then you could use standard (/outdoor) CAT6 won't need the expensive armoured version. It would also mean you can have more than one cable, and if a cable has a conductor breakage you could pull a replacement through the duct, without having to dig another trench.
Certainly put the CAT6 in a duct, but also pull a length of thin rope through at the same time. That will make life a lot easier when you need to pull another cable through (just remember to pull another length of rope through at the same time).
Any language construct that forces such insanity in this case should be abandoned without regrets. –
Erik Aronesty, 2014
Treasure the moments that you have. Savour them for as long as you can for they will never come back again.1 -
I talked to electrician he is OKish with ~400mm on grass area but mentioned gravel area need to be deeper. So Planning to do that way. Thanks very much.
0 -
I am in the process of completing the internal plywood lining (walls + Ceiling), ready for painting. I have checked the recommended process/steps, but I am slightly confused about the correct order for applying the various layers.
AI tools suggest that the filler should be applied before the primer, which is the order I have been following in the plan above:
- Caulk joints – DONE
- Fill imperfections with skim filler
- Sand smooth
- Apply primer
- Apply white topcoat
However, when I checked the instructions for the products I am planning to buy, it appears that the filler may need to be applied after the primer so that it bonds properly to the plywood!
ie Plywood → sand → primer → filler → sand → spot-prime filler → topcoat
Considering the purpose of the work and the area of application described above, what would be the best approach? The products I am planning to buy are:
- Toupret Joint, Skim & Fill
- Leyland Trade Acrylic Primer Undercoat – White
Any other suitable proven products for this large area 3 rooms (9Mx5M area)
0 -
TBH it probably doesn't matter much. Plywood sheets lining a wooden shed are going to move around. No matter how carefully you fill and paint over the joints between sheets it is only a matter of time before movement will open the joints up again. Make them look good now, but expect to have to redo them maybe a couple of times a year if you don't want to see cracks. You'll be incredibly fortunate if you get a perfect finish which lasts.
2 -
I have found some good paint options with offers, including Crown Matt Emulsion Paint, 10L for £10 at Wickes. That seems like a very good offer, although I’m not sure about the quality of Crown paint.
I have also tried to find larger tins of wood primer. It seems that paint is much cheaper than primer!—10L of primer appears to be quite rare and can cost around £50.
Am I missing something here? Is there a more cost-effective primer option suitable for my plywood walls and ceilings? any guidance much appreciated.
0 -
Crown paint are watery and ok to do a wall but not good for a ceiling as it splashes every where.
Try trade paints or Google with give you lots of ideas and prices.
Other search engines are available.
1 -
I know not everyone agreed but I have gone for these for the stable painting work..
Thanks for all inputs . Much appreciated.
Wickes:
- Crown Matt Emulsion Paint – Pure Brilliant White – 10L x 3
- Leyland Acrylic Primer Undercoat Paint – Pure Brilliant White – 2.5L x 3
Amazon:
- Bartoline Patent Knotting Solution
- Bartoline Ready Mixed Wood Filler (White)
0 -
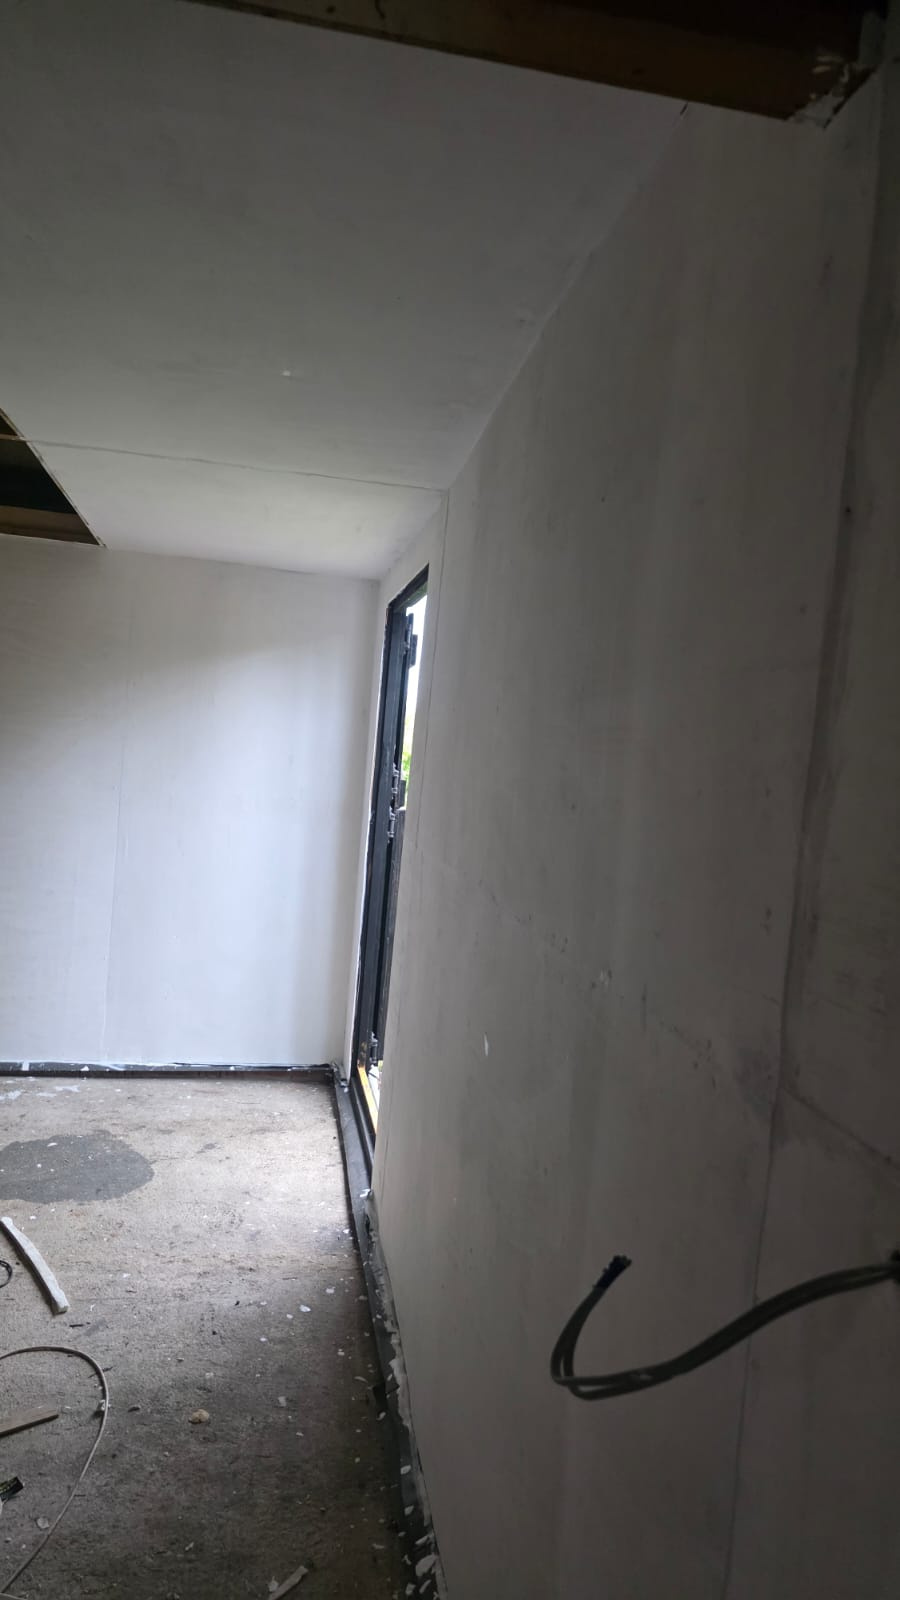
I used up all three 2.5L pots of primer (Leyland Acrylic Primer Undercoat) yesterday. I think the primer has done a decent job.
I’m thinking that, after applying the putty, levelling, and doing some spot priming, I’ll go straight to Crown Matt Emulsion Paint rather than applying another full coat of primer, as the primer is around eight times more expensive than the Crown paint.
See photos..(first photo shows room where I did quick 2 coat primer.)
 0
0








Confirm your email address to Create Threads and Reply

Categories
- All Categories
- 355.7K Banking & Borrowing
- 254.9K Reduce Debt & Boost Income
- 456.1K Spending & Discounts
- 248.3K Work, Benefits & Business
- 605.9K Mortgages, Homes & Bills
- 179K Life & Family
- 263.7K Travel & Transport
- 1.5M Hobbies & Leisure
- 16.2K Discuss & Feedback
- 37.7K Read-Only Boards