We’d like to remind Forumites to please avoid political debate on the Forum.
This is to keep it a safe and useful space for MoneySaving discussions. Threads that are – or become – political in nature may be removed in line with the Forum’s rules. Thank you for your understanding.
📨 Have you signed up to the Forum's new Email Digest yet? Get a selection of trending threads sent straight to your inbox daily, weekly or monthly!
Framing in/around IKEA PAX wardrobe
Comments
-
Oh sorry! I very much should've come back and updated here!
I'm done, except for carpets and skirtings! Skirtings will be in next week, carpets early December.
Here's the last nice pic I was able to take, I was going to update when the carpets were in but he's a sneak preview, it's a mess on the floor because I'm currently decorating the bedroom so had to shift some stuff in here:

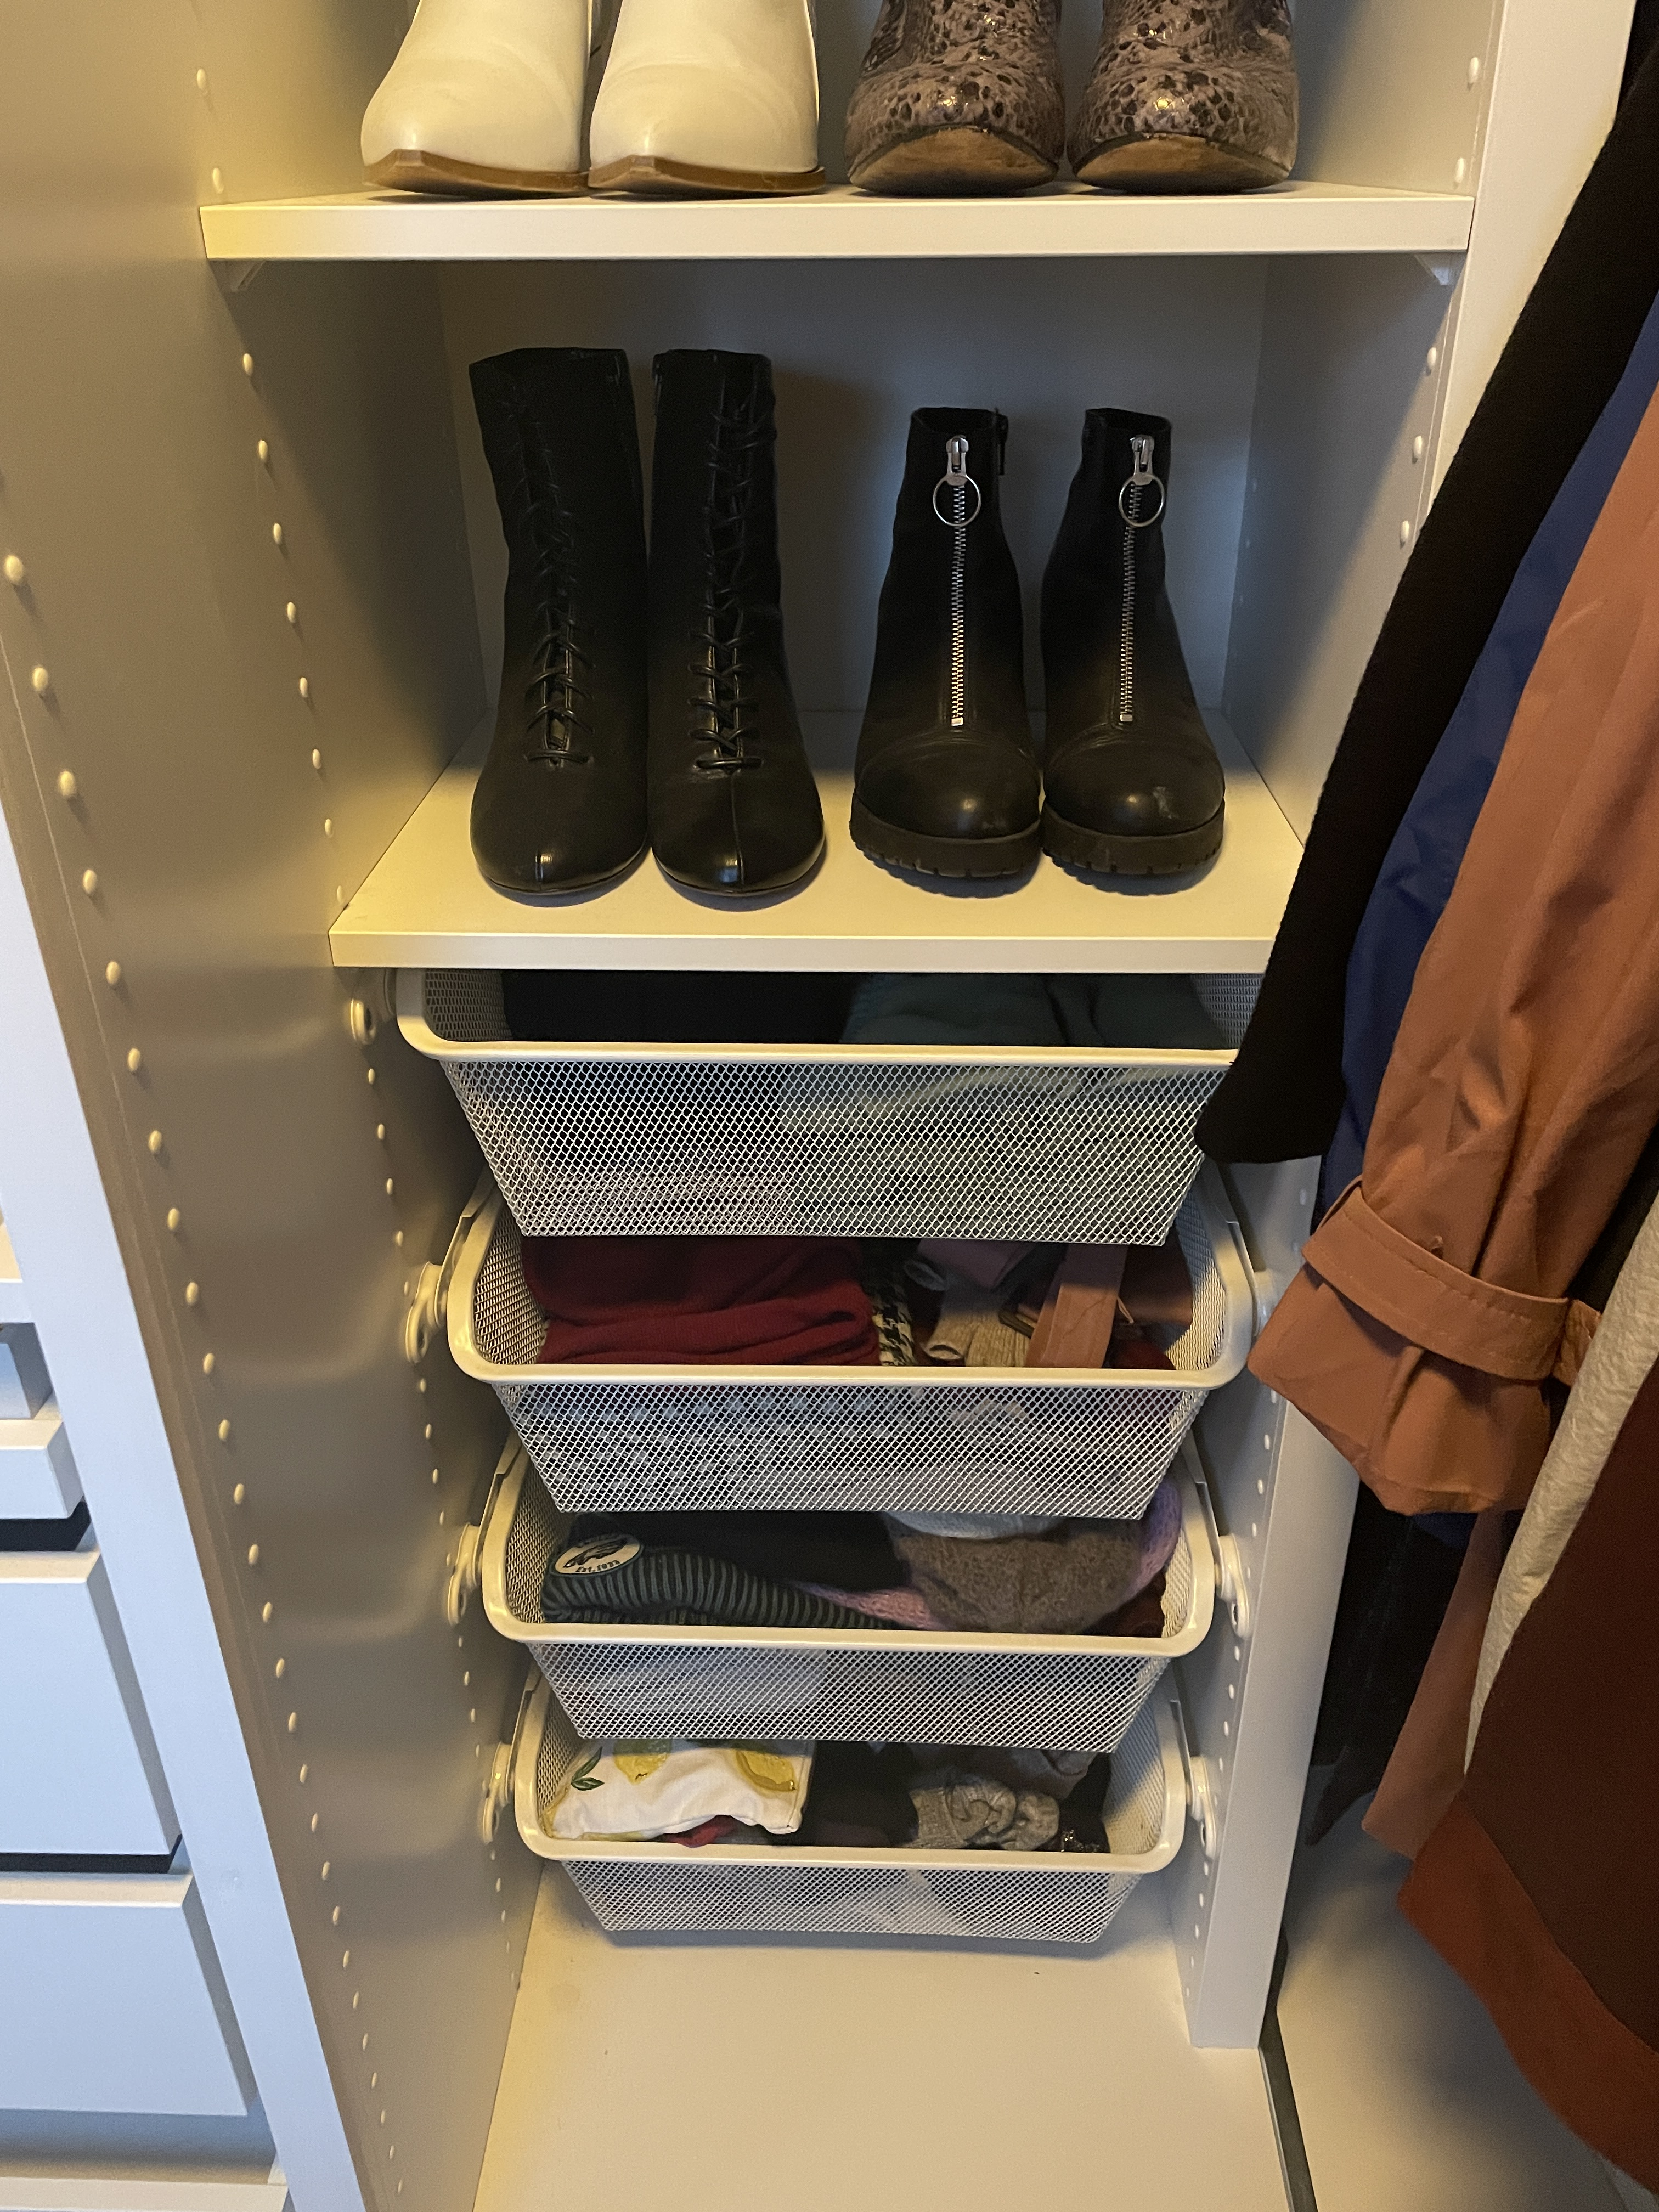
It holds:
- 97 hanging items
- 28 pairs of shoes
- All of OH's clothing except for his sports tops
- All of my clothes except jeans & underwear
(The last two categories live in our bedroom chest of drawers, which now also houses sheets and linen. The second one we had resides in the guest room but is empty!)
I'm very pleased with it. I even found a slim mirror from IKEA that I put up, as we don't have a mirror in the bedroom only on the landing.
I didn't end up putting a plinth cover around the base. It doesn't need it. If I had built it on raised pieces then maybe but I'm happy how it is.
I have some 6mm MDF (was intended to be the plinth covers) which will be the side skirtings against the wardrobe trim, only because the skirting for the rest of the room is 18mm thick but the wardrobe trim only sticks out 10mm.
The one thing I wish I had added was lighting. It's too late to do it now, but I totally could've drilled holes for downlighters and ran the cabling on top of the cupboard down to the floor. I would've had to get an electrician to fit it, or done some hacking, but it would've looked cool. The ceiling light in there suffices but integrated lighting would be cool. It's not worth a battery option for me.
Can't wait until carpets are in, our bedroom will be fully decorated. It already feels palatial. For a small upstairs of the house I think we've done a great job at making it feel luxury. It was previously a child's bedroom as you couldn't fit a double bed in, we've managed to fit a king with ample storage. Redoing the en-suite next year will be the crowning glory in the whole space") 2
2 -
Good question! 0
-
I shared about Bendy!Bendy_House said:Good question!0 -
I said 'good Q' in response to Racky Roo :-)greensalad said:
I shared about Bendy!Bendy_House said:Good question!
GS, that just looks amazing. What a job!
You should be deservedly chuffed. It barely needs lights, but if you find yourself at a loose end, a way to DIY it would be to do it all in elv - say 12Volts.
That would require just a thin 2-core cable to be run, say, along the top-back corners of the units where it likely won't be seen, passing through tiny holes from unit to unit. Running to LED downlighters, and the PSU plugged in to a remote-control socket-plug. Mount remote button on t'wall as you come in. No sparky required.
0 -
I meant to say “above” in my previous post not “about”, whoopsBendy_House said:
I said 'good Q' in response to Racky Roo :-)greensalad said:
I shared about Bendy!Bendy_House said:Good question!
GS, that just looks amazing. What a job!
You should be deservedly chuffed. It barely needs lights, but if you find yourself at a loose end, a way to DIY it would be to do it all in elv - say 12Volts.
That would require just a thin 2-core cable to be run, say, along the top-back corners of the units where it likely won't be seen, passing through tiny holes from unit to unit. Running to LED downlighters, and the PSU plugged in to a remote-control socket-plug. Mount remote button on t'wall as you come in. No sparky required.1 -
0


Confirm your email address to Create Threads and Reply

Categories
- All Categories
- 355.1K Banking & Borrowing
- 254.6K Reduce Debt & Boost Income
- 455.8K Spending & Discounts
- 247.9K Work, Benefits & Business
- 604.9K Mortgages, Homes & Bills
- 178.8K Life & Family
- 262.6K Travel & Transport
- 1.5M Hobbies & Leisure
- 16.1K Discuss & Feedback
- 37.7K Read-Only Boards