We’d like to remind Forumites to please avoid political debate on the Forum.
This is to keep it a safe and useful space for MoneySaving discussions. Threads that are – or become – political in nature may be removed in line with the Forum’s rules. Thank you for your understanding.
📨 Have you signed up to the Forum's new Email Digest yet? Get a selection of trending threads sent straight to your inbox daily, weekly or monthly!
Framing in/around IKEA PAX wardrobe
Comments
-
Nice floor - what is it, pleeeez?
0 -
Thanks for the tip! Yes I heard it's easy to cut with a Stanley knife. IRT the paper edge, I was talking more about that one corner I have where the raw edge of plasterboard would show. I was going to have to seal that end edge somehow but as the plasterboard is papered on the edge I will cut it horizontally from the board and retain that paper edge so hopefully it will look neater there.Bendy_House said:Oh the cross we have to bear!Yes, once you cut p'board, you'll end up with a raw edge. That doesn't matter in practice, as it'll be taped and filled over. Just treat it like any edge, but trim off any fluffed paper edge.You know how to cut p'board? Score one side with a Stanley knife or similar, do it lightly a few times whilst you become familiar with the feel, and you only need to go - ooh - a third/quarter of the way through. Then you lift the board (carefully) ideally so the score is vertical, and you gently fold the board like closing a book, with the score line on the outside - it'll snap cleanly along that line.Yes, if you have a choice, have the papered edges at joints, but don't worry if they are not.
Also went on a journey to purchase the paint. It was on clearance in Wickes so I had to drive two towns over but much cheaper than B&Q! Bendy_House said:Nice floor - what is it, pleeeez?
Kronotex Robusto Harbour Oak. Was already installed in the hallway, living room and office when we moved in but we loved it so much that we purchased more to finish our TV room, and have more for the utility room and my eventual sewing room, which is another project! (Currently it's the building materials room!)
1 -
Cheers - yes, it's really nice.As to the external p'board corner, aren't you going to tape it, and feather-skim?Oh, and is the p'board taper-edged or square? Ie, does it step down in thickness a few inches in from the edges?0
-
It's taper edged. Yes I'll definitely be doing a joint on the end with tape and filler (sussed out this stuff at Screwfix is the cheapest I can get for a smaller quantity) but I just thought having a papered-over edge would mean slightly nicer edge to work on.0
-
Marked out the filler piece on the MDF, OH is going to try and get it cut tomorrow.
Tried sticking up the first bit of timber to the wall. Unfortunately hit a snag that the glue just isn't strong enough to hold by itself after 10 minutes of me holding it there, and slid right off the wall. So I think we're gonna have to screw these pieces into the wall, at least enough to hold them in place for the glue to dry.
Should be fine on the wardrobe sides, as I can clamp them on.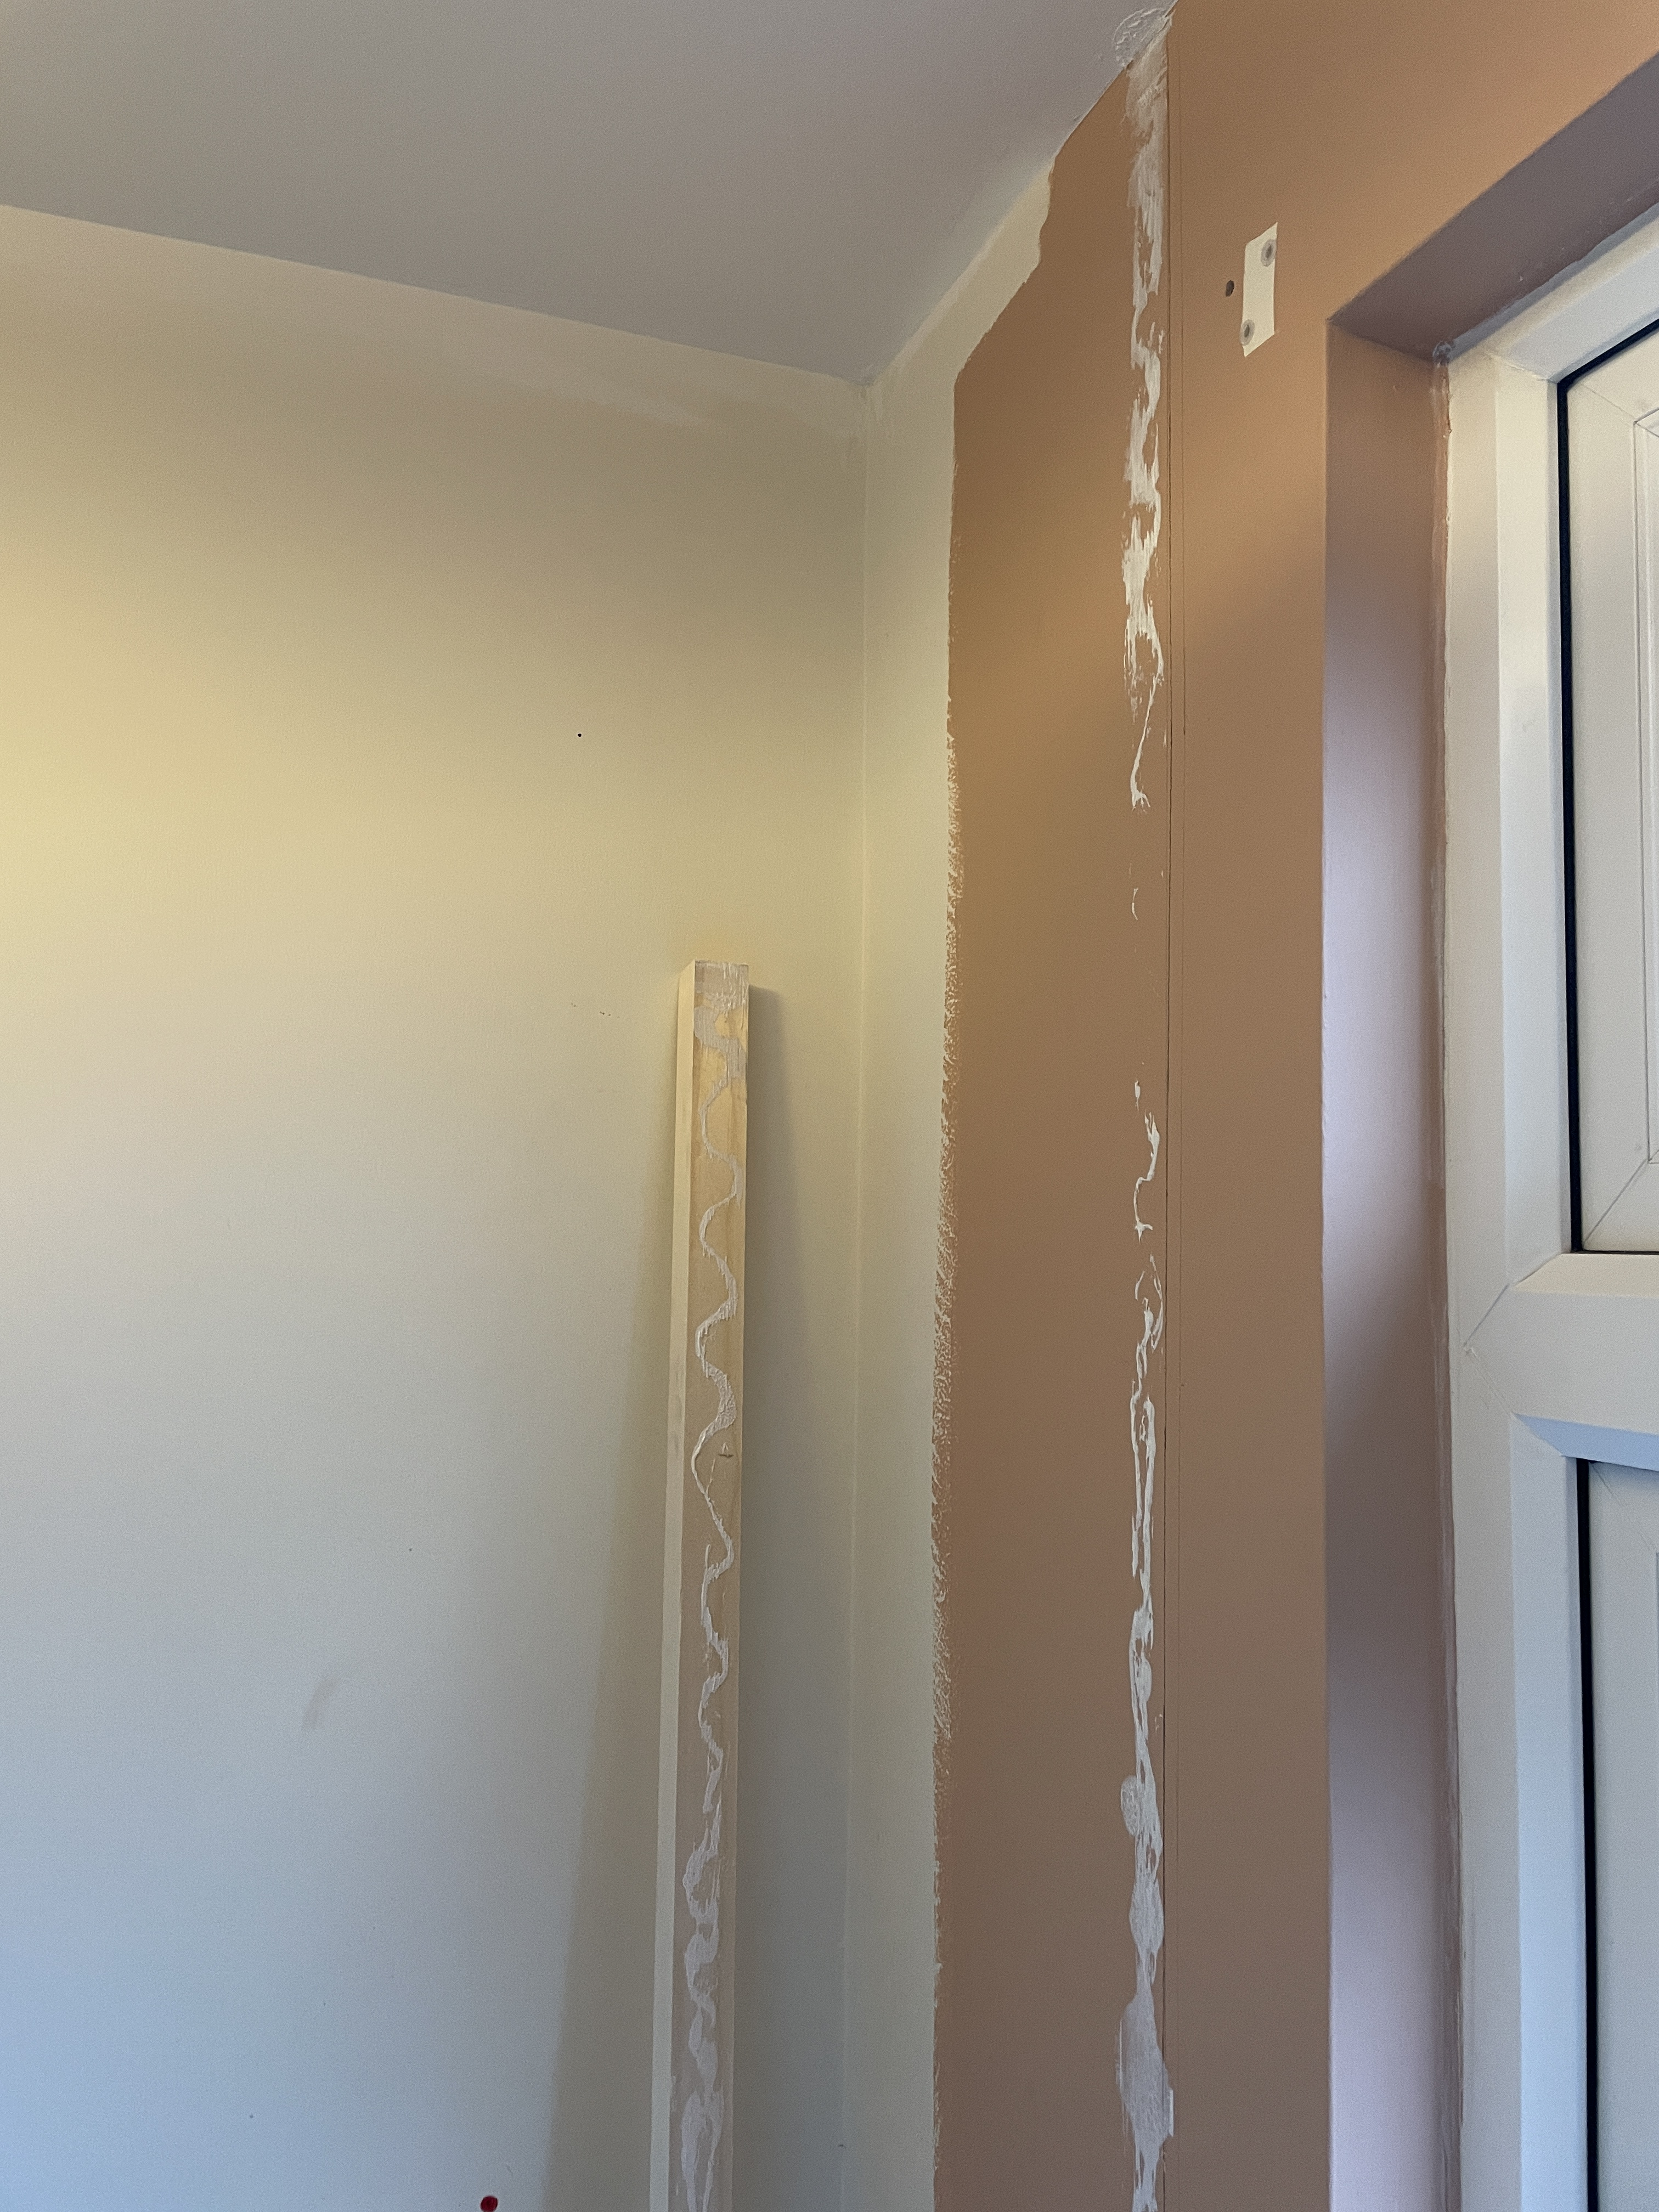
0 -
Leaving it here for tonight as I need to trim some pieces down for the bottom. Ended up glue and screw rather than just glue.

0 -
PVA is not a 'contact' adhesive - ie it doesn't 'grab' and bond on contact. It is, however, a very powerful adhesive once dry, and you'll only remove that batten again by taking some of the wall with it... (Perhaps it'll just take a layer of paint with it, but more likely a layer of the p'board paper too.)So, to use PVA, the mating surfaces need to be in firm contact (it also isn't very gap-filling!). I was assuming you'd be bracing the batten firmly against the wall (making 100% certain it didn't slip...) using the wardrobe and spacers.At the other - wardrobe - end, PVA won't adhere to melamine or plastic! So if you have used PVA there, then good job you've also used screws
 Other than that, it's hunky-dory.Screws won't hold the batten to the wall unless there's a noggin behind the p'board it can bite in to - screws has next-to-no purchase in just p'board. A couple of screws biting in to the wall will, tho', prevent the batten from slipping as you brace it into place to allow the glue to do its job. Just remove the screws afterwards, as they will have served their purpose.With taper-edged p'board, the filling skim will obviously be wider as it needs to fill that whole slimmed area back to the full-thickness p'board.0
 -
I actually used the "Sticks Like Sh*t" stuff for glueing the battens to the wall. I also used plasterboard rawl plugs to get it fixed to the wall and then added additional glue. Checked this morning and it's really solid!1
-
Ah! Cool. That'll be the much-nicer-to-use non-solvent type? Yes, that 'grabs' less, and needs time to set - dry."Sticks like Wee" until it sets.
 0
0 -
Managed to cut the 18mm MDF to the strip we needed, pushed the mini circular saw to its very limits! Now I'm left with a still huge piece of board and no idea what to do with it. Might try and flog it as we don't have the space to store it (hence why I didn't order this big a piece!) Also need to trim down our filler piece as it's not quite perfect, so that's another job for tomorrow.
Got the rest of the right hand framing in place, fitted the wardrobe to the wall, and am now going to start putting in some of the shelves on that side because we're drowning in boxes of IKEA stuff. Anything I can get out and into the wardrobe is good right now. Plus it's a quiet task for me to do in the evenings when I can't really be drilling.
Getting there slowly but surely.1


Confirm your email address to Create Threads and Reply

Categories
- All Categories
- 355.1K Banking & Borrowing
- 254.6K Reduce Debt & Boost Income
- 455.8K Spending & Discounts
- 247.9K Work, Benefits & Business
- 604.9K Mortgages, Homes & Bills
- 178.8K Life & Family
- 262.6K Travel & Transport
- 1.5M Hobbies & Leisure
- 16.1K Discuss & Feedback
- 37.7K Read-Only Boards