We’d like to remind Forumites to please avoid political debate on the Forum.
This is to keep it a safe and useful space for MoneySaving discussions. Threads that are – or become – political in nature may be removed in line with the Forum’s rules. Thank you for your understanding.
📨 Have you signed up to the Forum's new Email Digest yet? Get a selection of trending threads sent straight to your inbox daily, weekly or monthly!
The Forum now has a brand new text editor, adding a bunch of handy features to use when creating posts. Read more in our how-to guide
Plasterboard for bathroom wall
Comments
-
Ok, given that you are getting a plumber to fit the bath you need to make sure the prep is ready for him. By that I mean where the bath will meet the wall. If you are having a bath panel they are usually 510mm so when fitting the bath the front edge where the bath panel goes wants to be c.515mm from the finished floor (your plumber will know this). However you do need to know what you are doing with the floor and by how much that will raise the finished floor from the existing floor - you don't want a big gap under the bath panel and having to trim the bottom edge of a bath panel is a pig of a job and loses it's rigidity.danrv said:
I’m not sure what will go there. I guess regular ceramic tiles, whatever’s easiest.NSG666 said:danrv said:
Wish now that I’d asked him to skim over the lot, maybe leaving the breeze block bath area.NSG666 said:Ah yes he could have gone right into the corner seeing as has was doing that wall but not the end of the world and the old will probably be better to key to.
Bath is ready to go in but plumber advised might be an idea to get that bit plastered first as plasterer would probably have to stand in the bath.
Why do you / your plumber think you need to skim that final strip at this stage as it's going to be covered over anyway? - yes it would have been as well to do it at the same time the rest of the wall was being skimmed but what benefit is it to do it now?
I think somewhere you said you'd like to practise plastering so if you really do feel the need to skim it there's your ideal spot as it's going to get covered over.
Have you decided what is going above the bath yet?
Will the new bath be high enough to be bedded on the plaster or will it be on the breeze?
Did you ever end up buying any plasterboard adhesive?
The plumber hasn’t seen it since plastering but I could try a bit on the shower wall. That seems to be a bit crumbly.
If not then just adding more tile adhesive will bring them up to the new skim level which is very thin.
The bath might bed into the plaster a little due to it possibly sitting on wood strips. Haven’t bought any adhesive.
Check the measurements then mark this on the walls the bath will be fitted to then put another line above this at the thickness of the edge of the bath - you now have the top and bottom edges of the bath marked on the wall. If the plaster is fairly even all the way round then that's good but if there are chunks of plaster missing it's best to patch them in a bit - I just used Dri-wall adhesive as I always had some but use whatever you have got. The silicone he uses will fill the small imperfections but I didn't like using it for large voids.
Shower wall - unless you are going with metro tiles don't worry about the wall. It sounds like you are going with large format tiles or some decorative panel which will take care of any imperfections in the wall (how come you've not decided/picked something yet? you sound as bad as me at procrastinating in my own home!) If you are tiling and doing it yourself have you got a tile cutter? trowel, grout squeegee? don't forget trim(s) for where the tiling stops.
Have you mist coated the plaster yet? Why not?
There you go your weekend sorted!Sorry I can't think of anything profound, clever or witty to write here.2 -
Thanks. Plumber’s away for two weeks but can get the other guys in his company to fit it, if available.NSG666 said:
Ok, given that you are getting a plumber to fit the bath you need to make sure the prep is ready for him. By that I mean where the bath will meet the wall. If you are having a bath panel they are usually 510mm so when fitting the bath the front edge where the bath panel goes wants to be c.515mm from the finished floor (your plumber will know this). However you do need to know what you are doing with the floor and by how much that will raise the finished floor from the existing floor - you don't want a big gap under the bath panel and having to trim the bottom edge of a bath panel is a pig of a job and loses it's rigidity.danrv said:
I’m not sure what will go there. I guess regular ceramic tiles, whatever’s easiest.NSG666 said:danrv said:
Wish now that I’d asked him to skim over the lot, maybe leaving the breeze block bath area.NSG666 said:Ah yes he could have gone right into the corner seeing as has was doing that wall but not the end of the world and the old will probably be better to key to.
Bath is ready to go in but plumber advised might be an idea to get that bit plastered first as plasterer would probably have to stand in the bath.
Why do you / your plumber think you need to skim that final strip at this stage as it's going to be covered over anyway? - yes it would have been as well to do it at the same time the rest of the wall was being skimmed but what benefit is it to do it now?
I think somewhere you said you'd like to practise plastering so if you really do feel the need to skim it there's your ideal spot as it's going to get covered over.
Have you decided what is going above the bath yet?
Will the new bath be high enough to be bedded on the plaster or will it be on the breeze?
Did you ever end up buying any plasterboard adhesive?
The plumber hasn’t seen it since plastering but I could try a bit on the shower wall. That seems to be a bit crumbly.
If not then just adding more tile adhesive will bring them up to the new skim level which is very thin.
The bath might bed into the plaster a little due to it possibly sitting on wood strips. Haven’t bought any adhesive.
Check the measurements then mark this on the walls the bath will be fitted to then put another line above this at the thickness of the edge of the bath - you now have the top and bottom edges of the bath marked on the wall. If the plaster is fairly even all the way round then that's good but if there are chunks of plaster missing it's best to patch them in a bit - I just used Dri-wall adhesive as I always had some but use whatever you have got. The silicone he uses will fill the small imperfections but I didn't like using it for large voids.
Shower wall - unless you are going with metro tiles don't worry about the wall. It sounds like you are going with large format tiles or some decorative panel which will take care of any imperfections in the wall (how come you've not decided/picked something yet? you sound as bad as me at procrastinating in my own home!) If you are tiling and doing it yourself have you got a tile cutter? trowel, grout squeegee? don't forget trim(s) for where the tiling stops.
Have you mist coated the plaster yet? Why not?
There you go your weekend sorted!
They did all the piping and subfloor.
I could do the bath myself. The instructions should be enough.
I plan to have flexi hose from the copper supply pipes with isolation valves. It’s just fitting the extended waste and low pro trap that I might find fiddly.
There’s also the overflow connection. Shower shouldn’t be too difficult.
I can easily mist coat and prep the shower wall and think I’ve decided on Lino floor:
https://www.best4flooring.co.uk/stone-effect-cushion-vinyl-flooring-sheet-callanish
Tiles and wall paint colour/choice will probably take me ages to decide on. Plan to have a neutral look about it.
0 -
I've been refurbishing my house and had little jobs on the go in almost every room and it gets a bit tiring (esp for other half) when there isn't one room finished and slow progress. Once the bathroom was finished at least it looked like we were heading in the right direction and you could have a decent shower or relax in the bath.Sorry I can't think of anything profound, clever or witty to write here.1
-
Exactly.NSG666 said:Once the bathroom was finished at least it looked like we were heading in the right direction and you could have a decent shower or relax in the bath.
I suppose usual way is £6-7k and three week turnaround by a company.
I can’t afford to have my bathroom done quickly as I have to install expensive heating too.
1 -
Yes, I do tend to put things off, mostly due to indecision. Also not knowing if what I put up will match.NSG666 said:Shower wall - unless you are going with metro tiles don't worry about the wall. It sounds like you are going with large format tiles or some decorative panel which will take care of any imperfections in the wall (how come you've not decided/picked something yet? you sound as bad as me at procrastinating in my own home!) If you are tiling and doing it yourself have you got a tile cutter? trowel, grout squeegee? don't forget trim(s) for where the tiling stops.
Have you mist coated the plaster yet? Why not?
There you go your weekend sorted!
I’ll have a look for some tiles that will go with the vinyl sheet floor.
For small plaster fills or skim on the shower wall, I might pick up a small bag of plaster as it’s quite loose in some areas.
https://www.diy.com/departments/thistle-quick-dry-finishing-plaster-7-5kg-bag/5015892886750_BQ.prd
Good to practise too as mentioned.0 -
At the end of the day how you long it takes and why is none of my business but it is nice to have something finished.
You might be better with multi-finish as I think it adheres better to more backgrounds than finishing plaster - I always used to buy multi for my plasterer and he was happy with it. PVA the wall first (I don't know what strength dilution).
If you want to practice that's fine but if you are using large format tiles (I think that's bigger than 300x300) or porcelain you will need to use a powder adhesive which you can use to spread on the wall instead of plaster just to take a bit of the 'kink' out before tiling proper - use tiler's primer first.Sorry I can't think of anything profound, clever or witty to write here.1 -
Yes, seems to be quite a few different types.NSG666 said:You might be better with multi-finish as I think it adheres better to more backgrounds than finishing plaster
Doesn’t seem to be available in smaller amounts than 25kg, hence looking at the finishing
one in a 7.5kg bag.
Only need a small amount for now.
Update:
Have bought Thistle Multi finish 25kg, PVA 5L and trowel.
Cheaper and easier to find in large amounts.
0 -
Have skimmed over the shower wall. Not the neatest but ok for tiles.
There’ll probably be a gap of at least an inch between the top rim of the bath and the bottom of the plaster.
I had to take away some scruffy sand/cement work along that edge so maybe could fill that gap once bath is in.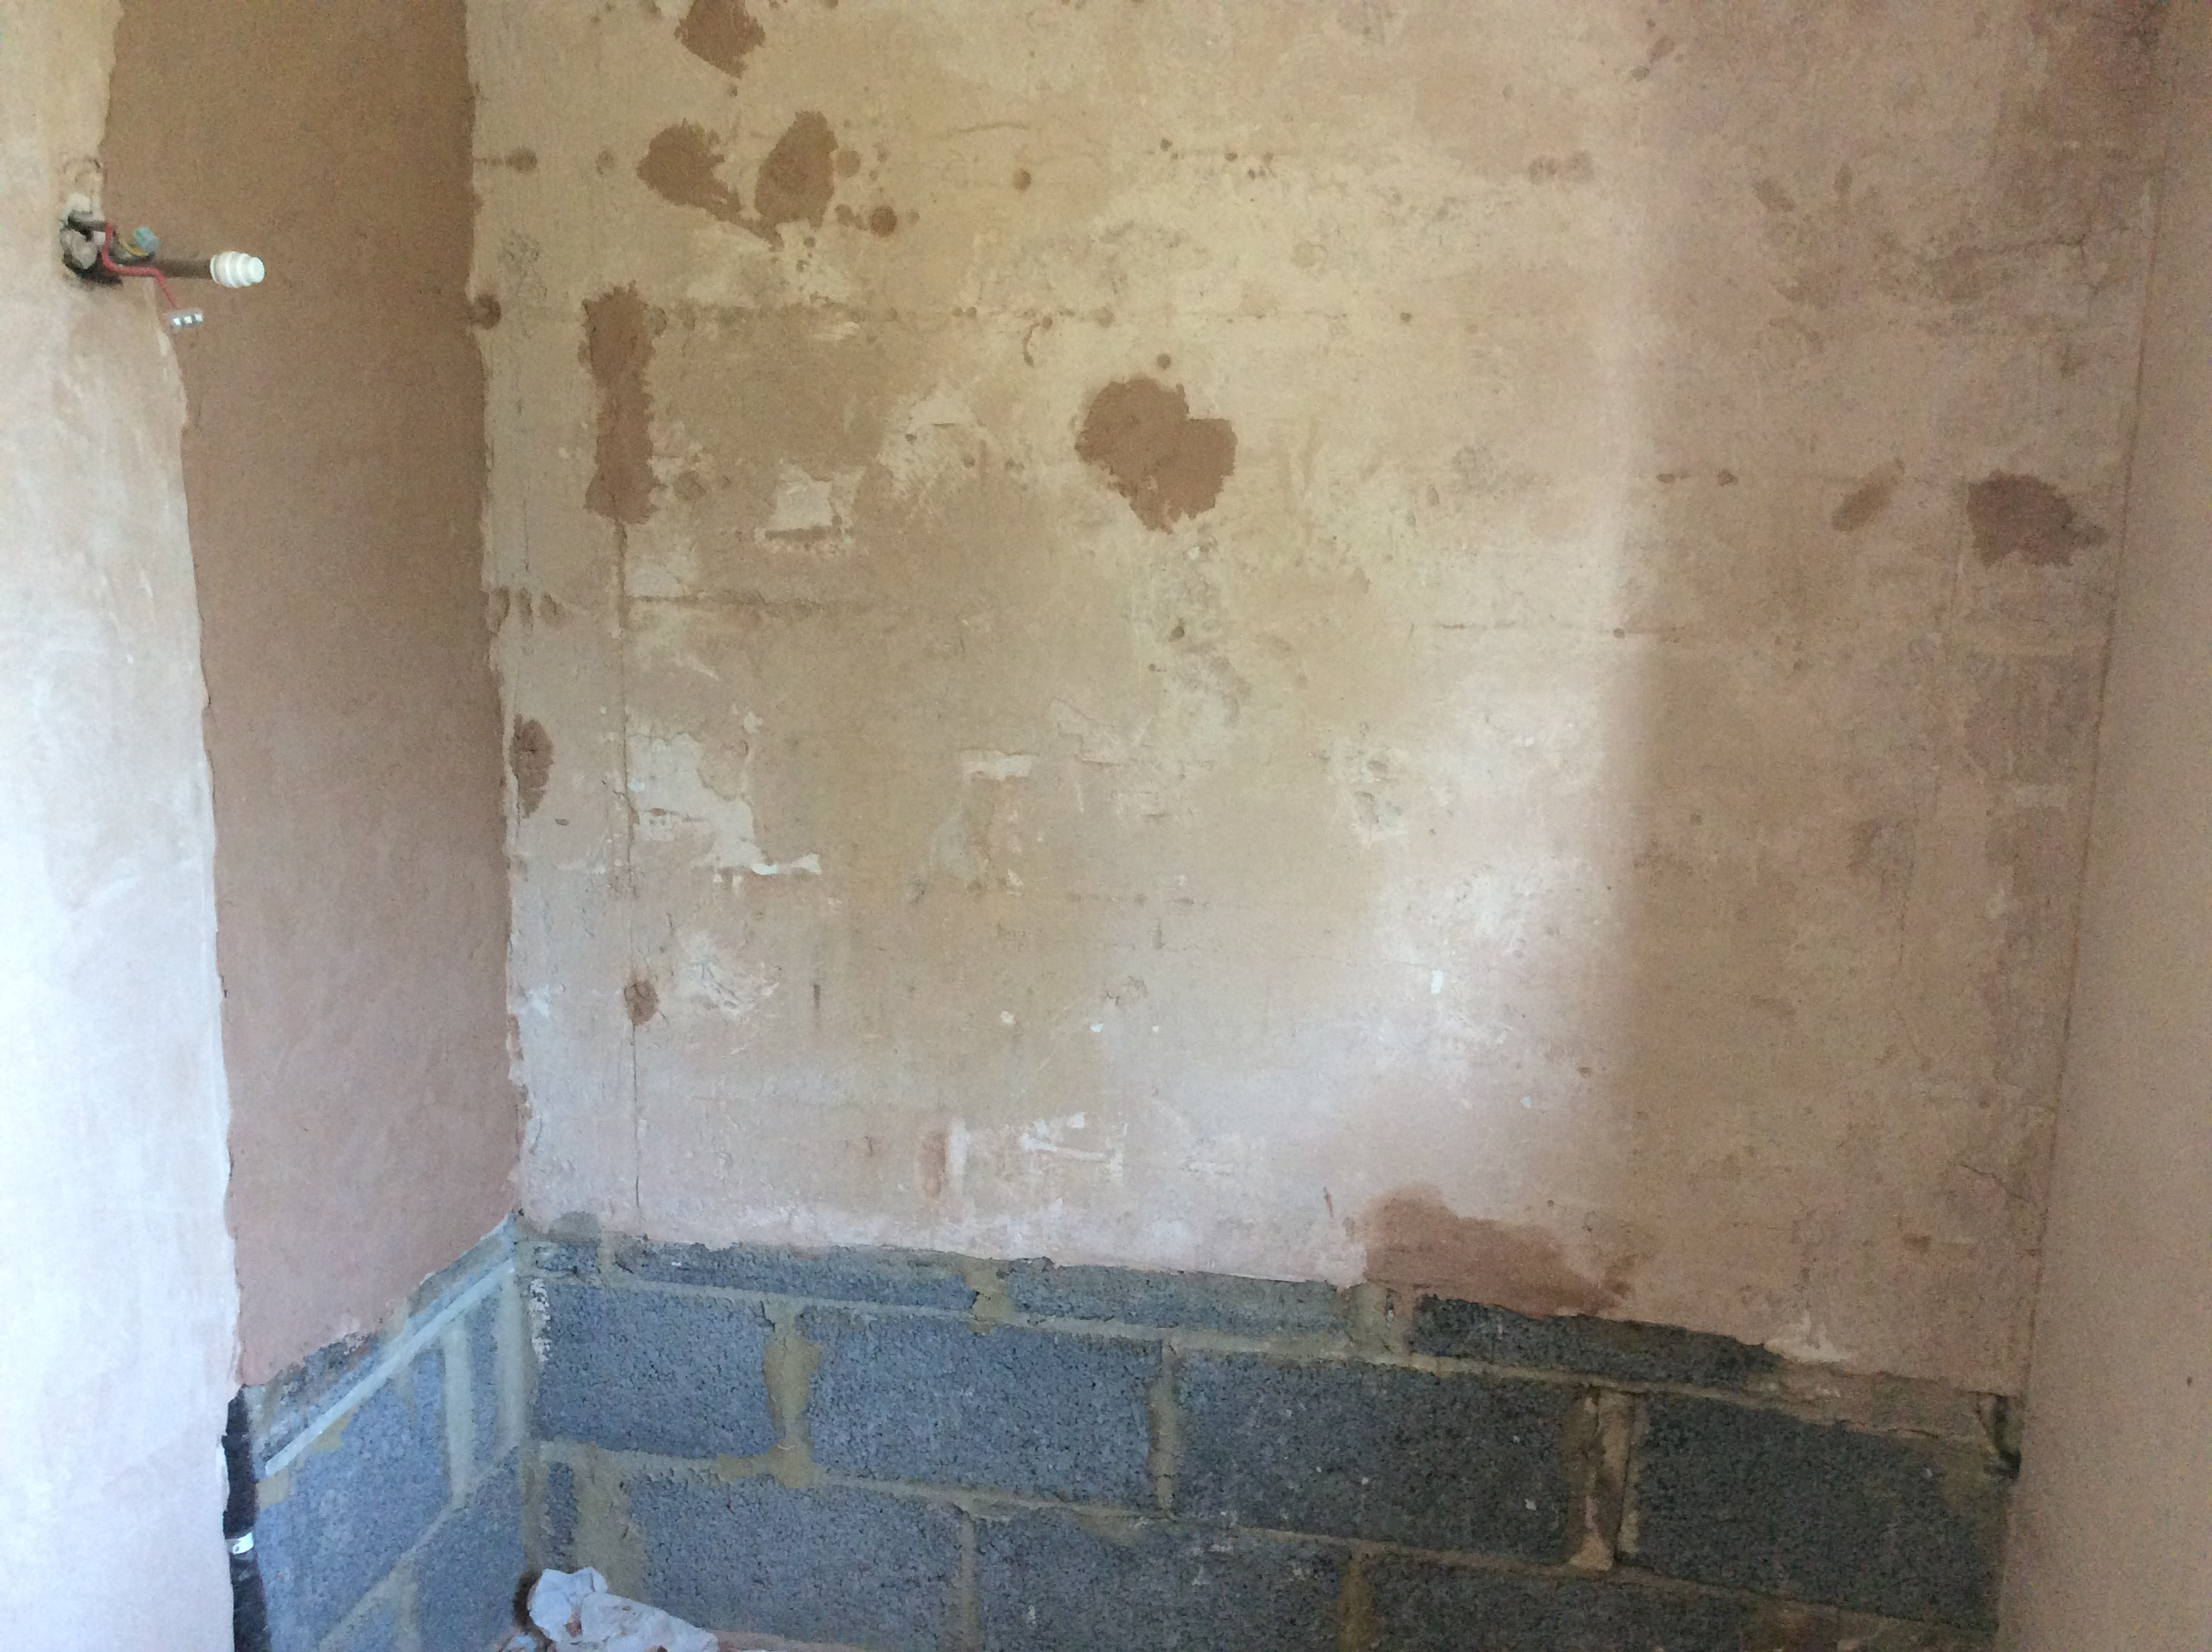
1 -
Well done.
It's best to have as good a edge as possible for the bath to go to so you don't have gaps that you are trying to seal with big blobs of silicone esp. where you are having a shower over the bath.
However, just spotted potential bigger issue - shower electric cable. It's hardly sticking out of the wall, how are you going to connect it? You don't really want to be faffing about extending it with connectors in the shower unit. Have you checked the cable is in the right place for the shower you are having? If it is too short / wrong place then chop it out and renew it back to the switch.Sorry I can't think of anything profound, clever or witty to write here.1 -
Thanks.NSG666 said:However, just spotted potential bigger issue - shower electric cable. It's hardly sticking out of the wall, how are you going to connect it? You don't really want to be faffing about extending it with connectors in the shower unit. Have you checked the cable is in the right place for the shower you are having? If it is too short / wrong place then chop it out and renew it back to the switch.
Haven’t actually chosen one yet but might be a Triton Enrich or T80 Easy-Fit.
The cables are just disconnected from the old Triton Ivory 4 with the live at 23cm and neutral and earth 15cm long.
Will be lucky if they meet up with a new one.
Was thinking they would hence the slight oversight.
I’ll need to get one and check.
I may call back the electrician for installation but would need to before any painting.
EDIT:
Having looked at the manual for the Enrich, it’s about 1cm smaller than the Ivory 4 with the L & N terminal block in a similar position.
The earth is seperate and lower down so hopefully that will be ok.
Also looks like the Ivory 4 is available so could just get another one for straight swap.
1


Confirm your email address to Create Threads and Reply

Categories
- All Categories
- 354.1K Banking & Borrowing
- 254.3K Reduce Debt & Boost Income
- 455.3K Spending & Discounts
- 247.1K Work, Benefits & Business
- 603.7K Mortgages, Homes & Bills
- 178.3K Life & Family
- 261.2K Travel & Transport
- 1.5M Hobbies & Leisure
- 16.1K Discuss & Feedback
- 37.7K Read-Only Boards