We’d like to remind Forumites to please avoid political debate on the Forum.
This is to keep it a safe and useful space for MoneySaving discussions. Threads that are – or become – political in nature may be removed in line with the Forum’s rules. Thank you for your understanding.
📨 Have you signed up to the Forum's new Email Digest yet? Get a selection of trending threads sent straight to your inbox daily, weekly or monthly!
The Forum now has a brand new text editor, adding a bunch of handy features to use when creating posts. Read more in our how-to guide
Bath/shower area finish
Comments
-
Agree with above that a low quality bath panel can make the whole job look a bit rubbish.danrv said:
I’ve bought the panel that goes with the bath. Problem is it’s very tight between the walls.benson1980 said:What are you doing with the bath panel? Very simple to tile with backer board and looks good imo.
It’s quite flexible but has moulded ends which makes it difficult to trim.
I built a wooden frame, then panelled with hardiebacker because that's what I happened to have left over- total cost looking at the price of boards now (which topps also sell), the timber and brackets would be around £50. Plus the cost of your tiles obviously.
Tool wise I have a rubi manual and an electric cutter. TBH the former hardly gets used; easy to cut straight on the electric one just following a pencil line but yes that will add to cost, plus notched trowel plus grouting float. Maybe £100 total, unless you can borrow them from someone. Again depends if long term you want to learn new skills, build up your tool collection and wotnot.
0 -
Never really thought about it. Being new to buying baths and bathroom renovation, I figured the panel made for the bath is the obvious choice.benson1980 said:
Agree with above that a low quality bath panel can make the whole job look a bit rubbish.
Maybe there’s others available.
I think I’ll try and make it fit as it was £50. Just needs a little of the paint/wall taken back.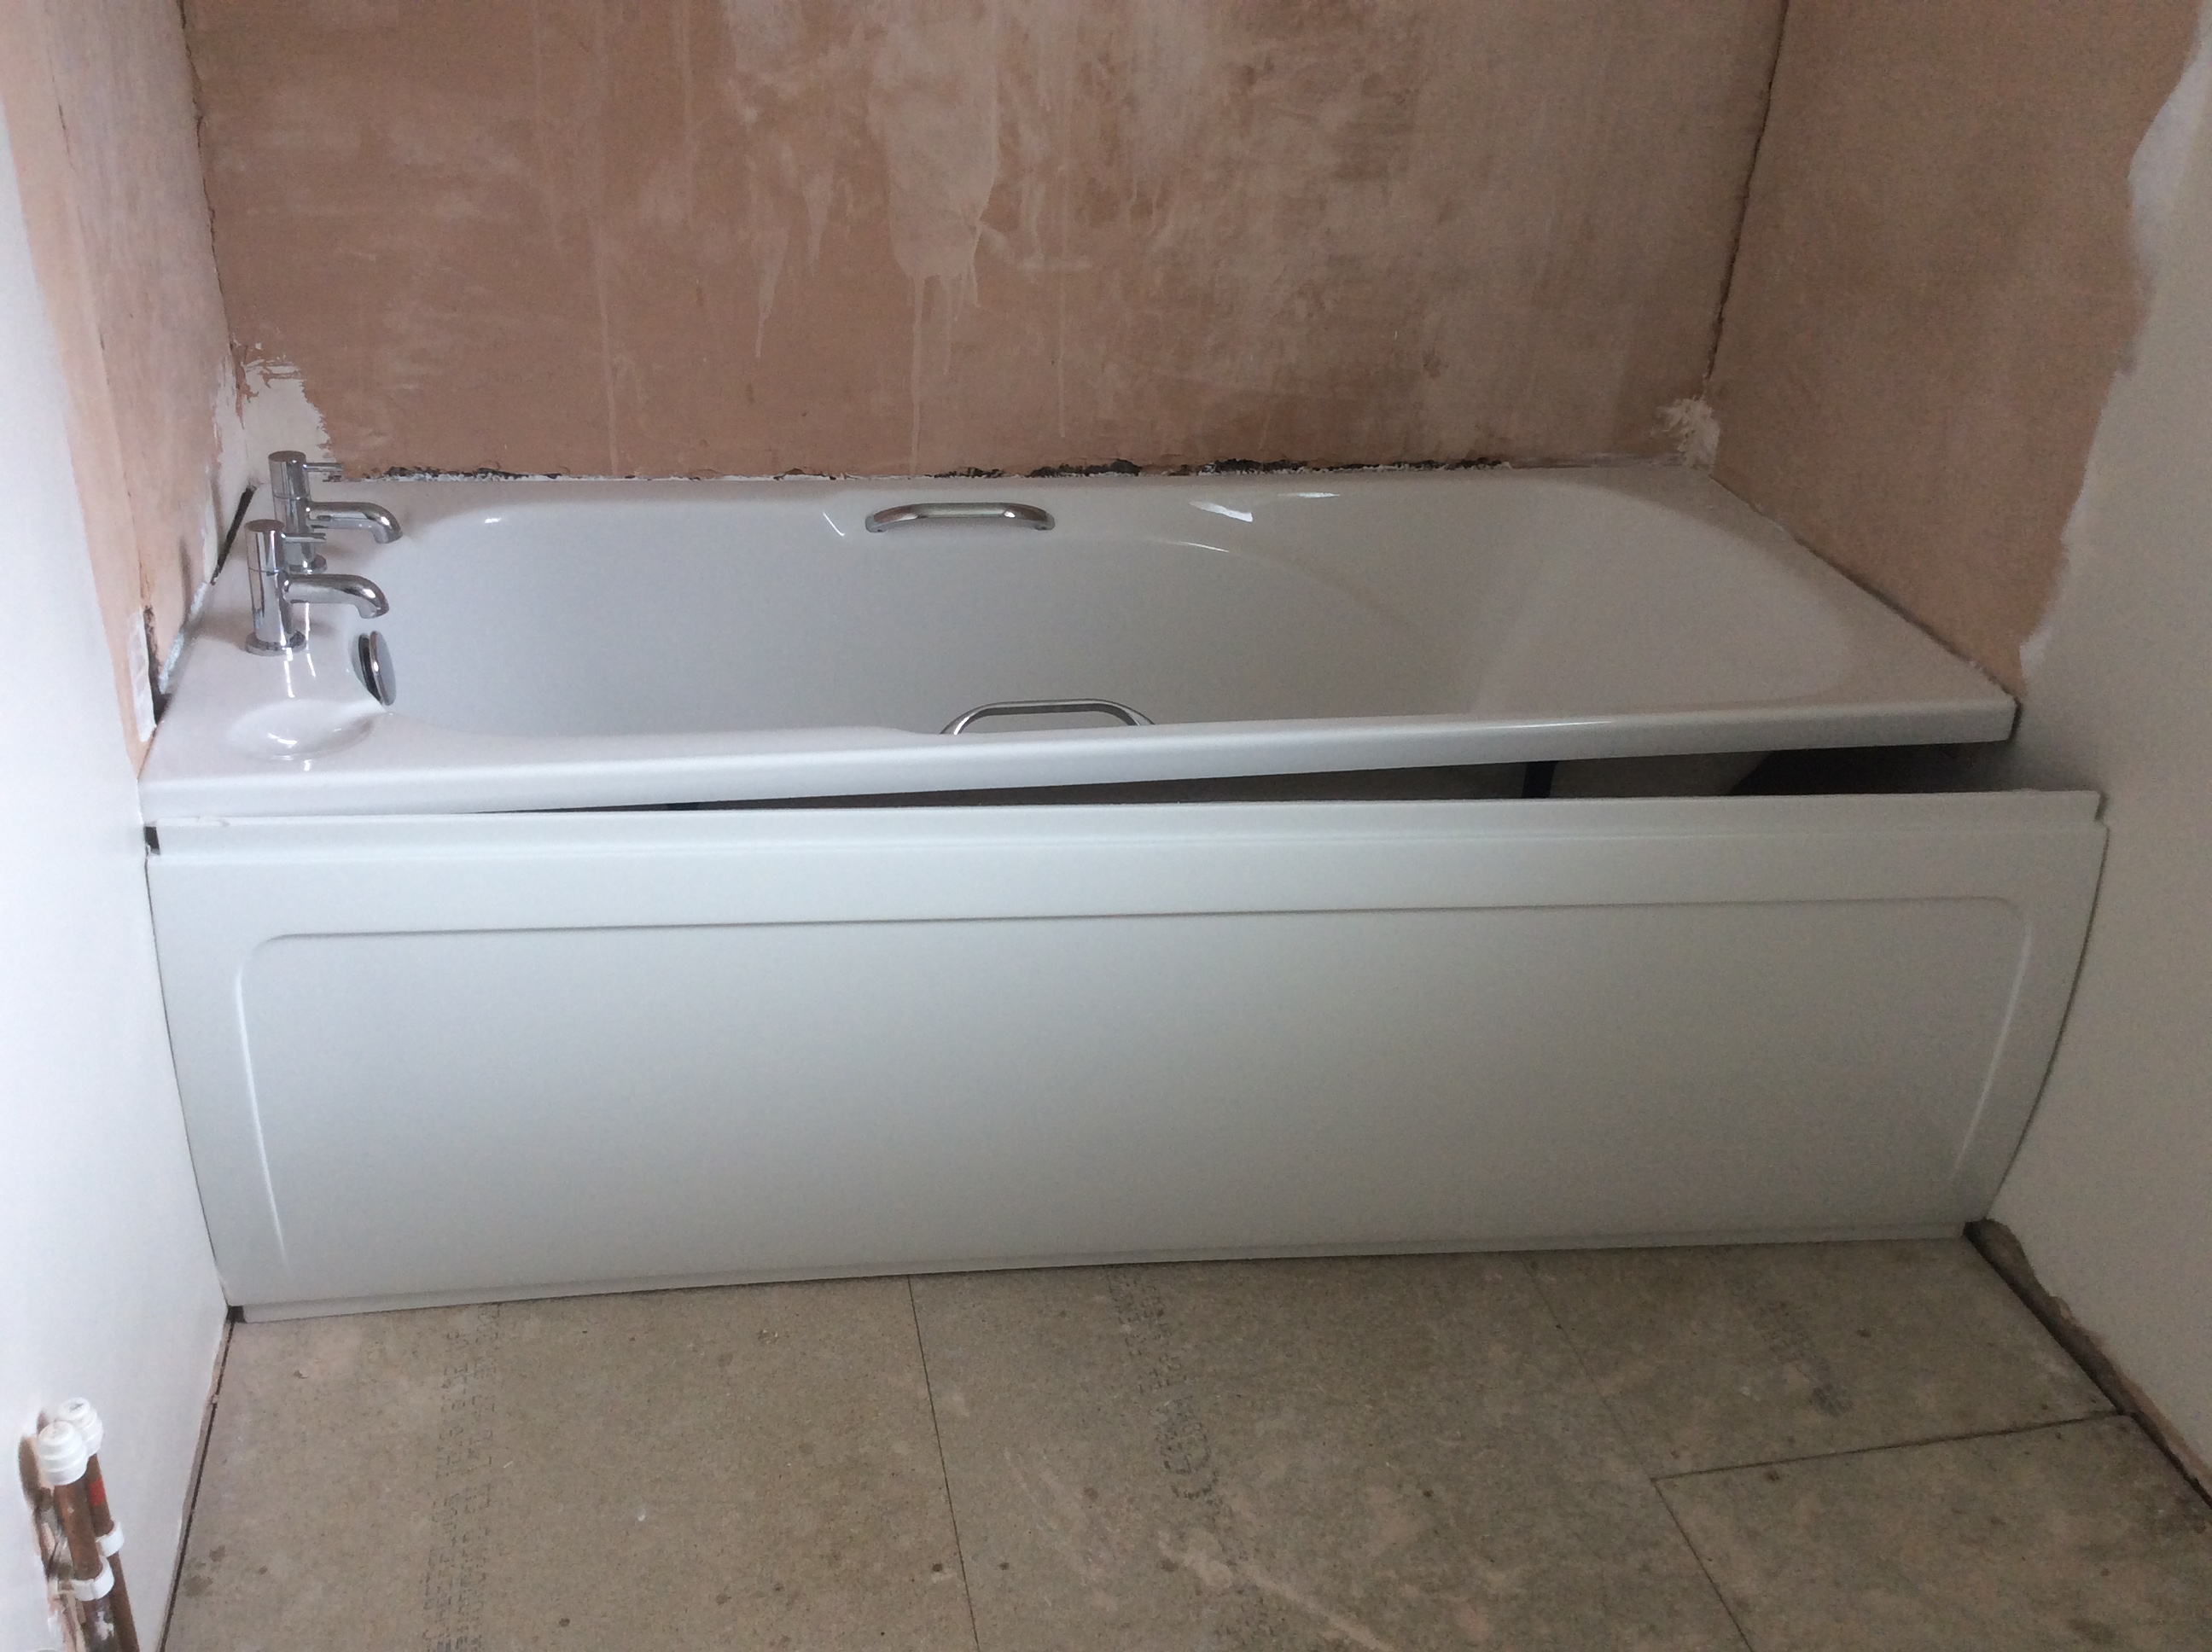
1 -
If it were my bathroom I would do the following.danrv said:
Never really thought about it. Being new to buying baths and bathroom renovation, I figured the panel made for the bath is the obvious choice.benson1980 said:
Agree with above that a low quality bath panel can make the whole job look a bit rubbish.
Maybe there’s others available.
I think I’ll try and make it fit as it was £50. Just needs a little of the paint/wall taken back.
I’d ditch that rather than trying to trim it. Tiled matching the splashback will look much nicer and be more durable.- fit the flooring of your choice running it slightly underneath bath.
- make sure bath is supported sufficiently with timber to reduce flex if not already. I used lengths screwed to the studs propped right up underneath.
- consider a tanking membrane on the bare plaster but if not definitely prime it
- make up timber frame sat back sufficiently to accommodate whatever tile backer you want to use, plus tile and adhesive depth. I set mine back a couple of mm beyond this as well so it does not sit directly flush. Two upright battens at either end drilled into wall making sure they are perfectly vertical, going from floor to top of bath. Then fit your horizontal bottom length of timber batten to fit between them. I screwed mine to floor (be careful with your screw lengths obviously so you don’t go through any pipes), and used some 90 degree brackets. Then fit your top length using brackets and then some vertical lengths in between, using the same.
- buy a couple of hardie backer boards and the scoring tool (£8). Cut to fit and cut a separate bit as your access panel. Maybe one tile width if you are going for larger tiles. I attached them with screws to my frame and uprights, and used some magnetic clips for the access panel by the taps.
- do your tiling. Check if the tiles you are using need sealing or not. Dry lay your first row out to make sure you get it all looking centred etc. I’d get a standard rather than rapid set adhesive for wall tiles, and make sure it is suitable for wet areas. Notched trowel and electric tile cutter. I got one from wickes for £60 albeit my particular one has gone up a bit on price. Smaller tile spacers look a bit better in my opinion. Look at epoxy grout. I’ve started using it the last year or so and personally I wouldn’t go back to normal grout. More durable, non permeable.
Ive probably missed some bits out but you get the idea. I wouldn’t employ a tiler for the reasons you have raised. Hassle of getting quotes, finding someone who will turn up. Supervising them to make sure they are tiling straight. Etc.2 -
Ok thanks.benson1980 said:- consider a tanking membrane on the bare plaster but if not definitely prime it
- make up timber frame sat back sufficiently to accommodate whatever tile backer you want to use, plus tile and adhesive depth.
So basically make up a batten frame, add tile backer and then tile onto that.
I assume that’s for the end walls too?
As the original tiles were straight onto the plastered wall, I thought that’s how it’s normally done. There were a lot of issues though with how the bathroom was done originally.
There’s a slight bow in the middle of the plaster (6-8mm out) on the back wall. Could possibly chisel it down.
Around the bath top there’s 50mm of flat but would like to keep the frame/board/tiles quite slim.
0 -
Don’t wanna slag you off, but reading between the lines your Diy skills are minimum.
Forget trying to tile the panel area, buy a good quality waterproof timber panel (18 /20mmthick).
Buy a cheap electric tile cutter and get on with the job 😂A thankyou is payment enough .0 -
I just made up something simple like the first photo here:danrv said:
Ok thanks.benson1980 said:- consider a tanking membrane on the bare plaster but if not definitely prime it
- make up timber frame sat back sufficiently to accommodate whatever tile backer you want to use, plus tile and adhesive depth.
So basically make up a batten frame, add tile backer and then tile onto that. Yes
I assume that’s for the end walls too? Not quite sure what you mean here?
As the original tiles were straight onto the plastered wall, I thought that’s how it’s normally done. There were a lot of issues though with how the bathroom was done originally. I used the paint on stuff. Probably a bit overkill but it was £30 and just waterproofs the plasterboard. Even less of a worry if you use epoxy but I just went ahead and did it to be on the safe side
https://www.plumbworld.co.uk/blog/how-to-fit-a-bath-panel
You can buy frame kits but I couldn't necessarily see that knocking something up was less time consuming and then at least I could guarantee it would fit, and work as I wanted in that I could secure the backer board effectively.
I have fitted a timber panel previously. It's obviously going to be more time consuming with the tiling option. Not really that much harder, I would say. Anything is better than those thin flexible panels1 -
Sorry, misunderstanding. I thought you were referring to the shower wall tiling.benson1980 said:Ok thanks.
So basically make up a batten frame, add tile backer and then tile onto that. Yes
I assume that’s for the end walls too? Not quite sure what you mean here?
Going on the pic, I see it’s regarding the bath panel.
0 -
Have had a look at Multipanel at my local building supplies. Large choice of finishes with the Classic and Linda Barker Collections.Gavin83 said:We were considering either the wall panels or tiles for our shower area. We went and had a look at the Linda Barker panels in person and honestly I didn’t like them at all. I can see the benefits for keeping them clean but they just look and feel cheap to me. We’re opting for porcelain tiles instead.
You might have a different opinion of course but I’d definitely recommend checking them out in person.
I think they look good.
Worked out that I’d need a couple of 900mm T&G panels for the larger wall and a couple of non T&G ones for the shower and opposite walls. Trim is used in the corners.
Just a bit pricey for what it is.
0


Confirm your email address to Create Threads and Reply

Categories
- All Categories
- 354.1K Banking & Borrowing
- 254.3K Reduce Debt & Boost Income
- 455.3K Spending & Discounts
- 247.1K Work, Benefits & Business
- 603.7K Mortgages, Homes & Bills
- 178.3K Life & Family
- 261.2K Travel & Transport
- 1.5M Hobbies & Leisure
- 16.1K Discuss & Feedback
- 37.7K Read-Only Boards