We’d like to remind Forumites to please avoid political debate on the Forum.
This is to keep it a safe and useful space for MoneySaving discussions. Threads that are – or become – political in nature may be removed in line with the Forum’s rules. Thank you for your understanding.
PLEASE READ BEFORE POSTING
Hello Forumites! However well-intentioned, for the safety of other users we ask that you refrain from seeking or offering medical advice. This includes recommendations for medicines, procedures or over-the-counter remedies. Posts or threads found to be in breach of this rule will be removed.📨 Have you signed up to the Forum's new Email Digest yet? Get a selection of trending threads sent straight to your inbox daily, weekly or monthly!
Shabby Chic; Volume III
Comments
-
Hello,
I'd be surprised if they don't come out with a tack lifter and some pliers. Much better than a screwdriver!
We recently ripped off some skirting boards and were left with huge nails sticking out of the walls which I was attempting to pull out, when my dad in law showed me how to hit them with a hammer, in 2 directions, going up then down till they bend and snap off!
If you really can't get them out, and they are rusty, try sealing them with a squirt of rust inhibiting red oxide primer. Having a piece of braid around the edge adds an extra layer of fabric over the nails.
The rust shouldn't mark your fabric unless it's going to live in a damp environment like a bathroom.
I hope this helps! It's a lovely blanket box. Come back and show us the makeover?
Thanks so much for your reply! i didnt know what tool i would need to get them out if poss and its a tack lifter! One has been ordered so can start on it next week.
I will indeed post a pic when i have finished it. Choosing the fabric and paint will keep me busy until my tack lifter arrives.
I saw the box and loved it and it only cost £10.
Thanks again for your help! Sealed Pot Member 1269 VSP... TO UPDATE!
No more toiletries challenge..... Making progress! :TGROCERY CHALLENGE £100 January 2012 :jI MUST RESIST CHOCOLATE! WELL SOME OF IT ANYWAY!:EasterBun:EasterBun:EasterBun0
Sealed Pot Member 1269 VSP... TO UPDATE!
No more toiletries challenge..... Making progress! :TGROCERY CHALLENGE £100 January 2012 :jI MUST RESIST CHOCOLATE! WELL SOME OF IT ANYWAY!:EasterBun:EasterBun:EasterBun0 -
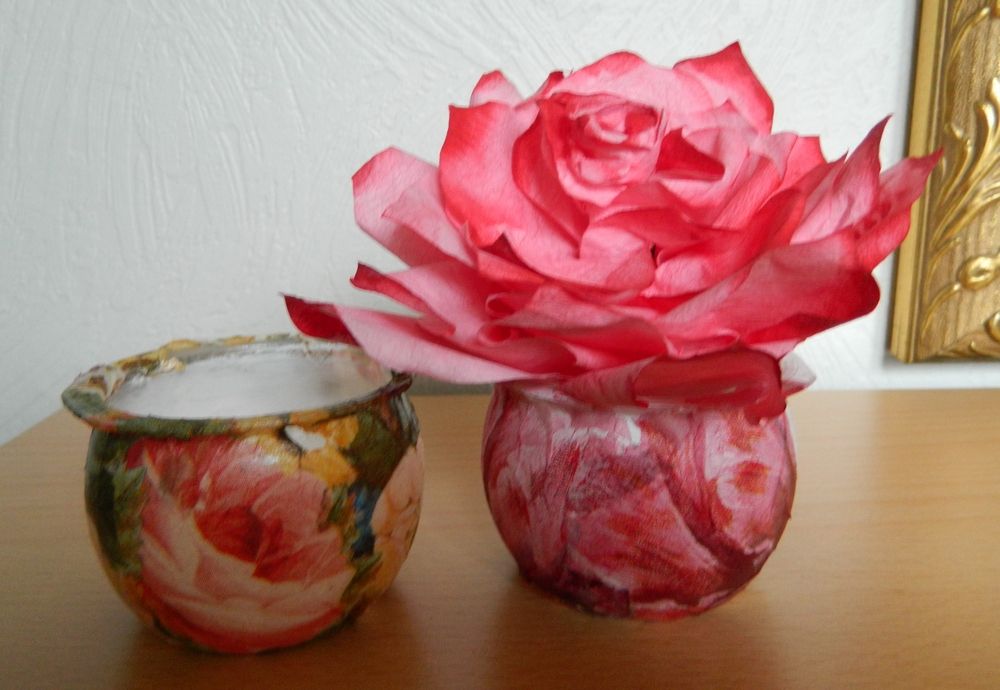
Not anything painted but my first attempt at napkin decoupage. They are two little yoghurt pots with one of my handmade roses in it.
 0
0 -
Not anything painted but my first attempt at napkin decoupage. They are two little yoghurt pots with one of my handmade roses in it.
Those are gorgeous and I love your flower! Decoupage is very addictive.....here is a photo of a wine bottle that a lady who had also never decoupaged before, completed at my creative craft class at the weekend (on top of the table she had painted also) She was thrilled with the results!
 Cazo1:wave:0
 -
I love this - is decoupage easy? would love to make some finishing touches to my home but need easy task to start
It is easy...the lady who did the wine bottle had never done anything like that before....and all you need is a wine bottle, jar or whatever you choose. I apply a couple of coats of chalk based paint, let that dry, prepare your napkins by removing two of the three layers (you will only use the top one with the print on)..I then trim the edge of the napkin to remove the thicker area, then tear the napkin into strips (not too big, as they are easier to work with) Apply a thin layer of pva glue over your dried paint and only work a small area at a time...drape the strips over the pva, trying to keep it as smooth as possible, but don't worry if it creases :rotfl: Keep going applying pva and strips until you are finished then lightly brush all over with another coat of pva....if you are very impatient you can use a hair dryer to speed things up! The napkins we used for the one one in the photo are from Ikea, so they don't need to be really expensive...just choose a print you like! Don't forget to post a picture!:)Cazo1:wave:0 -
I was just going to ask how she managed to go around a bottle without getting into a muddle when I see that they were torn into strips. Now I never thought about doing that! The list is endless on what you can cover including flowerpots/jam jars/bottles and anything else inbetween, even furniture!0
-
Hello all, I'm new to this forum and have spent all morning reading your posts. What amazing transformations! I'm waiting for my husband to pay to have my mother in laws dresser type thing taken out of storage as my first project, I'm very excited, it's a dark wood, but not mahogany maybe a dark walnut or a cherry?! Unsure as it's been a long time since I saw it.
Am I right in thinking the preparation stage of a project like this would be:
Sand off the varnish. Base coat. Light sanding. Paint. Light sanding. Paint. finished?
Also, what kind of paint, does it have to be a wood paint or can it be a silk/emulsion type paint?
Many thanks xxxx0 -
my daughter decoupages all sorts of things, using all sorts of things
here are 2 boxes she is working on just now
they still need tidying up and a final "glaze" to seal
 0
0 -
midnightraven they're so pretty. Is the top one all real American stamps? xx0
-
Am I right in thinking the preparation stage of a project like this would be:
Sand off the varnish. Base coat. Light sanding. Paint. Light sanding. Paint. finished?
Also, what kind of paint, does it have to be a wood paint or can it be a silk/emulsion type paint?
Many thanks xxxx[/QUOTE]
Hi, You wouldn't normally need to sand the varnish completely off, just sand it to scuff it up and provide a key for your paint to adhere to. Then, primer, then paint, then wax or varnish to protect your paint. (This is not necessary if you use eggshell). Wall paints like matt emulsion are fine but will need protection.
Or, if you bought Annie Sloan Chalk Paint you don't need to sand or prime at all, just paint.
Old furniture should be washed down with sugar soap before painting as this removes residual wax, polish and dirt that can seep through your paint and prevent the paint sticking well.
Mahogany can also have bleeding issues where the colour in the wood stains your paint so I would start with a small area at a time and if this occurs, stop and get a sealing primer like Blackfriars trouble solving primer.
Happy painting!0


This discussion has been closed.
Confirm your email address to Create Threads and Reply

Categories
- All Categories
- 355.1K Banking & Borrowing
- 254.6K Reduce Debt & Boost Income
- 455.8K Spending & Discounts
- 247.8K Work, Benefits & Business
- 604.9K Mortgages, Homes & Bills
- 178.8K Life & Family
- 262.6K Travel & Transport
- 1.5M Hobbies & Leisure
- 16.1K Discuss & Feedback
- 37.7K Read-Only Boards