We’d like to remind Forumites to please avoid political debate on the Forum.
This is to keep it a safe and useful space for MoneySaving discussions. Threads that are – or become – political in nature may be removed in line with the Forum’s rules. Thank you for your understanding.
📨 Have you signed up to the Forum's new Email Digest yet? Get a selection of trending threads sent straight to your inbox daily, weekly or monthly!
The Forum now has a brand new text editor, adding a bunch of handy features to use when creating posts. Read more in our how-to guide
Help - screws not catching
Comments
-
Oops I don’t think the photo posted
 1
1 -
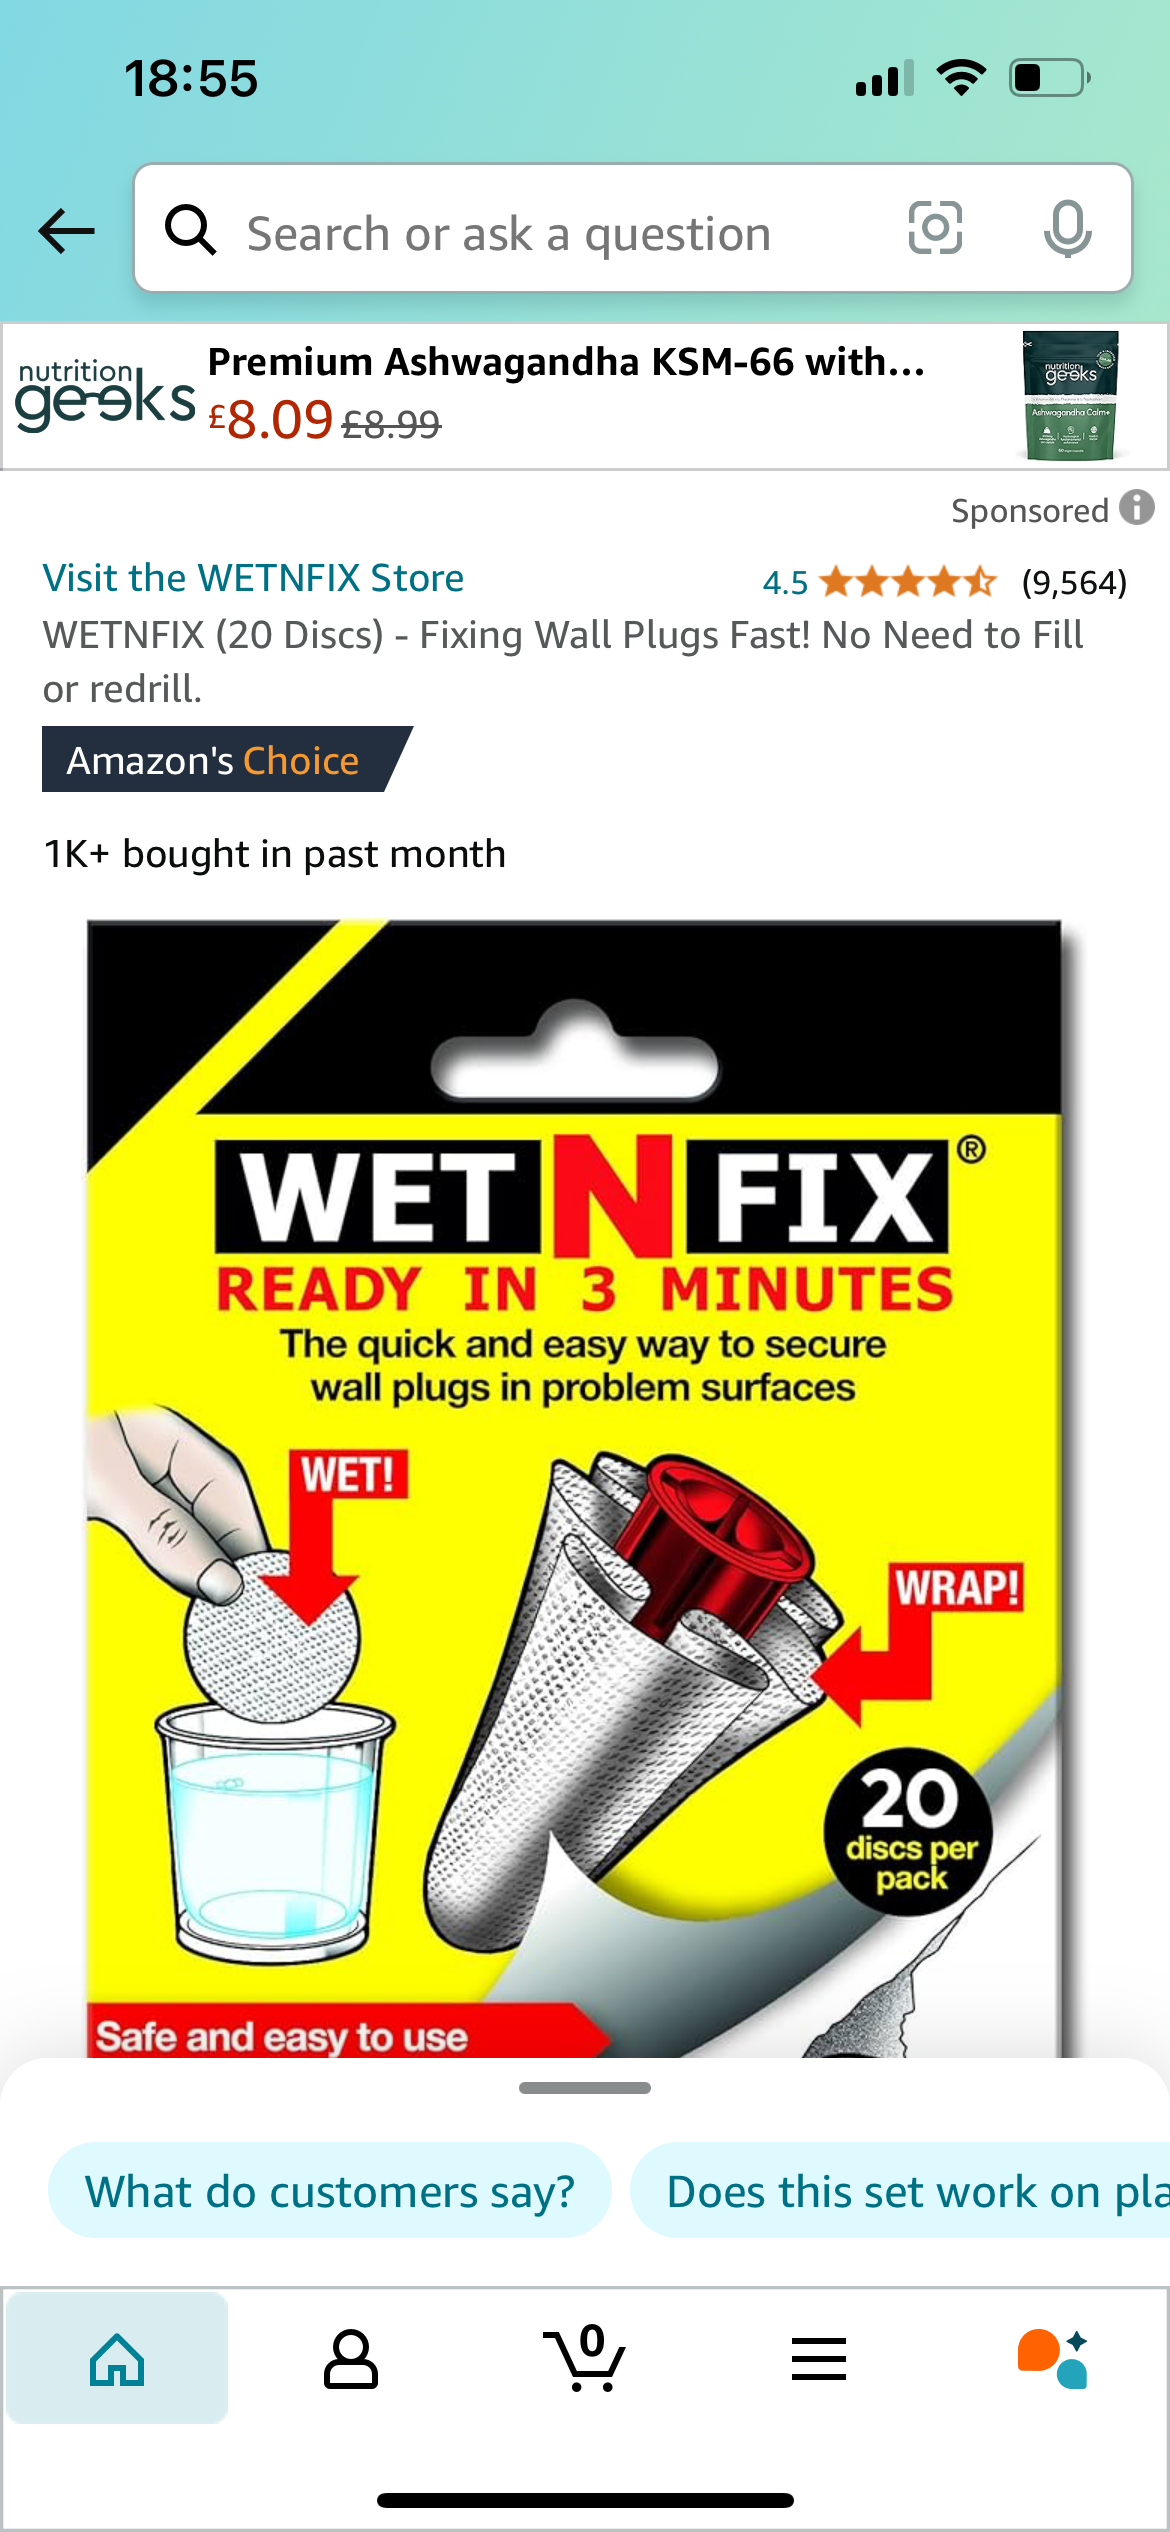
I haven't tried these 'wet n fix' myself, but they do look ideal. Suck all the dust out first.But first you need to get the screws out! If the screw head is a few mm out from the wall, you should be able to get a claw hammer 'claw' under it, and gently pull as you unscrew. See if that works.1
-
Thanks! Have ordered them and hoping they come tomorrow so I can try them.Thanks!2
-
Me again
 I tried the wet and fix on the rawl plug on one bracket. Only used one layer of wet and fix. Wondering if I should have used more but the screw is kinda catching but night tightening all the way so I can still turn it when it gets to the end. Would either a longer or thicker screw be good to use ? Thanks !0
 -
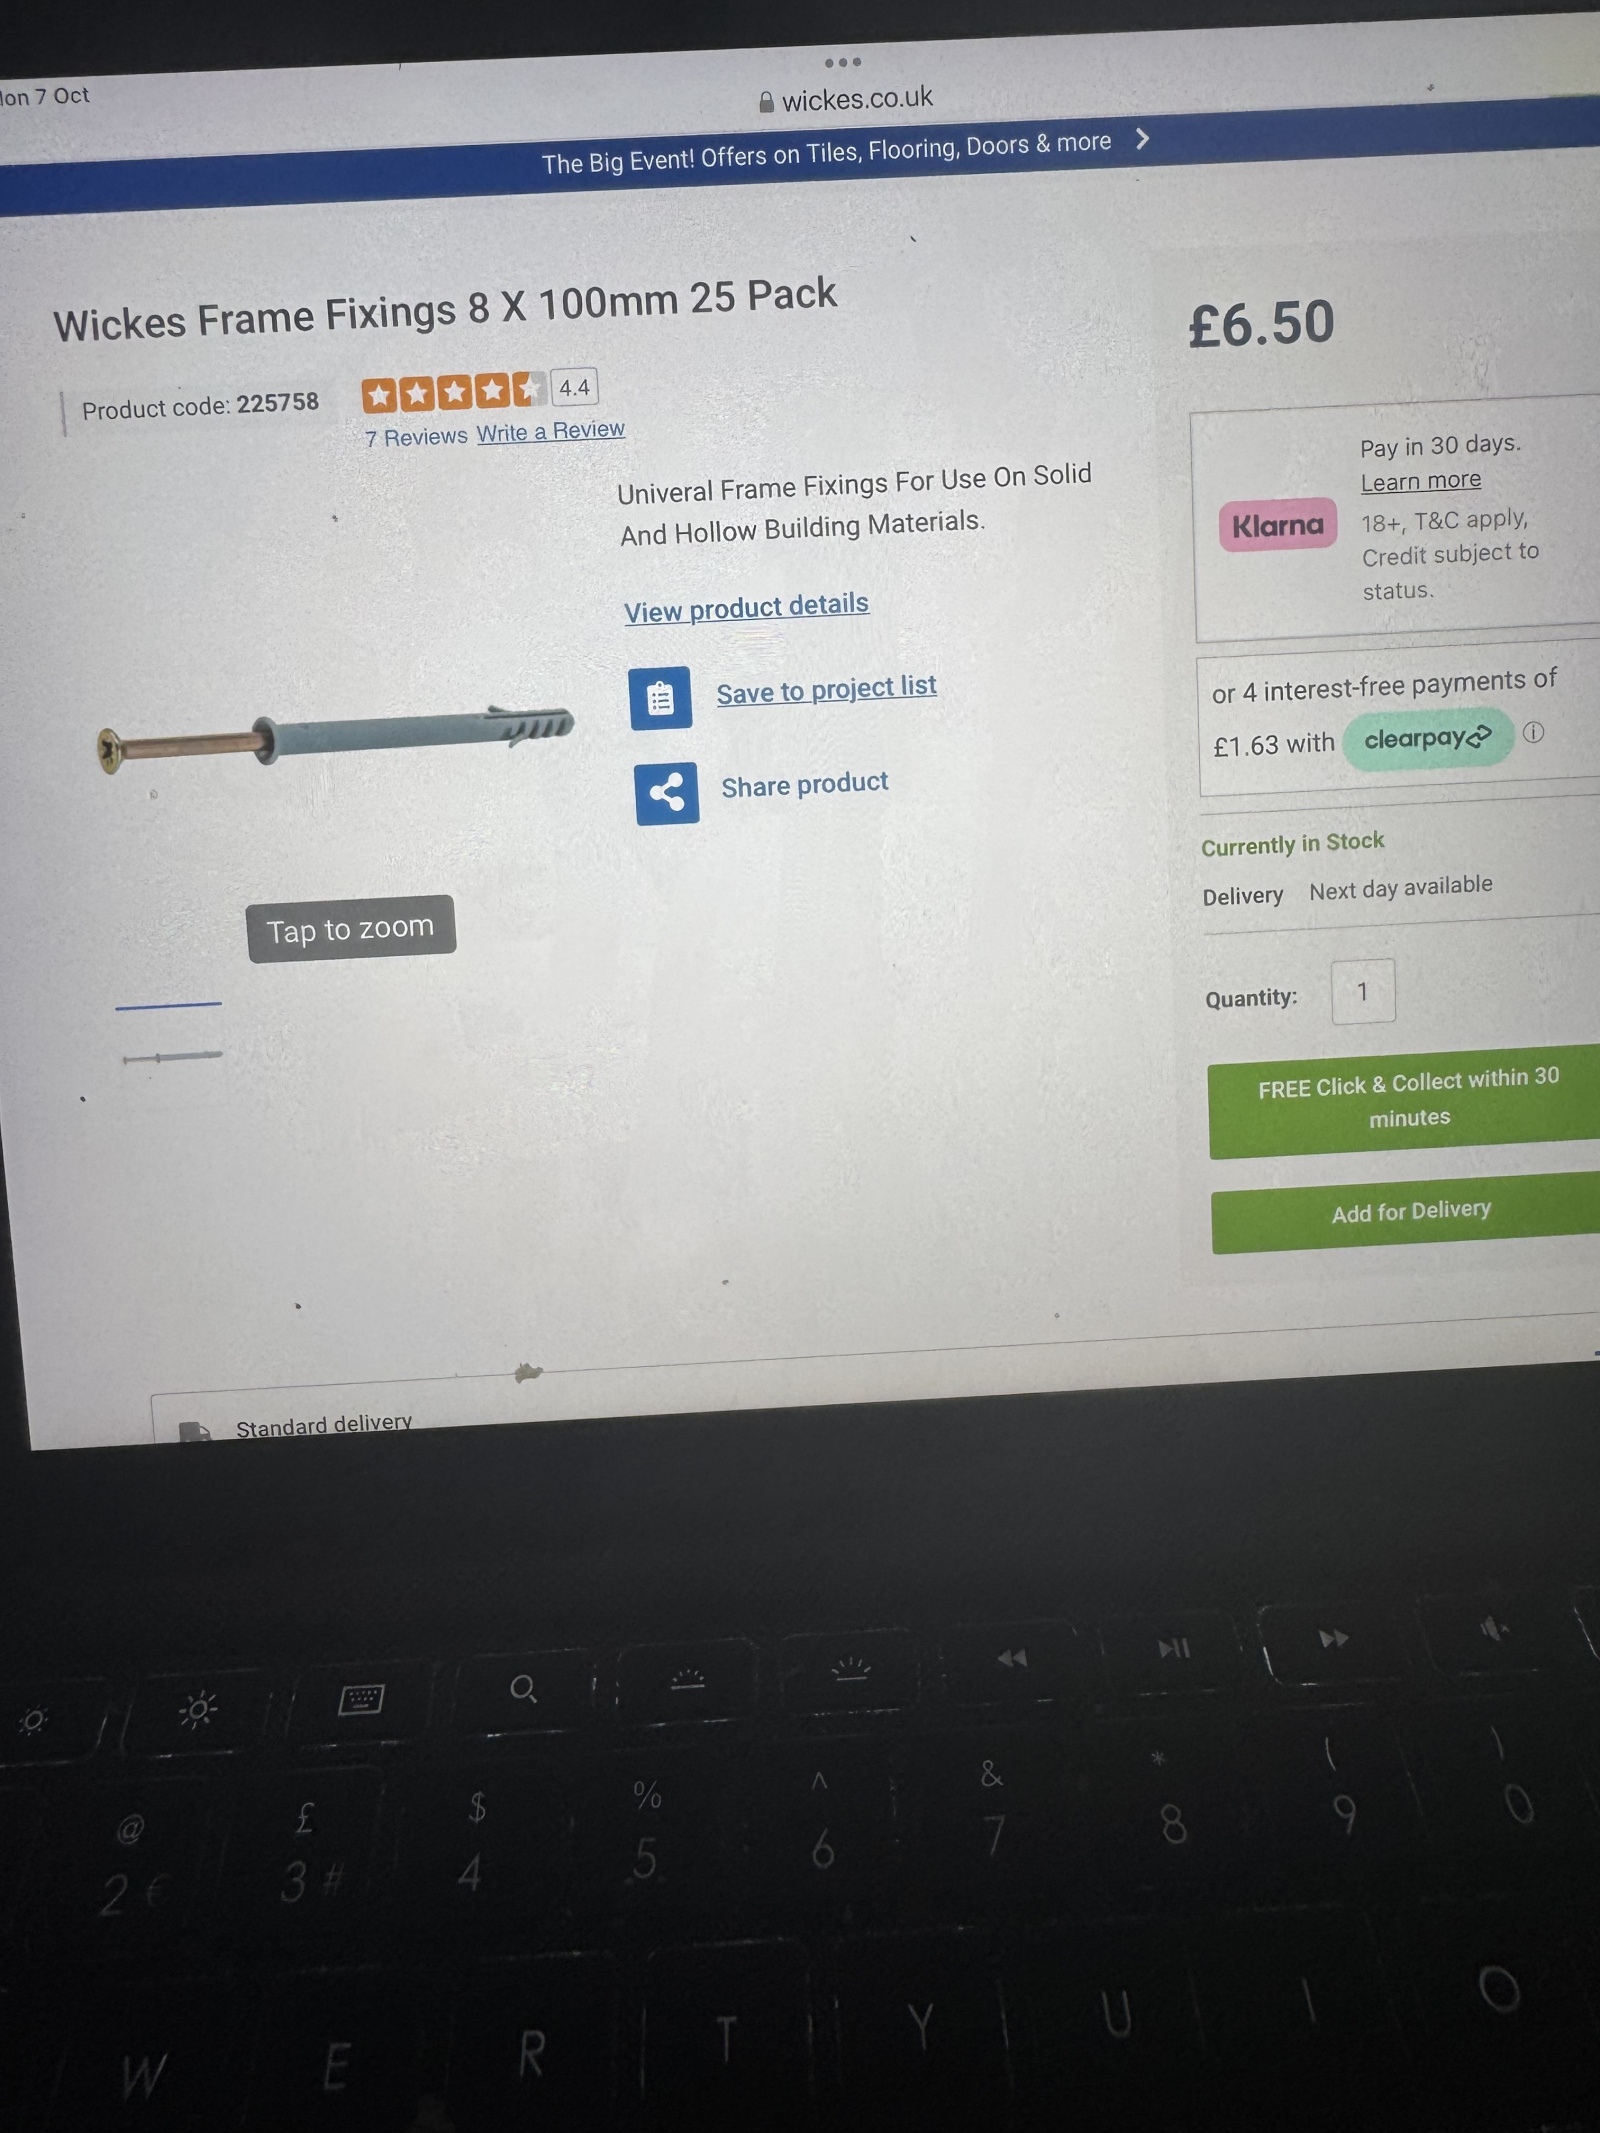
lucyplease said:Me again I tried the wet and fix on the rawl plug on one bracket. Only used one layer of wet and fix. Wondering if I should have used more but the screw is kinda catching but night tightening all the way so I can still turn it when it gets to the end. Would either a longer or thicker screw be good to use ? Thanks !A longer screw won't work. A thicker one may, but where will you get this? And, it would have to be considerably heftier, since your current solutions haven't worked. Thicker screws can come with their own drawbacks - getting them through the metal sleeve, for instance.How many more of these pads do you have? I think the obvious thing would be to withdraw the plug - possibly leaving the first pad behind - and add two or three layers, and try again.Are you meant to leave them to set before screwing?
1 -
Thanks for replying
yes it says to leave for 4 minutes to set and add one minute on for each extra pad so maybe I need to do more. Thank you
will also check hole is deep enough too
hopefully I can pull them out again. I used 2 and a half pads as the raw plug is quite long and that made just one layer so it may need two perhaps. Thanks1 -
You only need the pads around the part of the plug that's actually going into the solid wall, behind the plasterboard and dot-and-dab void. Can you figure our how long that part of the plug is?
1 -
You messaged just as I’m losing my mind !It took a while and I pulled the plugs out (with the plaster sheet things I had added) as I wanted to double check that the hole was deep enough which it is (maybe too deep but someone said that’s ok) I’m not 100% sure the hole is straight but the raw plugs go in ok so guess it doesn’t matter if they are at an angle. I’m guessing the hole in the brick bit maybe too big.I did just take a photo with the broken rawl plug (it broke when I pulled it out) either the screw. So do you think I only need to add those plaster bits to the end bit of the raw plug ? Or I don’t know if to do with a previous poster said to use like a filler then stick the raw plug in and wait for it to dry.I did find a video of how this rawl plugs open out as I wasn’t sure (probably obvious) so it does look like it’s the wall that’s the issue. So annoying it worked on 7 out of the 12 screws but guess it’s good not all of them failed.I need to go buy some more screw sets and may get some filler.Thanks again for replying. Really appreciate it.0
-
lucyplease said:
REVOLUT FUTURE OF MONEY? Cool.
I think you are right - the hole will simply be too big. If, for example, you hit a mortar line instead of an actual brick, then older mortar could crumble quite easily and cause this. Or possibly your drill bit bounced on harder pebbles, and this makes the bit go sideways. Whatevs, almost certainly it's just too big.What may be useful to test first is just where the brick begins, as that's the bit that'll be doing the holding. So, if you insert just the bare screw - or any other thin wire or object - through the p'board hole, and 'stab' repeatedly at the solid wall behind it, going into the hole, and then sideways until you strike solid wall, then 'nip' the wire at that point with your fingers tight against the p'board - withdraw, and that should be the depth of where the solid wall begins.If you then compare that with the red plastic plug, you will know what part of it is actually inserted into the wall, and that's the part you should wrap the patches around.Depending on how loose the red plug was, you select enough layers. I'm not sure what these patches feel like, but if they are like squishy pieces of material when wet, then I'd first wrap one tightly around the red plug, so it covers the top part of the plug - the last bit to go in to the hole. Then add another, overlapping, and further down towards the tip. Keep wrapping patches around it until you reckon you have the thickness you'll need, and then final place one over the tip as normal, so it overlaps the others at the end, and will make it less likely for them to be folded back as you insert the plug. Phew - does that make sense?Make sure the hole is clean again - suck or whatevs you've done before. Tap in the plug and leave.Yes, an alternative is to fill that hole with filler, but you need to ensure it's fully filled, pressing in slugs of filler using a blunt round object like the blunt end of a sizeable drill bit, tamping it in firmly. And then you'll need to leave it for a few days at least, for it to dry. I guess you could use a 'setting' type, which sets chemically, as that would be quicker. The fixing will only be as strong as the filler used, of course.Finally there's the metal strips you linked to at the beginning. Again, I haven't tried them, and I'm sure you'd need a few strips, but it could be a goer.Since you have these patches, I'd persevere for the time being. But you have to feel that it's snug as you tap in the plug. Wrap them firmly around the plug, adding others overlapping. Build it up. See how it goes.0 -
I hung kitchen cupboards with this now full of pots
1


Confirm your email address to Create Threads and Reply

Categories
- All Categories
- 353.5K Banking & Borrowing
- 254.2K Reduce Debt & Boost Income
- 455.1K Spending & Discounts
- 246.6K Work, Benefits & Business
- 603K Mortgages, Homes & Bills
- 178.1K Life & Family
- 260.6K Travel & Transport
- 1.5M Hobbies & Leisure
- 16K Discuss & Feedback
- 37.7K Read-Only Boards