We’d like to remind Forumites to please avoid political debate on the Forum.
This is to keep it a safe and useful space for MoneySaving discussions. Threads that are – or become – political in nature may be removed in line with the Forum’s rules. Thank you for your understanding.
📨 Have you signed up to the Forum's new Email Digest yet? Get a selection of trending threads sent straight to your inbox daily, weekly or monthly!
The Forum now has a brand new text editor, adding a bunch of handy features to use when creating posts. Read more in our how-to guide
Filling a ceiling rose hole

ashe
Posts: 1,578 Forumite


Hi, had a ceiling rose taken out today. Can I just fill this with easy fill 60 or is it too big?

If not do I need to put some ply or something above it?
0
Comments
-
What I've done before with a similar hole is stuff some scrunched-up newspaper into it to pretty much fill it, leaving just a bit of a hole, then go over it with filler. You might need to do a couple of coats of filler - one to fill the worst of it, let it dry, then go over it again with a thin layer to finish it off. I find it easier to leave the filler ever so slightly proud, then sand it back so that it's perfectly flat and flush with the surrounding plaster.
0 -
If you have access to the other side of the hole, I'd stick a bit of card or ply over the hole then fill.Failing that, just fill from below. Spray a bit of water in the hole before applying the filler so that the plasterboard doesn't suck all the moisture out of the filler.Any language construct that forces such insanity in this case should be abandoned without regrets. –
Erik Aronesty, 2014
Treasure the moments that you have. Savour them for as long as you can for they will never come back again.0 -
I think if you were to just fill it you'd end up with most of your filler going up into the void above so as someone else said, fill the hole with, in my case, some scrunched up tissues until you have a nice, relatively firm, foundation onto which to apply your filler0
-
put a longer bit of wood up there, pull it down with a screw in the middle, and rough fill, then finish off later.
0 -
As above, I always use a bit of scrap wood. I tend to use a little pva on the ends, then fill when dry.I also dab some diluted pva on the plasterboard edges so that it's a bit more stable.0
-
Put a piece of wood slightly narrower than the hole but 2-3 times as long. Thread it in, centre it and put one screw each side of the hole through the plasterboard and into the wood to fix it securely. Tighten screw so head is recessed then fill over the holes.
Make sure no cables lurking in the vicinity.Signature on holiday for two weeks0 -
Cut a strip of wood about 100 mm , drill a small hole in the middle and fit some string through it.
put the wood into the hole and centralise it, next screw through the plasterboard into the wood either side of the hole.Pva wood and around hole, wait to dry the use easyfillA thankyou is payment enough .1 -
Thanks guys, job done.After first coat of easyfill I've allowed this to dry and will wait 24h
i take it should then sand back a bit and do a second coat and then sand that back for a smooth finish? If so what grit do I want to use?
I saw something about sponging the easyfill while wet on the second coat, is that some special plastering sponge or just the soft side of any wet sponge will do the job? And you do that after it's "set" (so an hour or so)? Guess I'm worried about it messing the finish up0 -
80 grit to get rid of any big lumps & bumps. 120 grit for the final smoothing down.I wouldn't bother doing any sponging - Just get as smooth a finish as you can from the trowel or filler knife. Multiple thin coats are better than one or two thick ones.Any language construct that forces such insanity in this case should be abandoned without regrets. –
Erik Aronesty, 2014
Treasure the moments that you have. Savour them for as long as you can for they will never come back again.0 -
So sanded down and added second coat,
I've got a few of these bubbles appearing, anything to worry about or do I just sand the smooth once dry?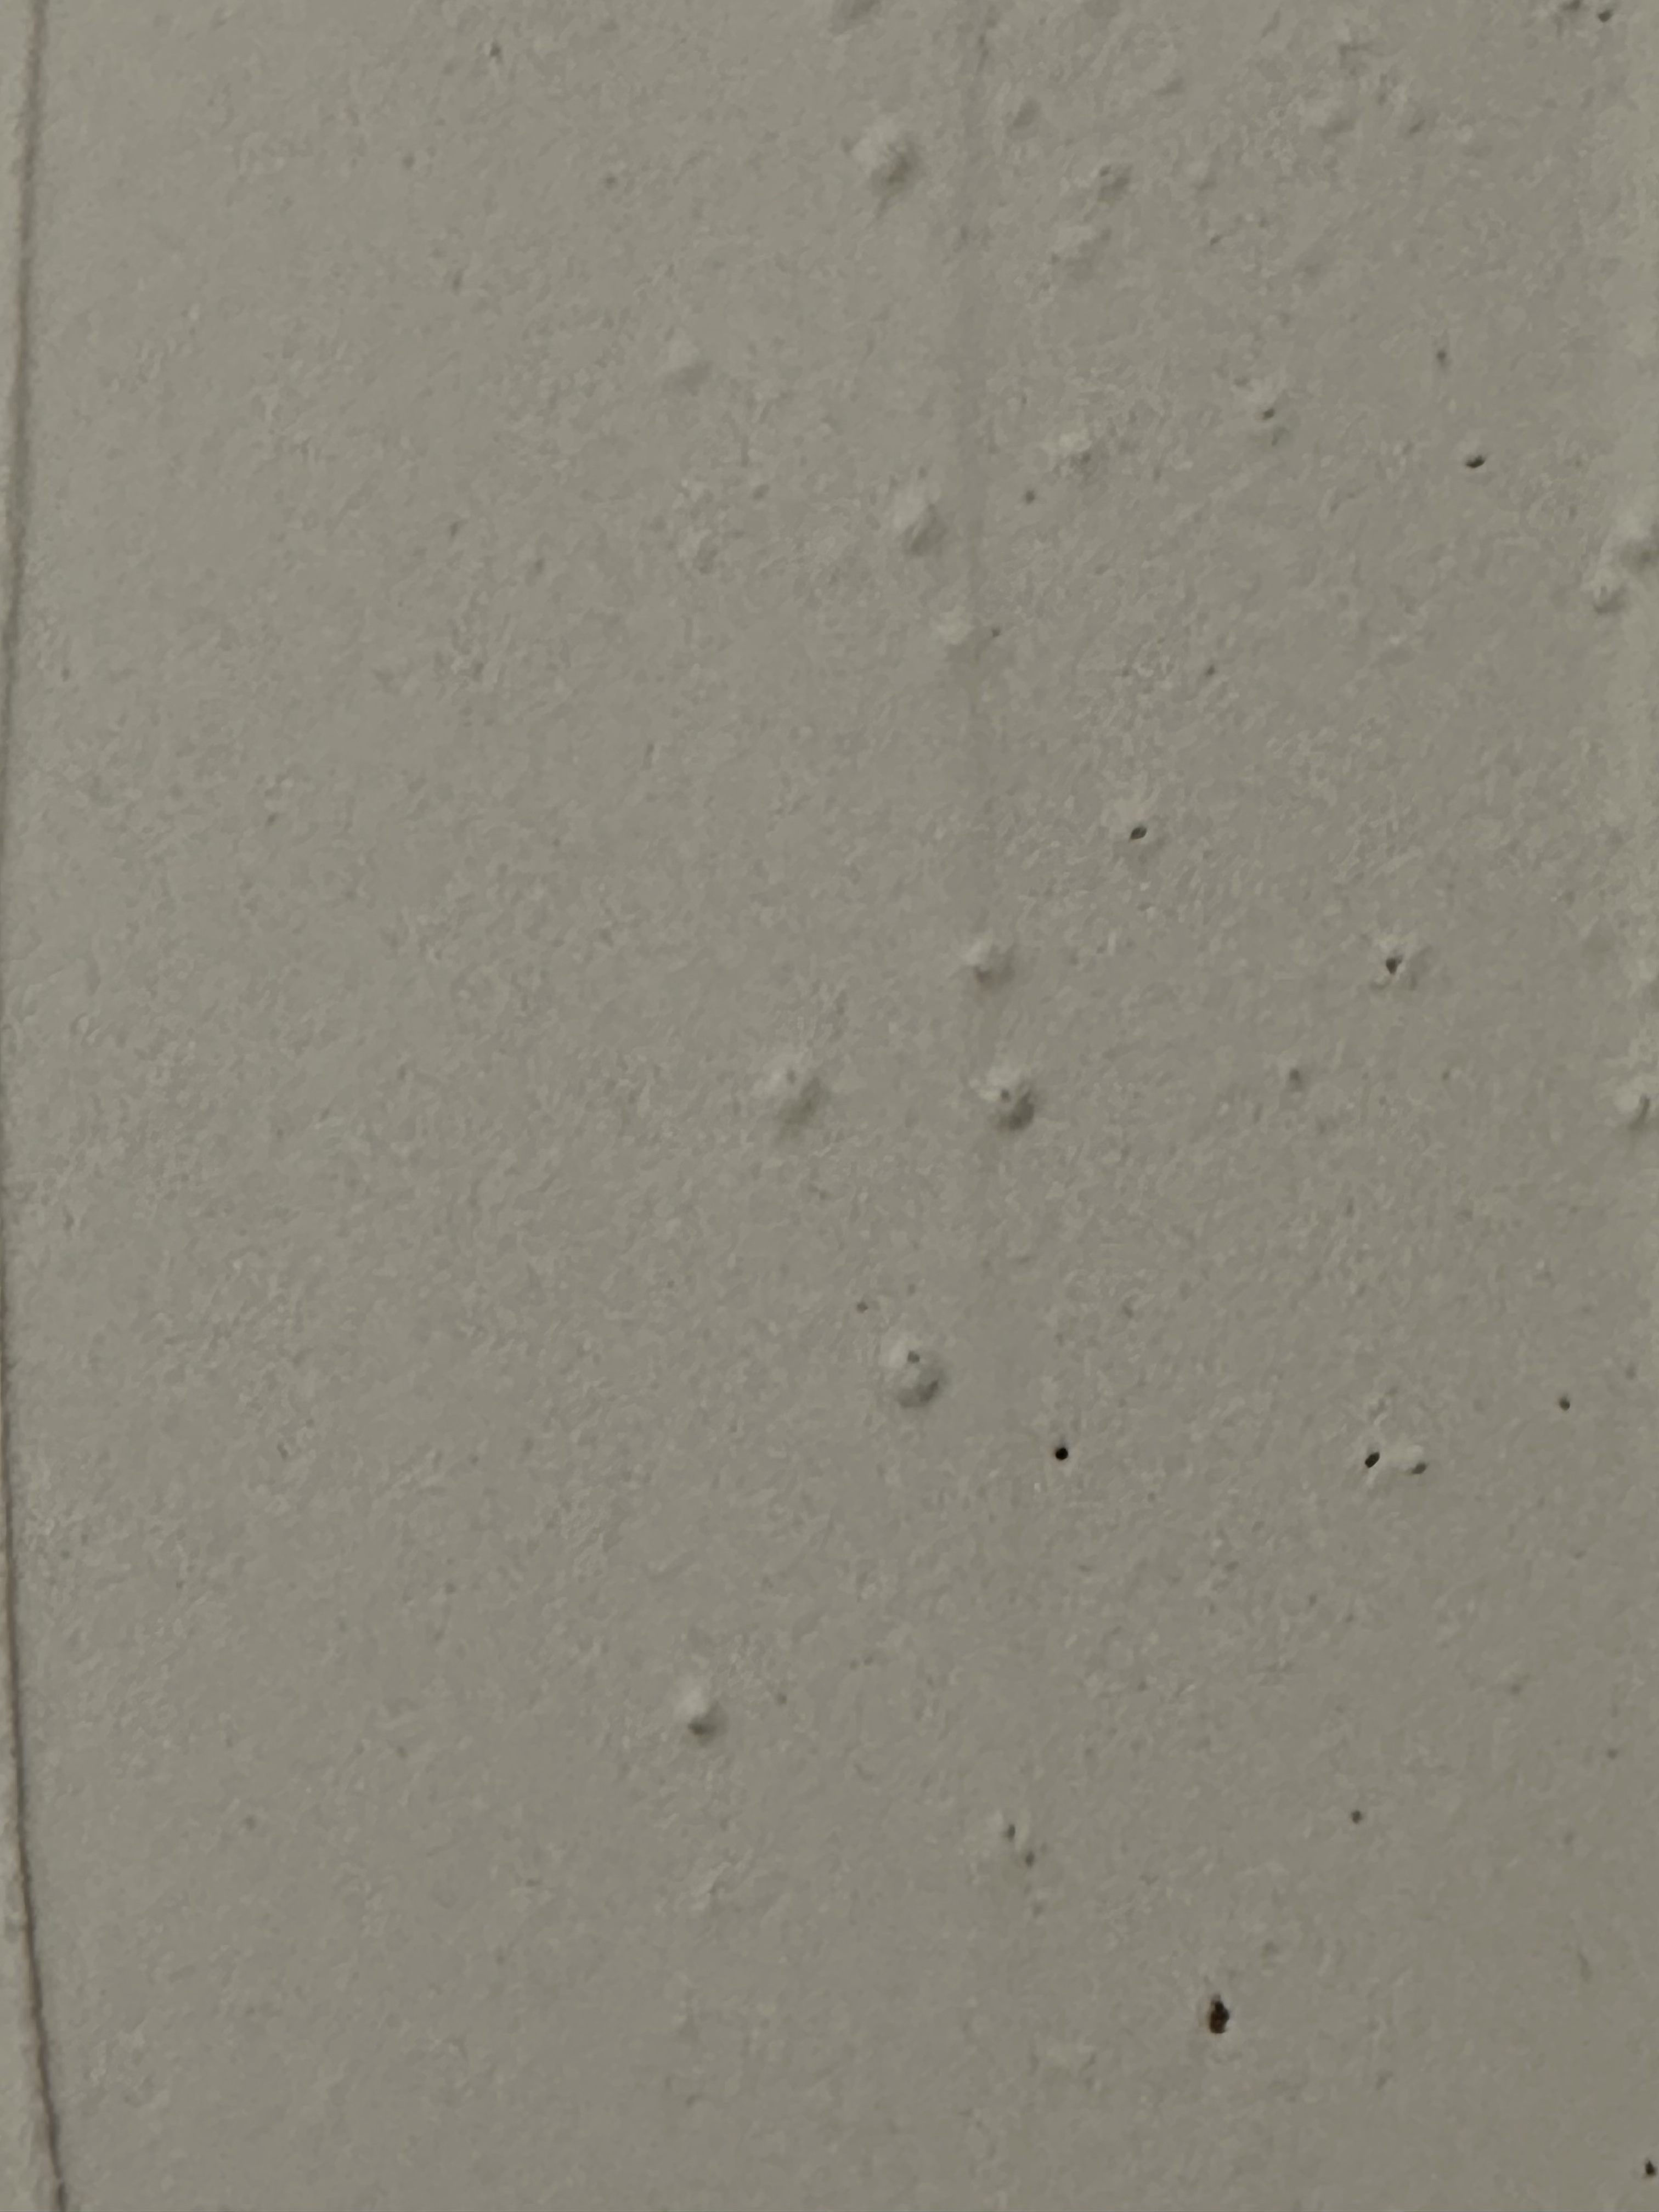
0


Confirm your email address to Create Threads and Reply

Categories
- All Categories
- 354K Banking & Borrowing
- 254.3K Reduce Debt & Boost Income
- 455.3K Spending & Discounts
- 247.1K Work, Benefits & Business
- 603.7K Mortgages, Homes & Bills
- 178.3K Life & Family
- 261.2K Travel & Transport
- 1.5M Hobbies & Leisure
- 16.1K Discuss & Feedback
- 37.7K Read-Only Boards