We’d like to remind Forumites to please avoid political debate on the Forum.
This is to keep it a safe and useful space for MoneySaving discussions. Threads that are – or become – political in nature may be removed in line with the Forum’s rules. Thank you for your understanding.
📨 Have you signed up to the Forum's new Email Digest yet? Get a selection of trending threads sent straight to your inbox daily, weekly or monthly!
The Forum now has a brand new text editor, adding a bunch of handy features to use when creating posts. Read more in our how-to guide
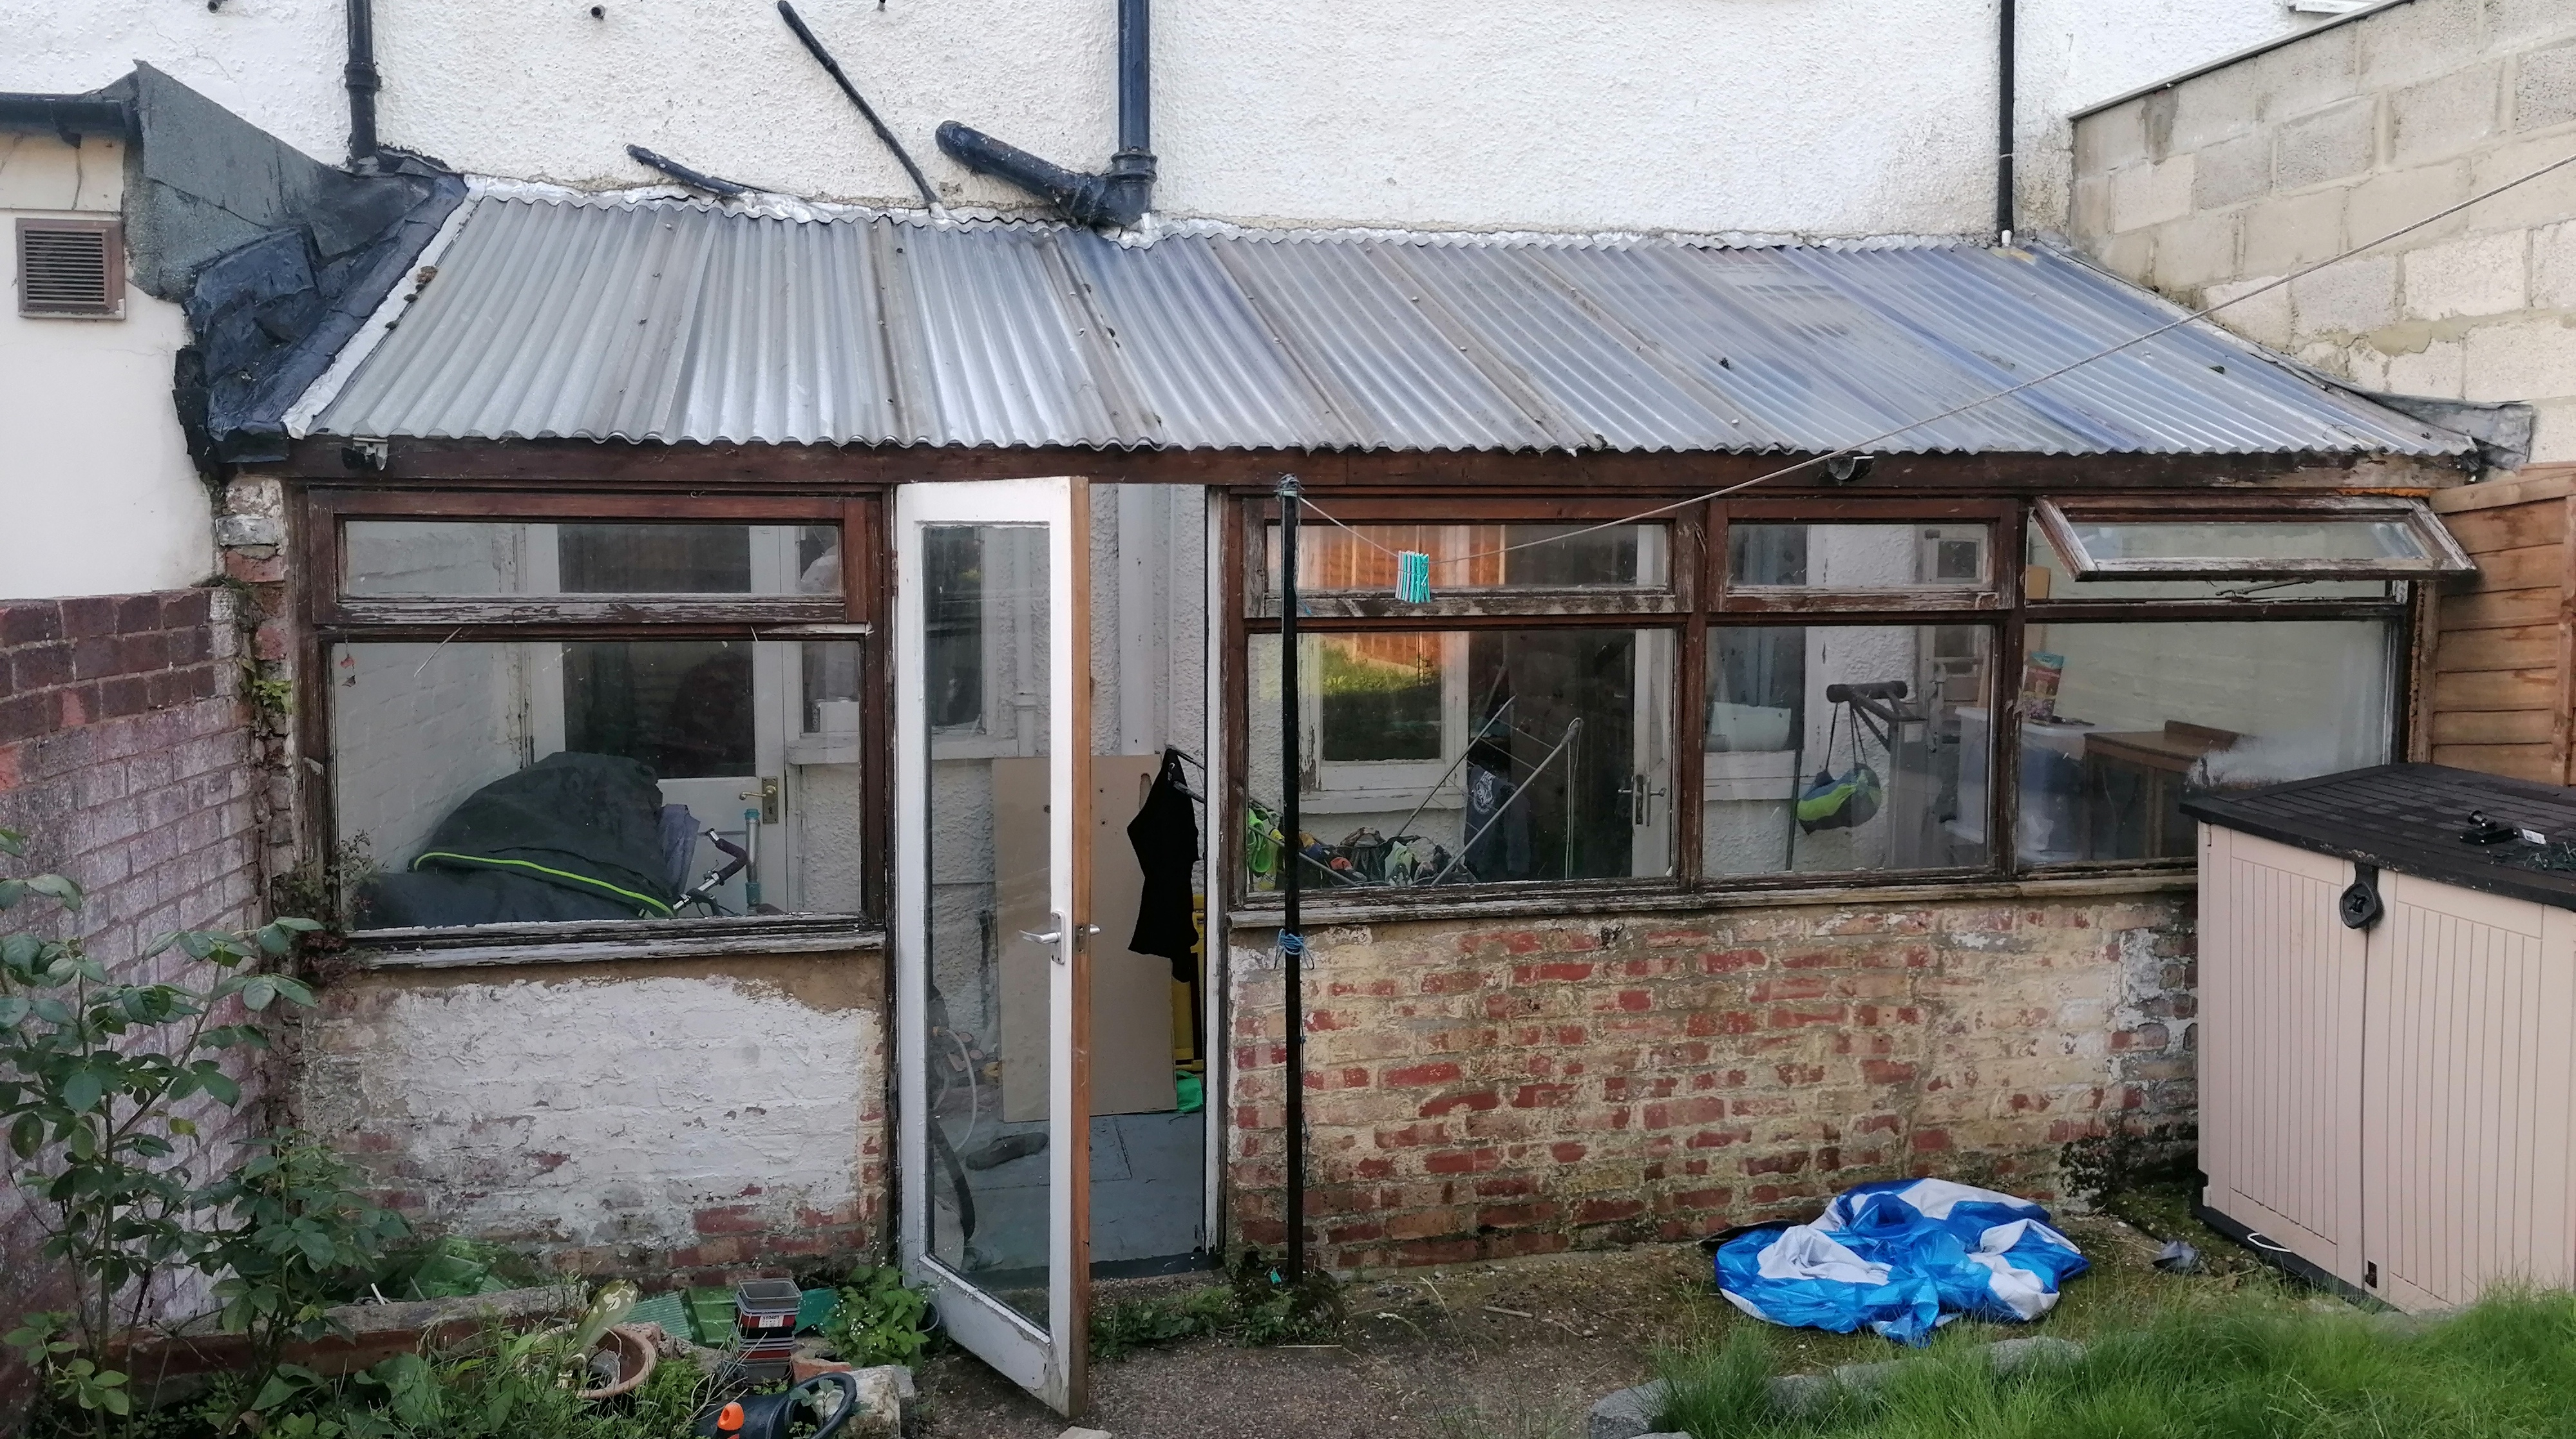
Removing old lean to
Comments
-
These sort of extensions were fairly common back in the day. Probably built before they needed Building Control approval. I once saw one similar to this this one with a vine in it and it looked quite good. Another one had a children's playroom. If it is of use to you, then a lick of paint and a bit TLC make it look quite presentable as a sort of greenhouse/conservatory for growing tomatoes, herbs and decorative plants and to retire to on sunny afternoons (thats if it gets the sun), but if you want to turn the house into a sort of show house ready to put on the market, then I would have thought it would have to go or it could devalue the house.
0 -
Motherofcelticdragons said:Weird! Trying again!
 What a great project!Next Q - what would you like it to look like?How big - and what type - of door from it to the garden?0
 -
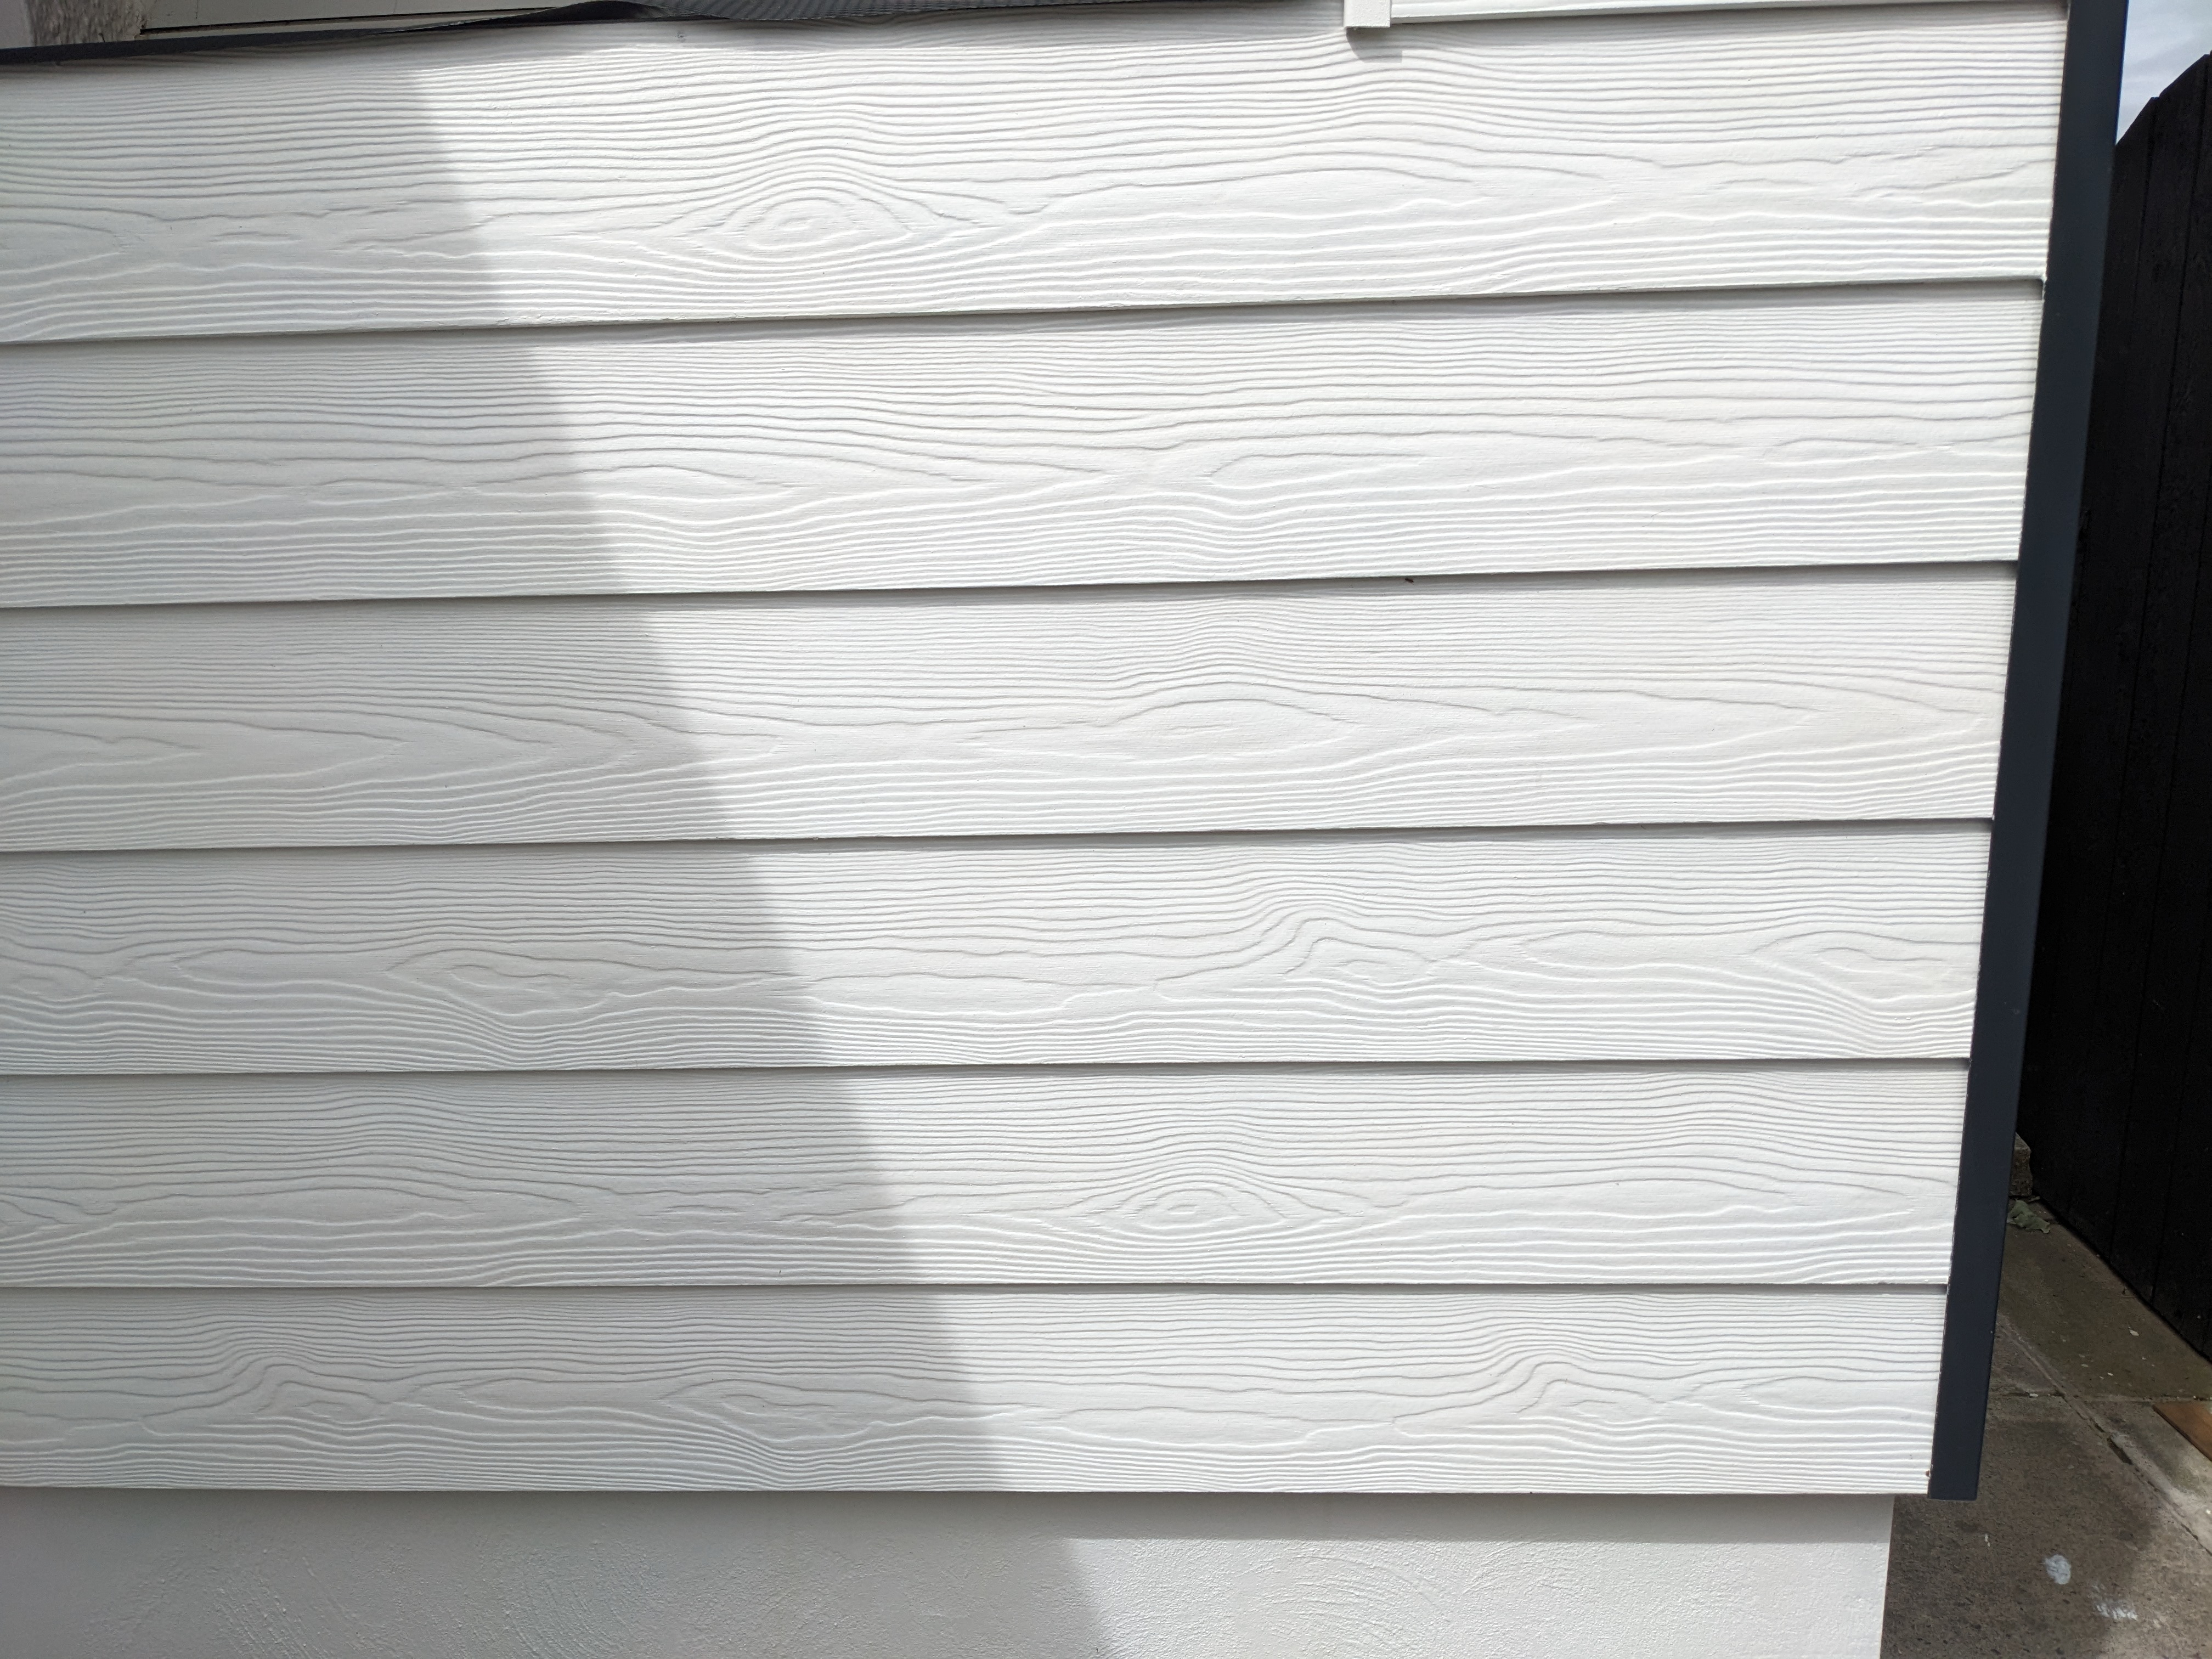
Basic steps:1) Plan your design. This is entirely up to you - try and find a layout that you like. Personally, I'd be trying to make it look as much as a 'garden room' as possible, so that will mean things like short wall 'returns' at each end, and idealy sections of 'wall' between the windows and door(s). This will not only make it lose the 'greenhouse' and 'connie' look, but also give you sections of wall inside that you can hang nice stuff on - that should transform its feel. Search Fb Marketplace for suitable windows and doors to suit - something will come along.2) Remove and discard roof - the sheets look usable, so advertise it on Fb Marketplace - 'buyer to remove'.3) Remove and discard windows and door. They'll need dumping...4) Cut vertically down through that dwarf wall to make the correct size for your proposed doors. I'd keep it fairly narrow as this will help construction (ie, a wider doorway may need a lintel). Up to 1.2m wide double doors should be fine.5) Render the outside of the bricks, apply tanking slurry to the inside. (The rendering may be best done after it's all built.)6) Build the 'wall' up from the dwarf out of 4x2 timbers such as CLS, with a 4x2 baseplate sitting on a DPC. Make the new wall significantly higher at the front - as a rough guide, slightly higher than the bottom ledge of the LH neighb's. (Not sure what is going on there, but you'll want your side to be independent and watertight - is that water currently running down your wall?)7) Line the out and insides of this framework with 9mm OSB, after fully filling the cavity with PIR (obtained from Fb).8) Build the roof - 4x2 joists as currently running, lightweight box-section metal sheeting, and at least 3" of PIR stuck to the underside.9) If you can - but it'll be a lot more work - fit a couple of DG glass panels on the roof, but you'll have to sort out the flashing to make sure it's watertight.10) Line the building insides - foil-backed plasterboard is prob best.11) Clad the outside in your preferred finish. It cost me £50 for the cladding for this wee 1800mmx750mm corner - Cedral Cladding,
 two different colours from two different sources, but it takes Masonry paint with no issues. Set off with anthracite trims (free from a third source...). So, composite cladding to the colour of your choice, or timber cladding if you prefer.12) Dot&Dab p'board to your neighbouring sides. Insulation shouldn't be needed there, but use 1" Insulated p'board if you wish tobesure.13) Sand screed on the floor, levelled and tamped down. DPM, 2" of PIR, a glued-T&G chipboard floor floated on this if you wish, and then the flooring of your choice. The inspection cover is a pain...That room will be usable all year round. It could well be the comfiest in the house with all the solar gain, especially from the roof lights. You won't want to leave it...
0 -
Wow! First of all, @ThisIsWeird thank you for taking the time to provide a step by step plan! Im not sure I understand much if it but I'm going to print it out and try and make sense of it 😂
One if the challenges is that main drain access (sewer?) which means we are a bit restricted on the ground, which is all just kinda cracked concrete. Also we have a main pipe which outlays into a drain against the wall of the house... But I mean if we are able to sort your ideas, we'll probably figure something out for that!1
Confirm your email address to Create Threads and Reply

Categories
- All Categories
- 353.5K Banking & Borrowing
- 254.2K Reduce Debt & Boost Income
- 455.1K Spending & Discounts
- 246.6K Work, Benefits & Business
- 603K Mortgages, Homes & Bills
- 178.1K Life & Family
- 260.6K Travel & Transport
- 1.5M Hobbies & Leisure
- 16K Discuss & Feedback
- 37.7K Read-Only Boards


