We’d like to remind Forumites to please avoid political debate on the Forum.
This is to keep it a safe and useful space for MoneySaving discussions. Threads that are – or become – political in nature may be removed in line with the Forum’s rules. Thank you for your understanding.
📨 Have you signed up to the Forum's new Email Digest yet? Get a selection of trending threads sent straight to your inbox daily, weekly or monthly!
The Forum now has a brand new text editor, adding a bunch of handy features to use when creating posts. Read more in our how-to guide
How to make good around sockets
Comments
-
Slinky said:
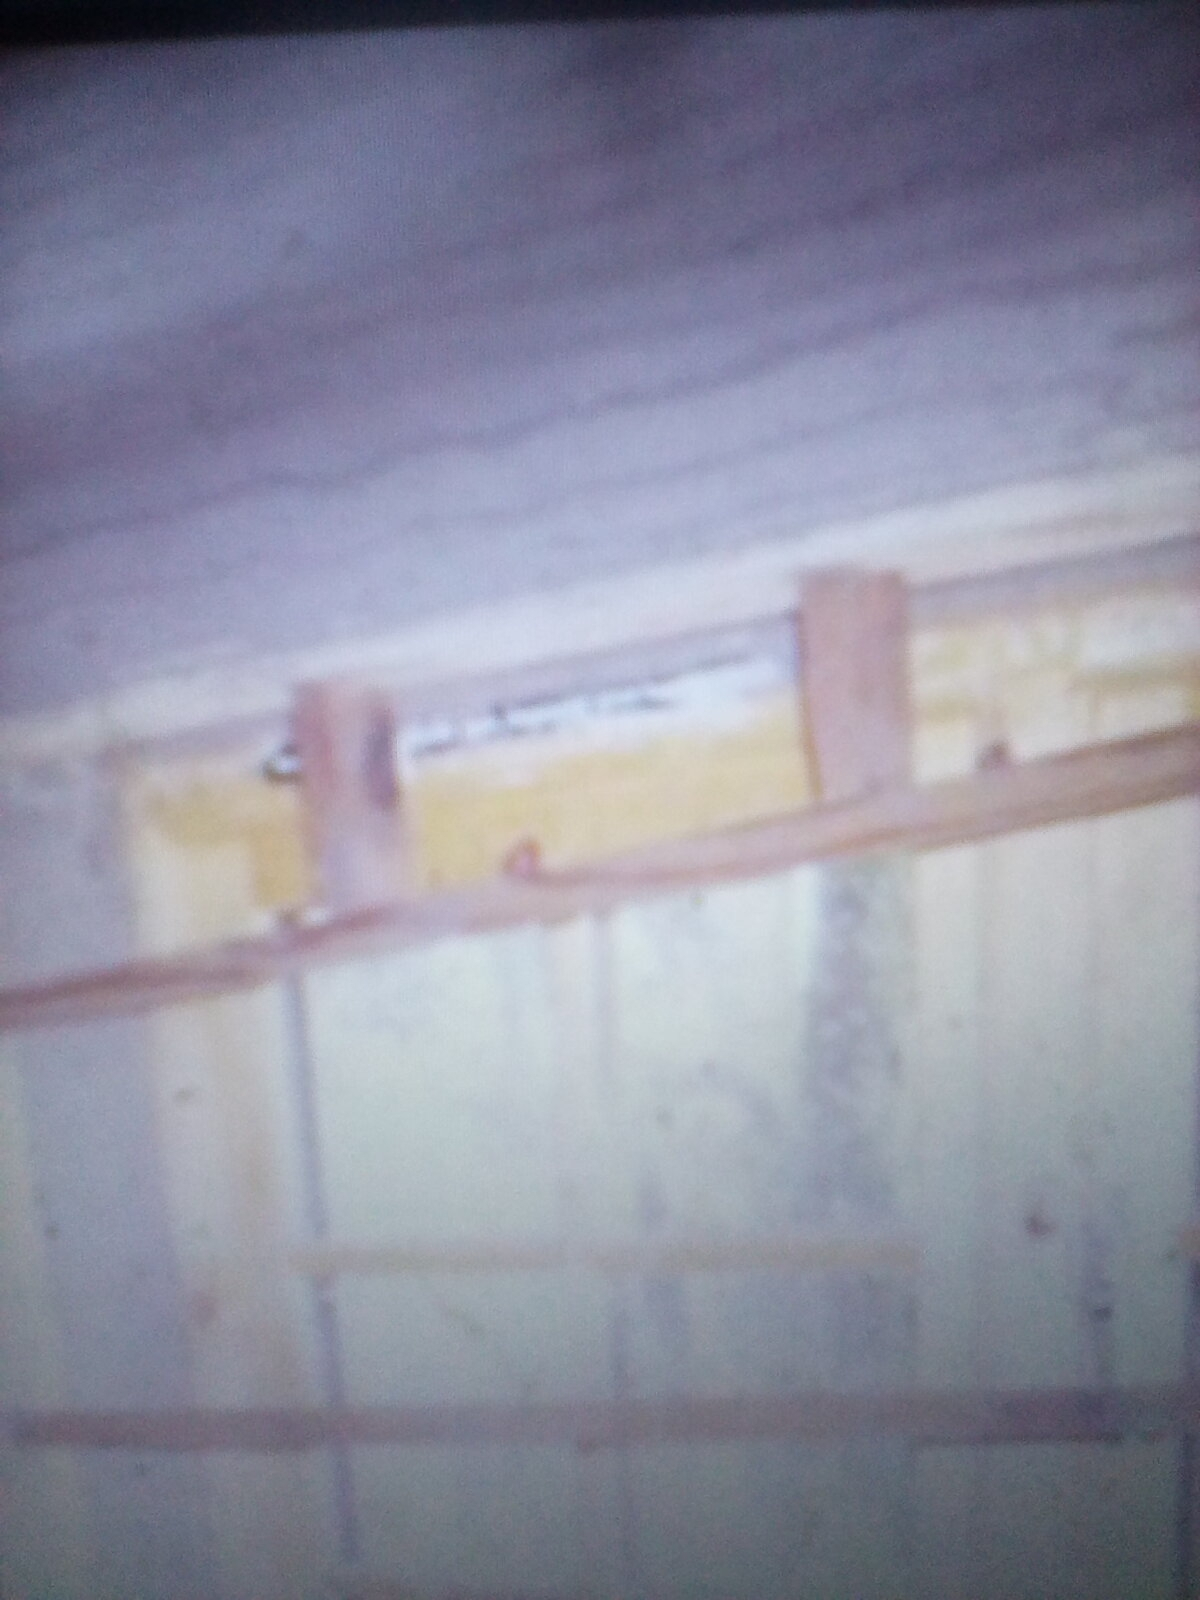
 We've had a lot of replastering done in our house and several of the sockets have gaps around them where the plasterer hasn't got quite close enough. How can I make a tidy job with the Polyfilla with nothing to back onto?Turn off the power. Slacken the screws enough to allow the socket to pull forward at least a cm - you might get away with slightly less - or, ideally remove them entirely so the socket can pull away a good inch or so, leaving the cables connected. Get your Polyfilla and a filling knife, and scrape up a ridge of PF on the end of the knife, so there's like a pencil-bead of the stuff on there, on one side, running along the top edge of the end of the blade. (By 'pencil-bead', I mean almost enough to fill the gap).Approach that gap with the pencil-bead facing the wall, and the knife at a very low angle to the wall ~5o, almost flat. PRESS the bead of PF firmly and directly in to the missing gap, flatten the flexible blade at that point by pressing the knife against the wall, so that the applied PF is flush with the wall, and pull the knife back upwards against the wall so's the PF is scraped off and (hopefully) stays in the gap - which it should.Yes, some could go a bit in to the back box, but unless you dump a sizeable amount in there, it shouldn't matter. Leave that bit to set, scrape off any high spots or ridges, and then smear on another layer to - this time - hopefully get it all level.If you cannot bear to undo the socket, then you can get similar results by adding much less filler a bit at a time - a bead along the very end of the blade, bring it down so's the blade's end edge makes straight contact with the socket top edge, press in, and pull it away level with the wall.You can either allow to set before adding more, or build up your confidence at adding a touch more, and smoothing it off.When it's all fully set and dry, then some 180 grit paper on a very square edged block (anything - a piece of 2x1 timber) run flat along the wall above the socket should get it smoothed off.Much much better done with the socket at least loosened, tho'.1
 -
Not Polyfiller. It's called One Strike Filler or Lightweight Filler. If you go to a DIY shop and pick a tub off the shelf, it will feel empty! Polyfiller is however, superb for shallow depressions in plaster. I used to sell both products when I worked in a DIY shop.Slinky said:Reddleman79 said:I would use lightweight filler. it fills deep holes, doesn't shrink and dries quickly. It's lovely to work with and gives a smooth finish.
as in Polyfilla, or something else?2 -
Undercoat plaster is lightweight, but I think the smallest bag you can buy is 7.5kg. And I don't think that you really need it for this job.Slinky said:Reddleman79 said:I would use lightweight filler. it fills deep holes, doesn't shrink and dries quickly. It's lovely to work with and gives a smooth finish.
as in Polyfilla, or something else?
0 -
If you ever need to build the bottom edge down a bit, hold a straight edge on the wall, where you want the edge to be, and plaster up to it from underneath. It's the same principle as when door and window reveals were plastered before angle beads were around.
1 -
Slinky, are you 'happy' to fully undo the socket and pull it away? (Good idea above of wrapping it inside a poly bag).If so, then two filling knives will sort this. One is held at right angles to the wall, inside the backbox, and pressed against the box side where the holes are. The other knife brings in the filler as I suggested before - at a very low angle to the wall - and squished in to nicely fill the gap, with the other knife limiting hos far it goes into the box (ie, not at all).Keeping the first knife in place, the second one is used to get the filler pretty much level with the wall. When you are happy, then position the second knife flat on the filler and wall, and pull the first knife straight up away from the box - the second knife will prevent the filler from being pulled upwards with it. Then pull the second knife away flat against the wall upwards. That should give to 90% of the filler in the right place. Allow to set, sand, and then add any additional skin to finish. Or, build it up slightly-excessively high to start with, and then sand it all down to flush.1
-
It’s really good stuff. Really good for this sort of jobReddleman79 said:
Not Polyfiller. It's called One Strike Filler or Lightweight Filler. If you go to a DIY shop and pick a tub off the shelf, it will feel empty! Polyfiller is however, superb for shallow depressions in plaster. I used to sell both products when I worked in a DIY shop.Slinky said:Reddleman79 said:I would use lightweight filler. it fills deep holes, doesn't shrink and dries quickly. It's lovely to work with and gives a smooth finish.
as in Polyfilla, or something else?No reliance should be placed on the above! Absolutely none, do you hear?1 -
Tape the top and splash some decorators caulk in it.
1


Confirm your email address to Create Threads and Reply

Categories
- All Categories
- 354.2K Banking & Borrowing
- 254.3K Reduce Debt & Boost Income
- 455.3K Spending & Discounts
- 247.1K Work, Benefits & Business
- 603.8K Mortgages, Homes & Bills
- 178.4K Life & Family
- 261.3K Travel & Transport
- 1.5M Hobbies & Leisure
- 16.1K Discuss & Feedback
- 37.7K Read-Only Boards