We’d like to remind Forumites to please avoid political debate on the Forum.
This is to keep it a safe and useful space for MoneySaving discussions. Threads that are – or become – political in nature may be removed in line with the Forum’s rules. Thank you for your understanding.
📨 Have you signed up to the Forum's new Email Digest yet? Get a selection of trending threads sent straight to your inbox daily, weekly or monthly!
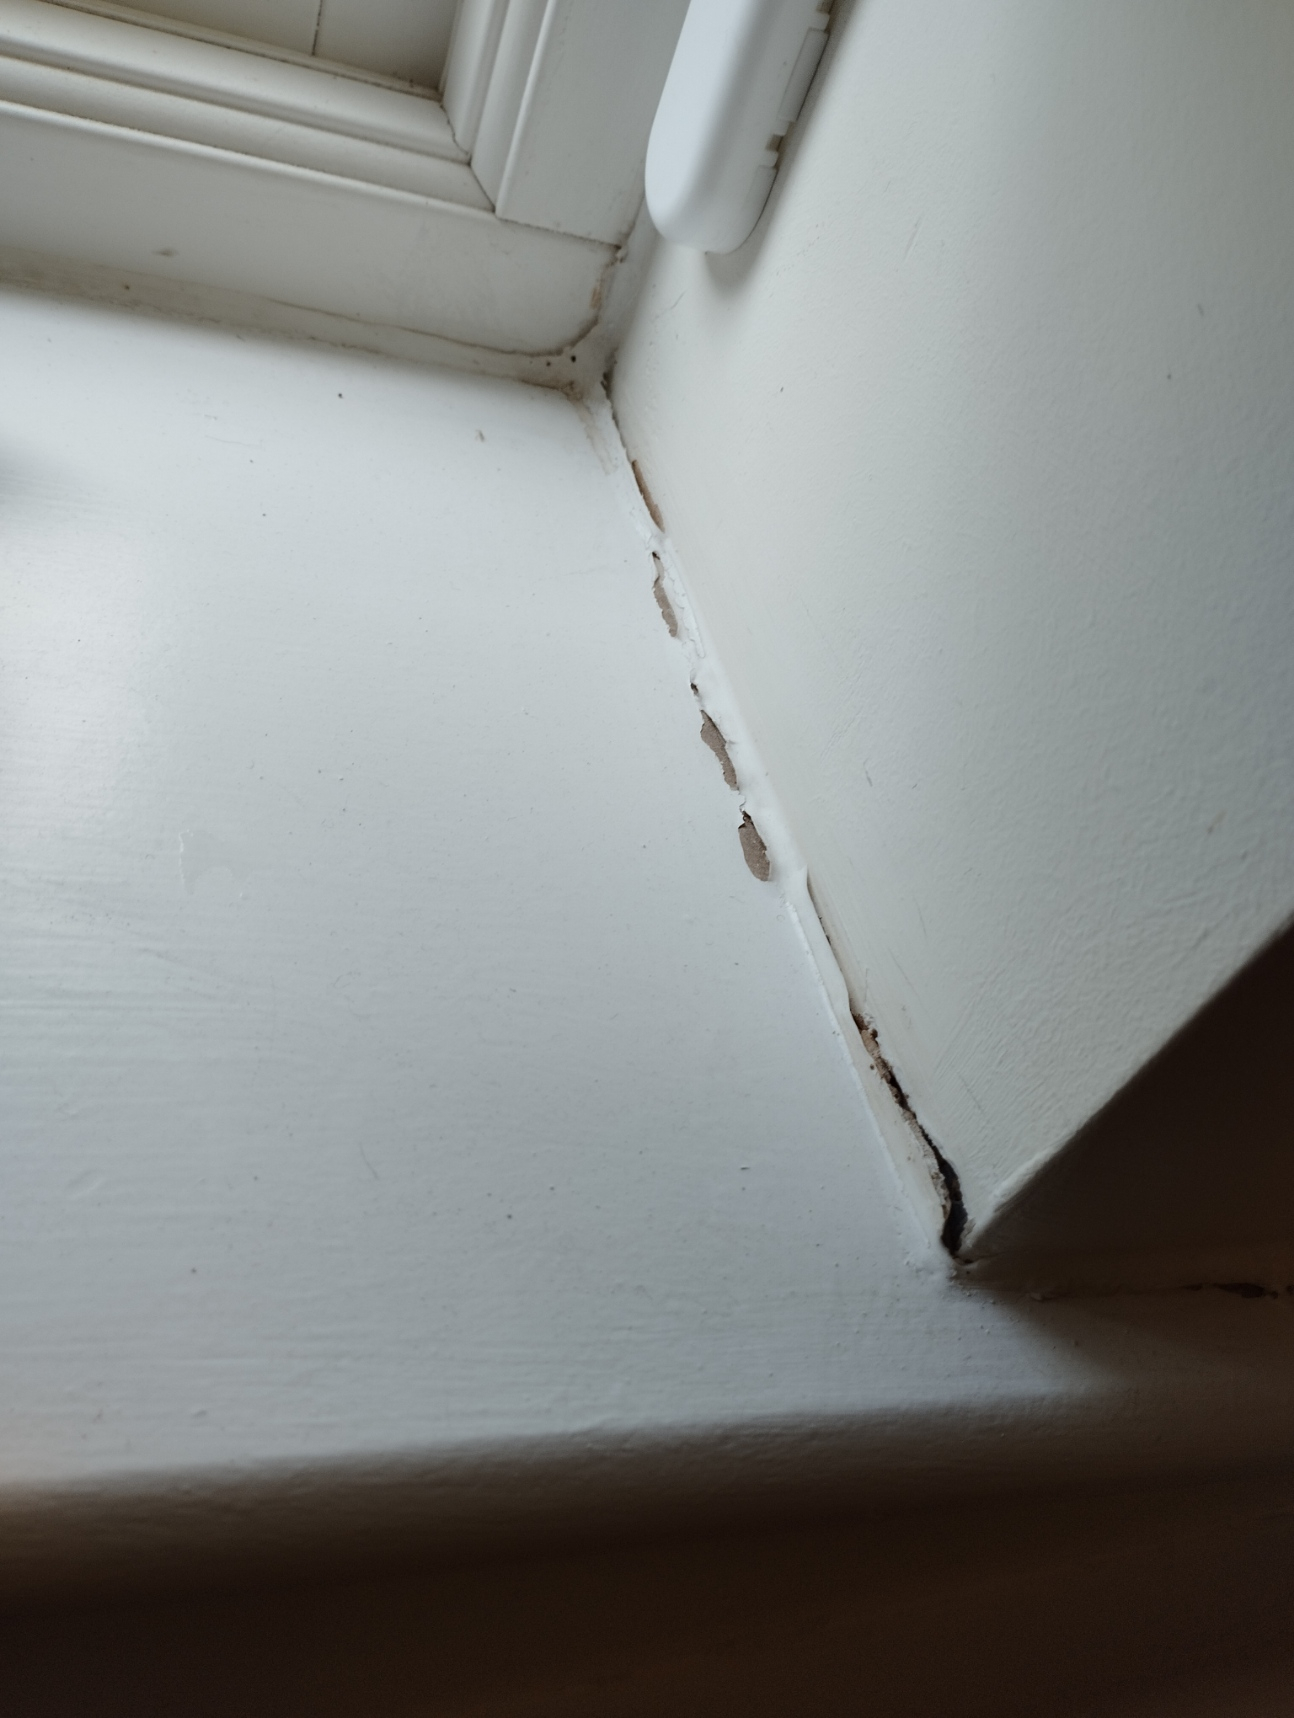
Covering a crack with... coving? Or what?
Comments
-
I totally get that this guy knows what he is doing. I can't believe how easy he makes it appear! But he's working on a flat, new joint. My one is old and knackered, goes around corners. How would the paper lie flat around those curves and the crease tuck neatly into the corners? And those layers over the paper tape that would be required -- I can't see how they wouldn't need the whole lot replastering, ceiling too? Because unless I rake out a space for the joint tape, when I fill over it, it will cause a ridge on either side of the joint.stuart45 said:If you decide to have a go yourself, the taper in the video at the bottom shows how to do the joint. He actually knows what he's doing, unlike a lot of the UK videos.
PAPER OR FIBRE TAPE FOR PLASTERBOARD JOINTS - Blogs - FCM (fcmltd.co.uk)
I could dig out the area and start again and attempt to level it up with what's already there, but I am not sure I am capable of doing this. Or if I was, I would need weeks of messing about trying to perfect it. Here's the catch, I am trying to get this done quickly because somebody is going to be moving into that room in 10 days and they will be there a few months. After that is over, I could spend more time trying to get it done properly.
Why Oh why isn't there a super-stretchy filler that just shifts with the wall? Says every DIYer who doesn't know what they are doing!1 -
Silicones are very flexible/stretchy. However, not all have good adhesive properties and for those that have you must prepare the surface well. Otherwise...
 And it's usually difficult to paint. And paints are not as stretchy as silicone.1
 -
If you need a quick job, then scrape off the loose and caulk it. Taping a more difficult joint like that one is probably not the best for your first job.
I've done ceilings like yours before, might have a photo somewhere.
The tape will bend slightly.
For the curve you need a few shorter pieces and overlap the tape.
You'd be surprised how well you can feather in the filler. If done properly it requires only minimum sanding.1 -
This is pretty much what has happened here but it looks less dramatic. At the moment...grumbler said:Silicones are very flexible/stretchy. However, not all have good adhesive properties and for those that have you must prepare the surface well. Otherwise... And it's usually difficult to paint. And paints are not as stretchy as silicone.0
 -
Think i need a Stuart45 locally!stuart45 said:If you need a quick job, then scrape off the loose and caulk it. Taping a more difficult joint like that one is probably not the best for your first job.
I've done ceilings like yours before, might have a photo somewhere.
The tape will bend slightly.
For the curve you need a few shorter pieces and overlap the tape.
You'd be surprised how well you can feather in the filler. If done properly it requires only minimum sanding.
I think I will have to scrape and caulk. Or stick a rope light up there and ignore it.0 -
Don't use silicone! Paint just won't adhere to it.Immac, don't overthink this. Get it looking 'better', that's all.Simple - trim away existing. Clean surfaces - a quick light sanding right into and down the corners. Wipe over some PVA, get it in as far as possible, and wipe away excess from the surface. Allow to dry. Apply a mist coat of paint over the sanded/cleaned area. Allow to dry. Run bead of caulk, firmly applied so it adheres to the surfaces. Allow to set. Paint.Jobbie jobbed.2
-
If you do as Bendy suggested, it's going to look fine for someone going in. It may last for longer than you expect.
This is a ceiling similar to yours I had to tack the whole room apart from the ceiling. 1
1 -
Another voice for caulk in the first instance. Agree that the finish isn't as good as, say, easifill, but when it's up high on the ceiling you aren't after the perfect finish - it just needs to be good enough to not draw the eye.
Caulk and paint in the first instance.
Also agree that putting coving up is perfectly achievable. Particularly the polystyrene stuff, which has a bit more give in it than the plaster stuff. Probably would take a novice ages to get right, so worth paying a local plasterer a single day's work to do it. You can then take the job of filing pin holes and painting.1 -
So... time was pressing on me. I needed to find a simple solution. I went to a DIY superbore and plumped for some curved plastic bath/time seal. I've used it as coving and run it down the corners of the wall. In the bent corner, I cut a piece off and put it in hot water and moulded it to roughly fit the curve of the wall/ceiling. It's self-adhesive and I added some sealant. It looks.. OK.
Thanks to everyone who came up with suggestions. I used some PVA along the line of the crack as suggested and the adhesion of the fake coving was great thanks to this. Your help has been invaluable, not just in a practical sense, but also to get me to think about what the possibilities were.1
Confirm your email address to Create Threads and Reply

Categories
- All Categories
- 352.9K Banking & Borrowing
- 253.9K Reduce Debt & Boost Income
- 454.7K Spending & Discounts
- 246K Work, Benefits & Business
- 602K Mortgages, Homes & Bills
- 177.8K Life & Family
- 259.9K Travel & Transport
- 1.5M Hobbies & Leisure
- 16K Discuss & Feedback
- 37.7K Read-Only Boards


