We’d like to remind Forumites to please avoid political debate on the Forum.
This is to keep it a safe and useful space for MoneySaving discussions. Threads that are – or become – political in nature may be removed in line with the Forum’s rules. Thank you for your understanding.
📨 Have you signed up to the Forum's new Email Digest yet? Get a selection of trending threads sent straight to your inbox daily, weekly or monthly!
The Forum now has a brand new text editor, adding a bunch of handy features to use when creating posts. Read more in our how-to guide
Brick Wall Repair
Comments
-
Hi @Jeepers_Creepers. I would like to render the wall but I am not confident what it would turn out like. There are also 4 pillars on both small walls to complicate matters.Jeepers_Creepers said:Danny30 said:
Hi Jeepers, I was intending to paint it again when done.Jeepers_Creepers said:Hi Danny.How do you want it to look when you've finished? And will you be painting it again?
I just want it to look nice so my wife is happy as the garden is a bit of a mess so we are trying to make patio area nice. She doesn't like the rustic look unfortunately But smooth (rendered) or still looking like brick? To render it to get a smooth flat surface is doable as it's in smallish areas - there are tricks and tips you can follow. However, what will you do with the pillars - fit angle corner beads?Are the existing mortar lines soft and crumbly?
Out of curiosity, what would I need to buy to render such a wall?
If its not expensive it may be worth a try.
0 -
Danny30 said:Hi @Jeepers_Creepers. I would like to render the wall but I am not confident what it would turn out like. There are also 4 pillars on both small walls to complicate matters.
Out of curiosity, what would I need to buy to render such a wall?
If its not expensive it may be worth a try.Essentially sand and cement, with a blob of plasticiser and waterproofer. Should be easy to find what type of sand, and what mix strength.Applied in two layers, with the first being slightly stronger mix (I think). The first coat can be applied fairly roughly with a trowel, and is scratched to leave a keyed surface before it fully sets.The second coat is applied and then a straight edge is used to get it flat - so you can keep going over this up and down, and from side to side until you've removed all the high spots, and filled in all the troughs... It should be relatively easy since you have limited widths to work at in each section.Once nicely firm and dried to the right level - a few hours - you then go over it lightly with a damp sponge, and this gets it flat and leaves a nice sandy textured finish.The faces of the pillars and the reveals can be done straight on with a trowel using the fixed corner beads as guides.That's the basic gist, but check out vids - I'm sure YouTube is full of them.BUT, do NOT try and apply a too-thick coat in one go. Do NOT try and get away with one coat. DO get the mix strengths right, and in the correct order. DO get the mix to the right stiffness/wetness before trowelling it on.1 -
Good advice above from JC. The only thing I would add is to get the scratch coat spot on. When you stick the top coat on it can be a thinner, even coat. This makes it easier to float up, as if you have different thicknesses one part will be rock hard where it's thin, and another part will fall away where it much thicker.
Plasterers hate bricklayers like me doing them a favour and sticking a scratch coat on for them, as it just make more work for them. One of them used to tell me to just build the wall and then FO.1 -
You need to swot up on this, Danny - as I said, vids are usually pretty comprehensive. Once you feel fully armed with info and with the right combination of confidence/foolhardiness, then give it a shot. But you must report the results back on here - it's compulsory.With me, knowing - as I do - a lot more than the 'pros', when I rendered a low wall many moons ago, I used a strong mix and did it in one coat. I avert my eyes from the resulting mess to this day.1
-
Trouble years ago we didn't have the net. Tradesmen back then didn't like to share trade secrets. Even when you worked along with other trades they wouldn't give you any advice.0
-
Thank you all for the the helpful and detailed responses.
I am filling in between the bricks with cement that I have at hand today's to see if I other will look okay, otherwise I would assume rendering / cement board would be the only options.
I'll try and send a picture later to show what it looks like. Thanks
2 -
Be good to have some photos, helps people with similar projects. Doesn't matter if things go wrong, you learn more than if you didn't try at all.0
-
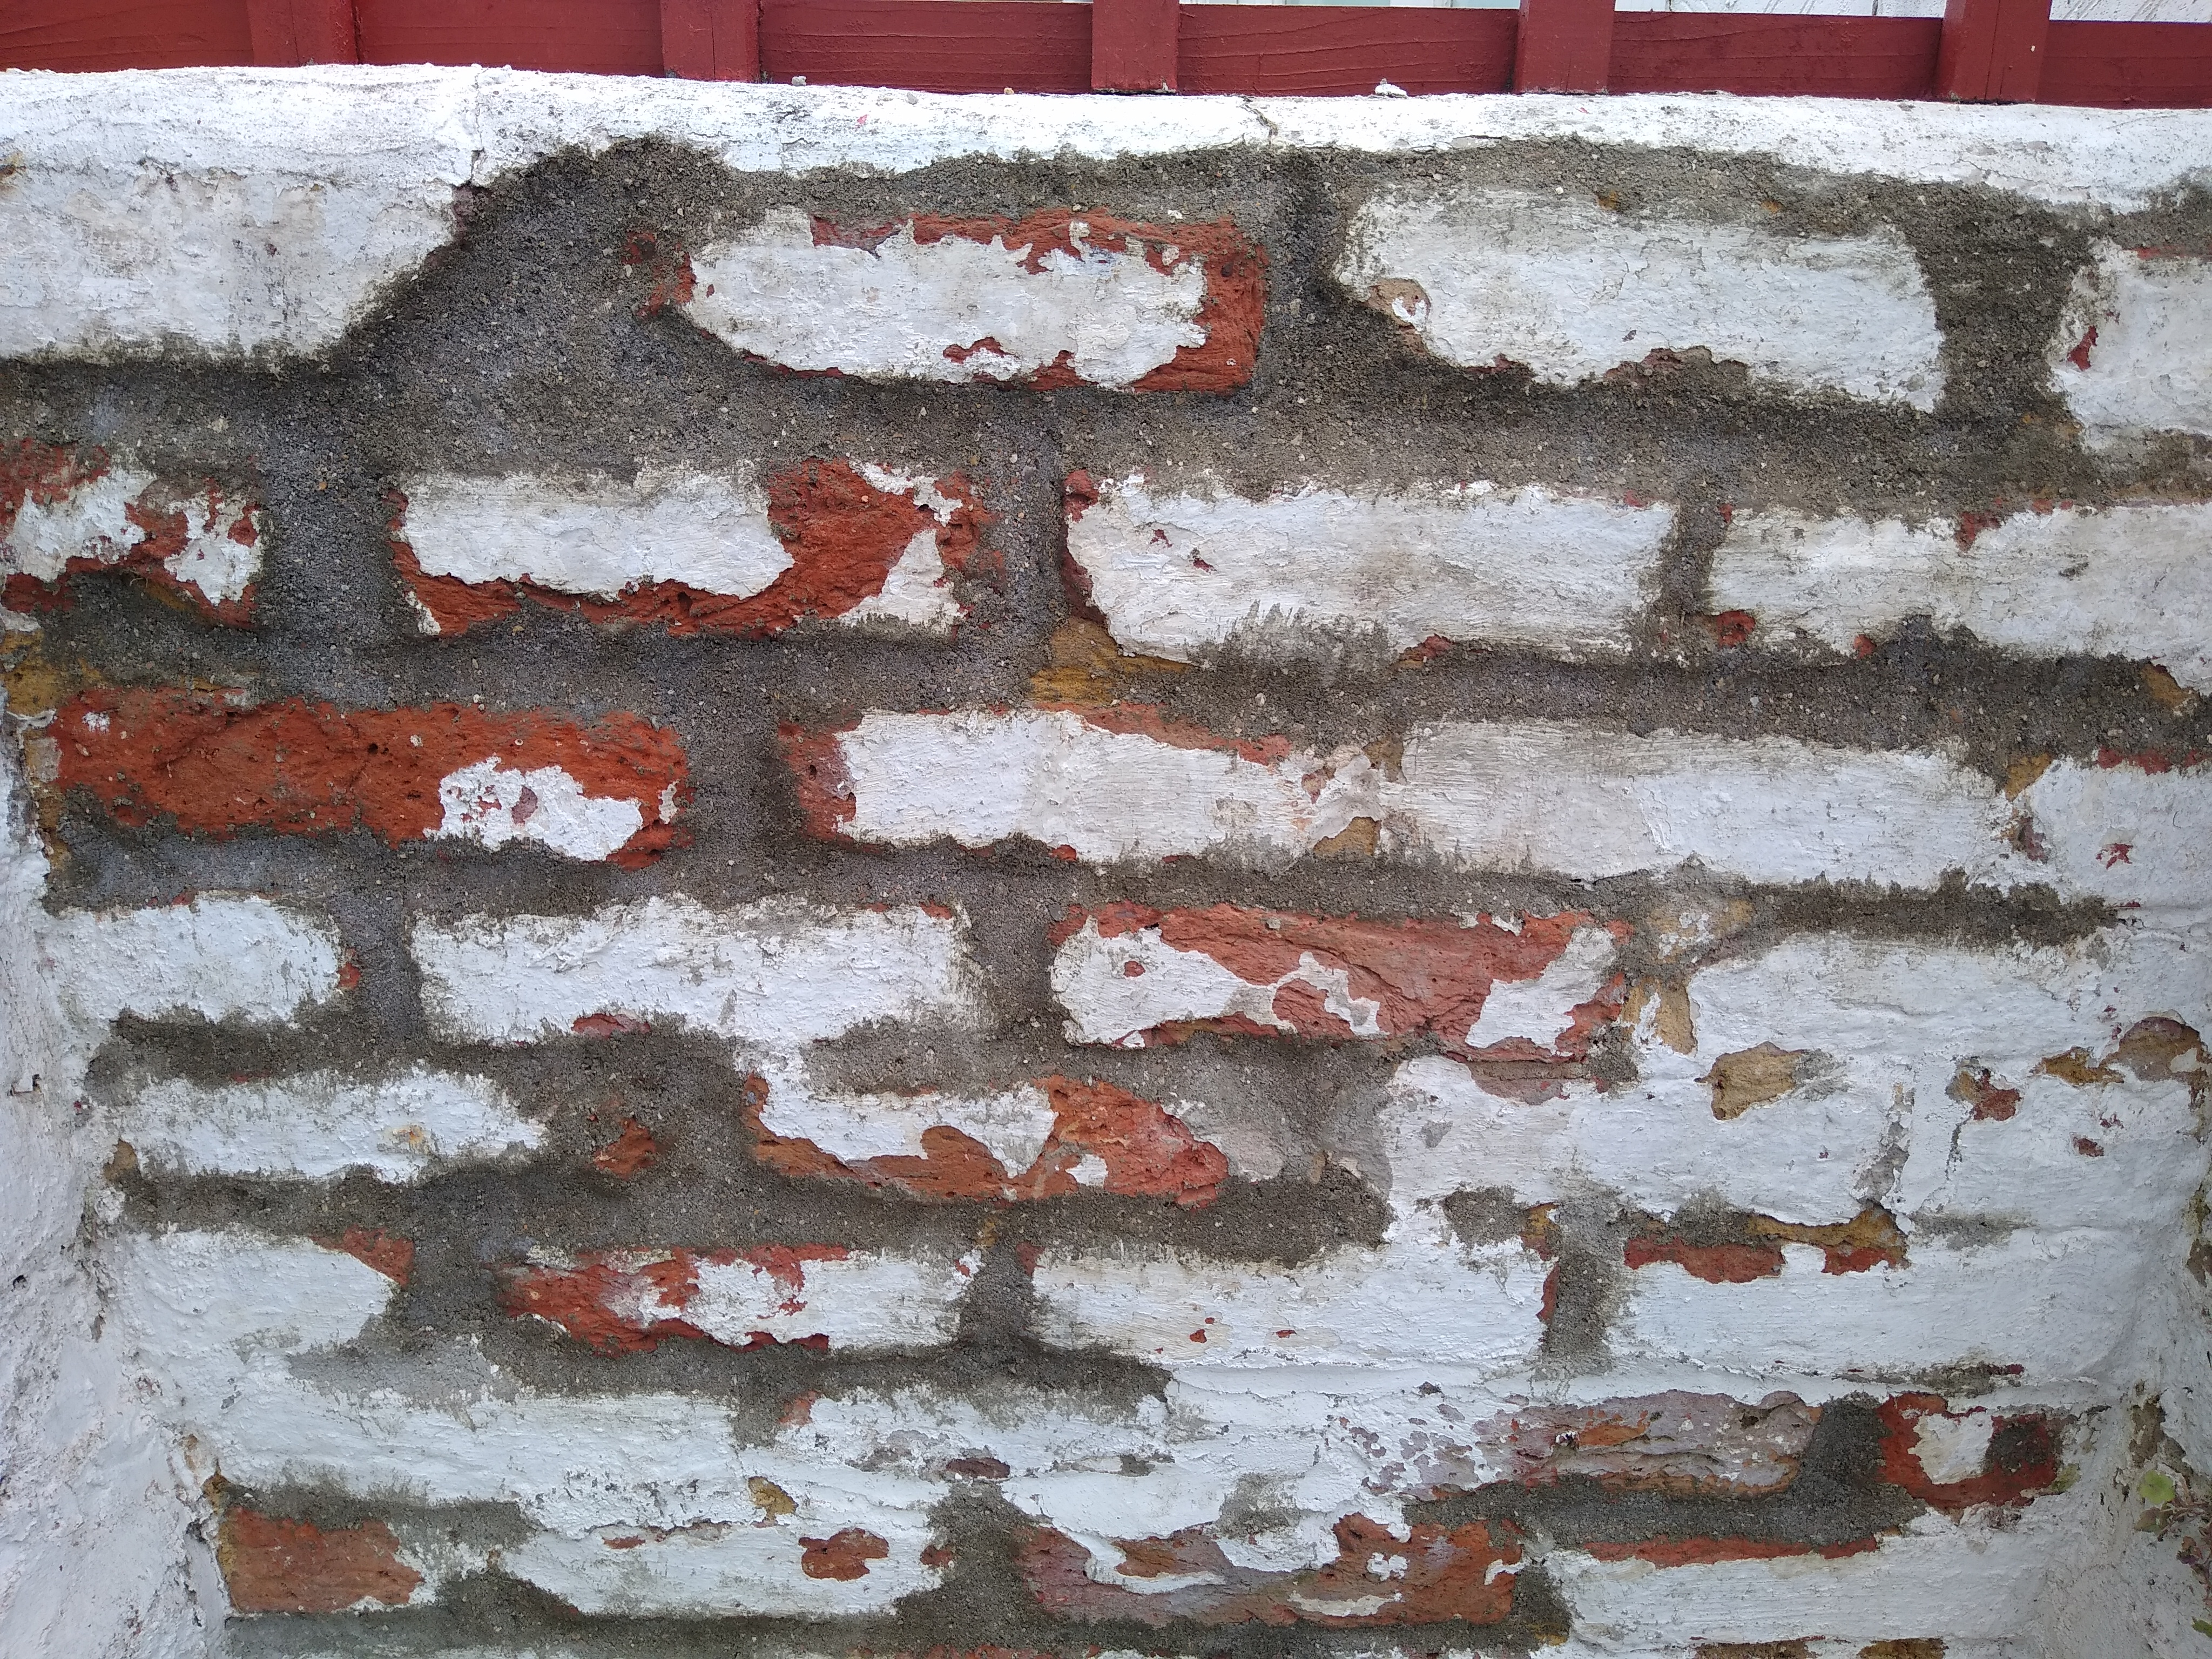
Hi, so I filled in a bit of the wall with Cement and strong sand to see what it would turn out like as can be seen on pictures below. I am not sure if that was the right thing to do and am thinking maybe I should have used buildings sand instead.
Looking at the picture would you guys recommend I do the rest of the wall with strong sand or should I start using builders sand.
I am assuming It would be easier to fill the rest of the wall with builders sand and if painting the wall shouldn't make a difference?
Also the reason that the mortar is so thick in places is due the the big holes that appeared when preparing the wall. The bricks aren't in good condition.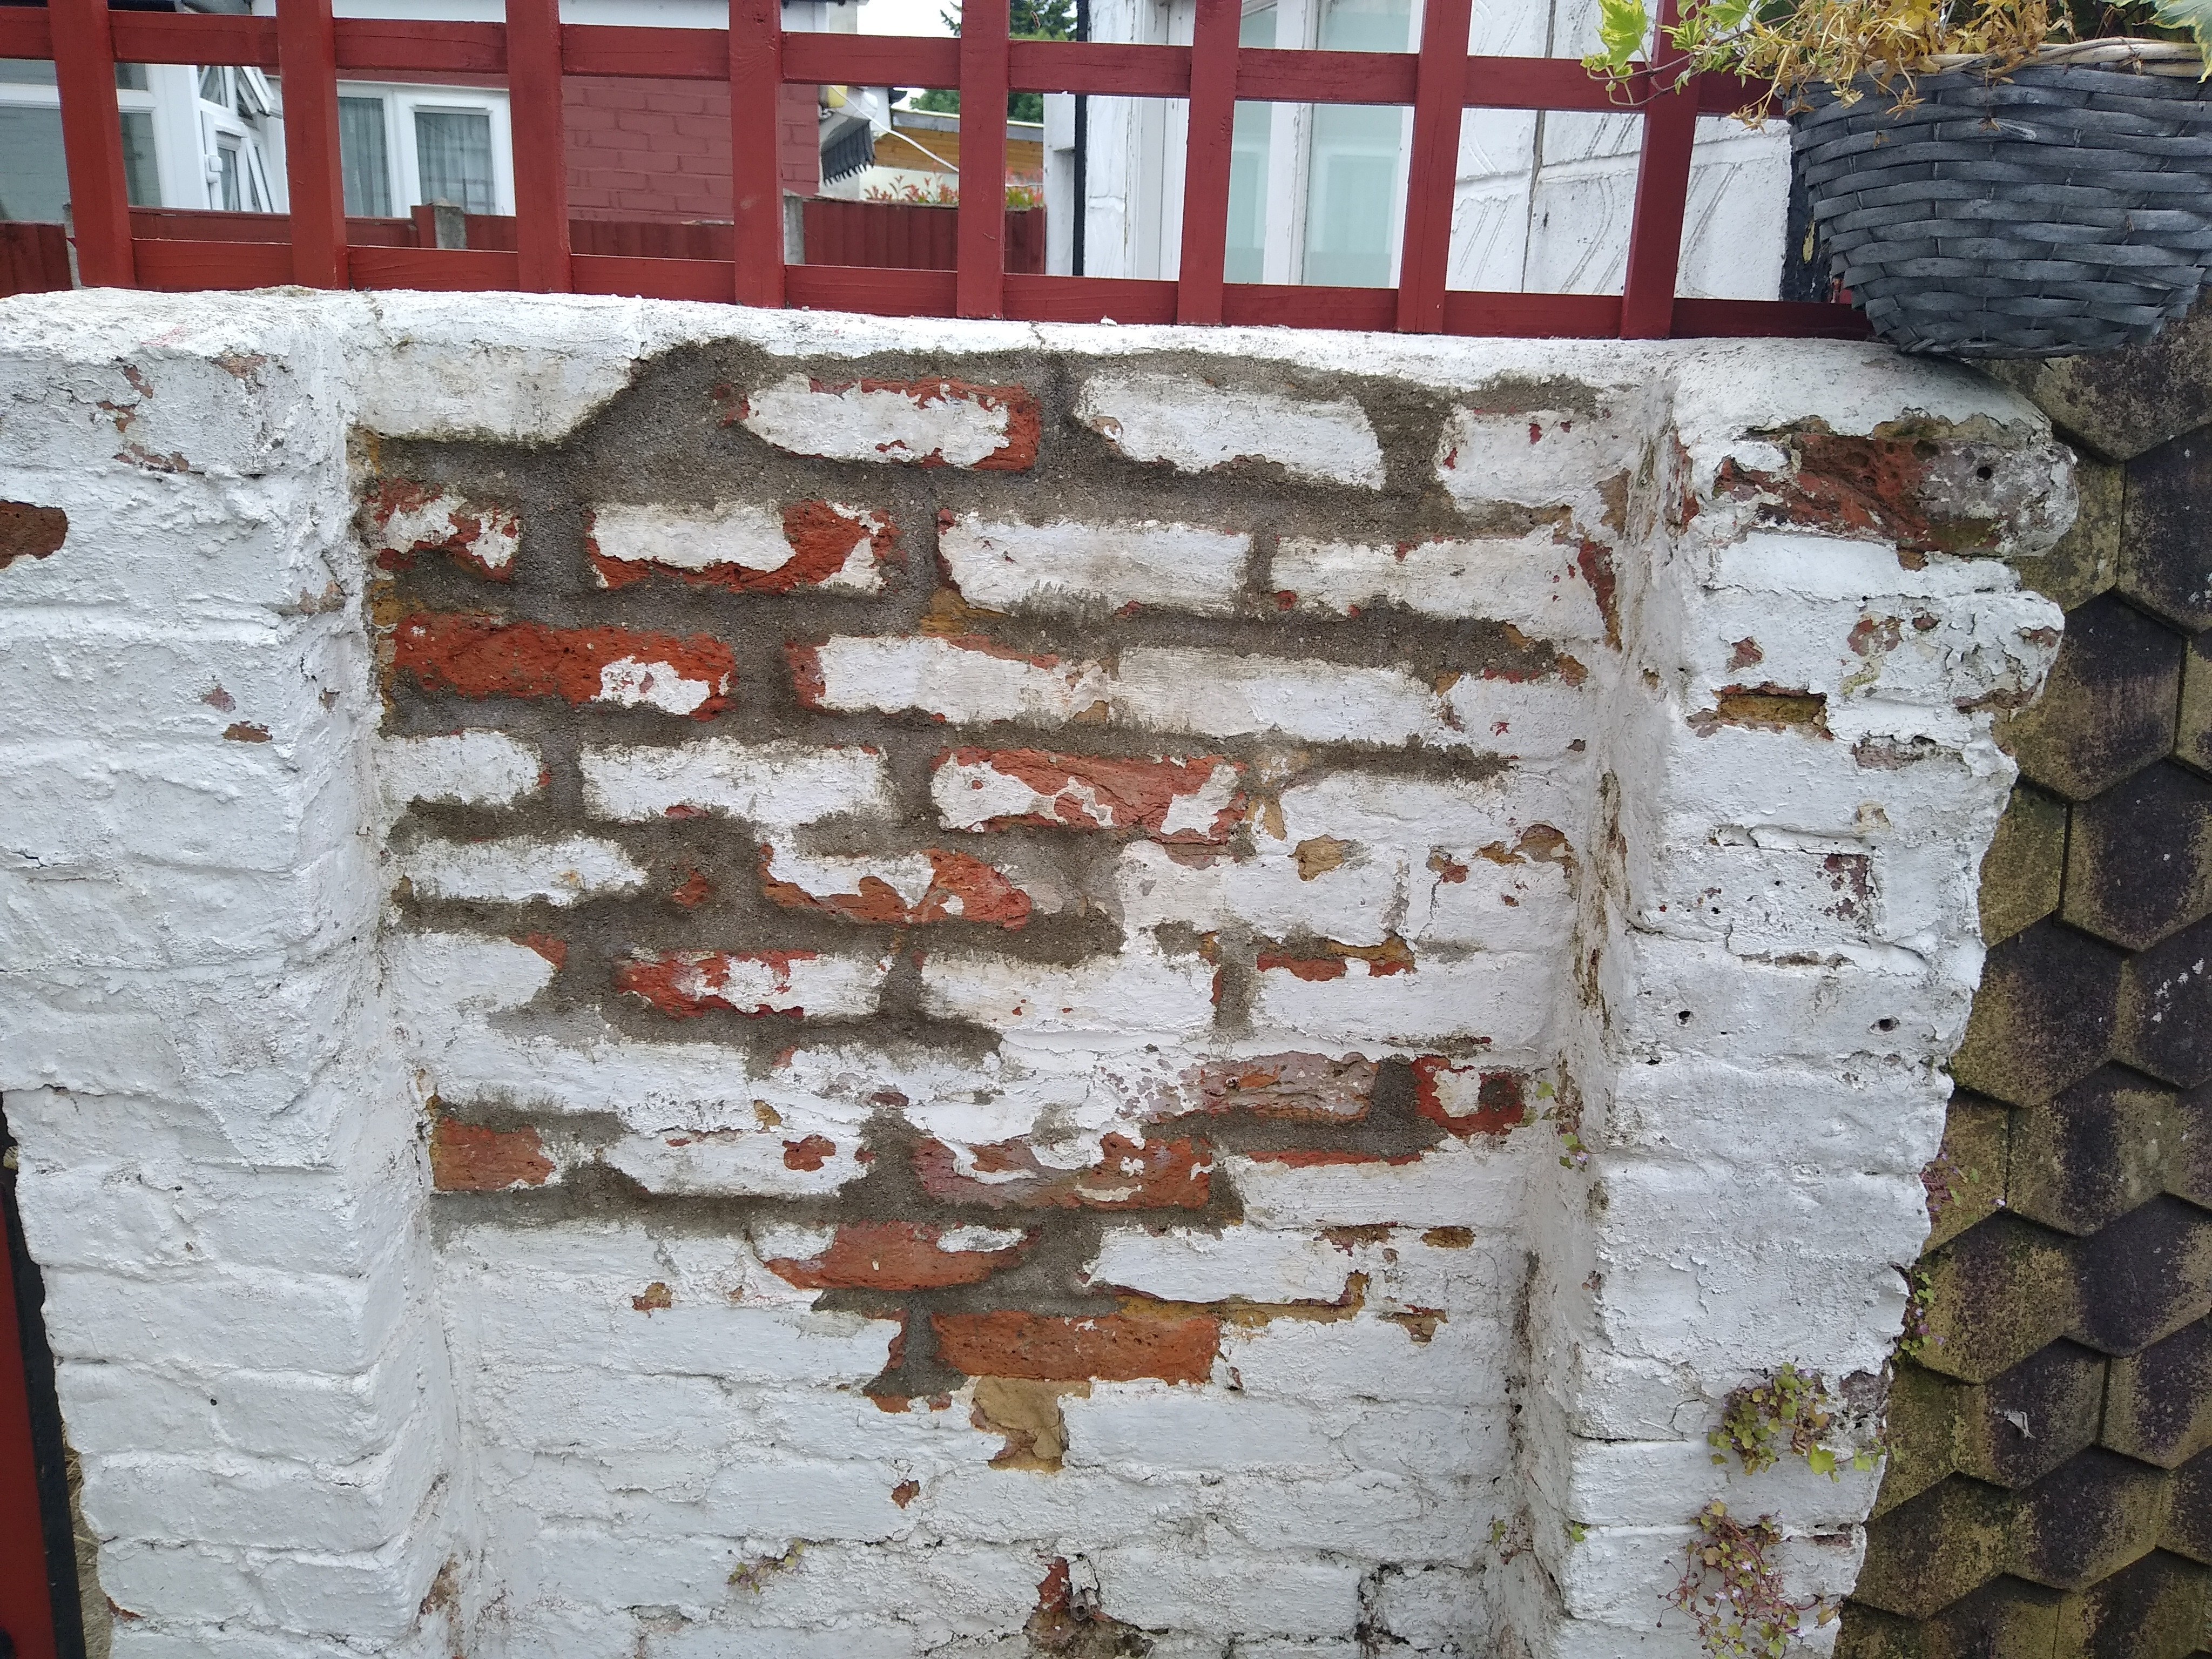
1 -
Using a coarse, sharp sand is fine, better as the joints are big. You get less shrinkage with sharp sand. The disadvantage of sharp sand is that it's harder to work with than building sand.
Looks a good job BTW.2 -
Thank you Stewart.stuart45 said:Using a coarse, sharp sand is fine, better as the joints are big. You get less shrinkage with sharp sand. The disadvantage of sharp sand is that it's harder to work with than building sand.
Looks a good job BTW.
So I will then continue with the strong sand mix and then paint it afterwards.
I also bought some everbuild 406 stabiliser which I will use to spray on after finishing the wall.
Also, It is solid now but is it a normal for tiny bits of stones too come off when running my finger's over the mortar?1


Confirm your email address to Create Threads and Reply

Categories
- All Categories
- 354.1K Banking & Borrowing
- 254.3K Reduce Debt & Boost Income
- 455.3K Spending & Discounts
- 247.1K Work, Benefits & Business
- 603.7K Mortgages, Homes & Bills
- 178.3K Life & Family
- 261.3K Travel & Transport
- 1.5M Hobbies & Leisure
- 16.1K Discuss & Feedback
- 37.7K Read-Only Boards