We’d like to remind Forumites to please avoid political debate on the Forum.
This is to keep it a safe and useful space for MoneySaving discussions. Threads that are – or become – political in nature may be removed in line with the Forum’s rules. Thank you for your understanding.
📨 Have you signed up to the Forum's new Email Digest yet? Get a selection of trending threads sent straight to your inbox daily, weekly or monthly!
Pros/Cons of 'accidental' exposed stone wall in bedroom? (Solid stone walls, old house)
Comments
-
Is it possible to do pointing with a bag and nozzle? I was thinking sturdy piping bag with small plain nozzle...
Non me fac calcitrare tuum culi0 -
The bricklayers in the USA do. Not so popular here.-taff said:Is it possible to do pointing with a bag and nozzle? I was thinking sturdy piping bag with small plain nozzle...
https://marshalltown.com/pro-1611-grout-bags
0 -
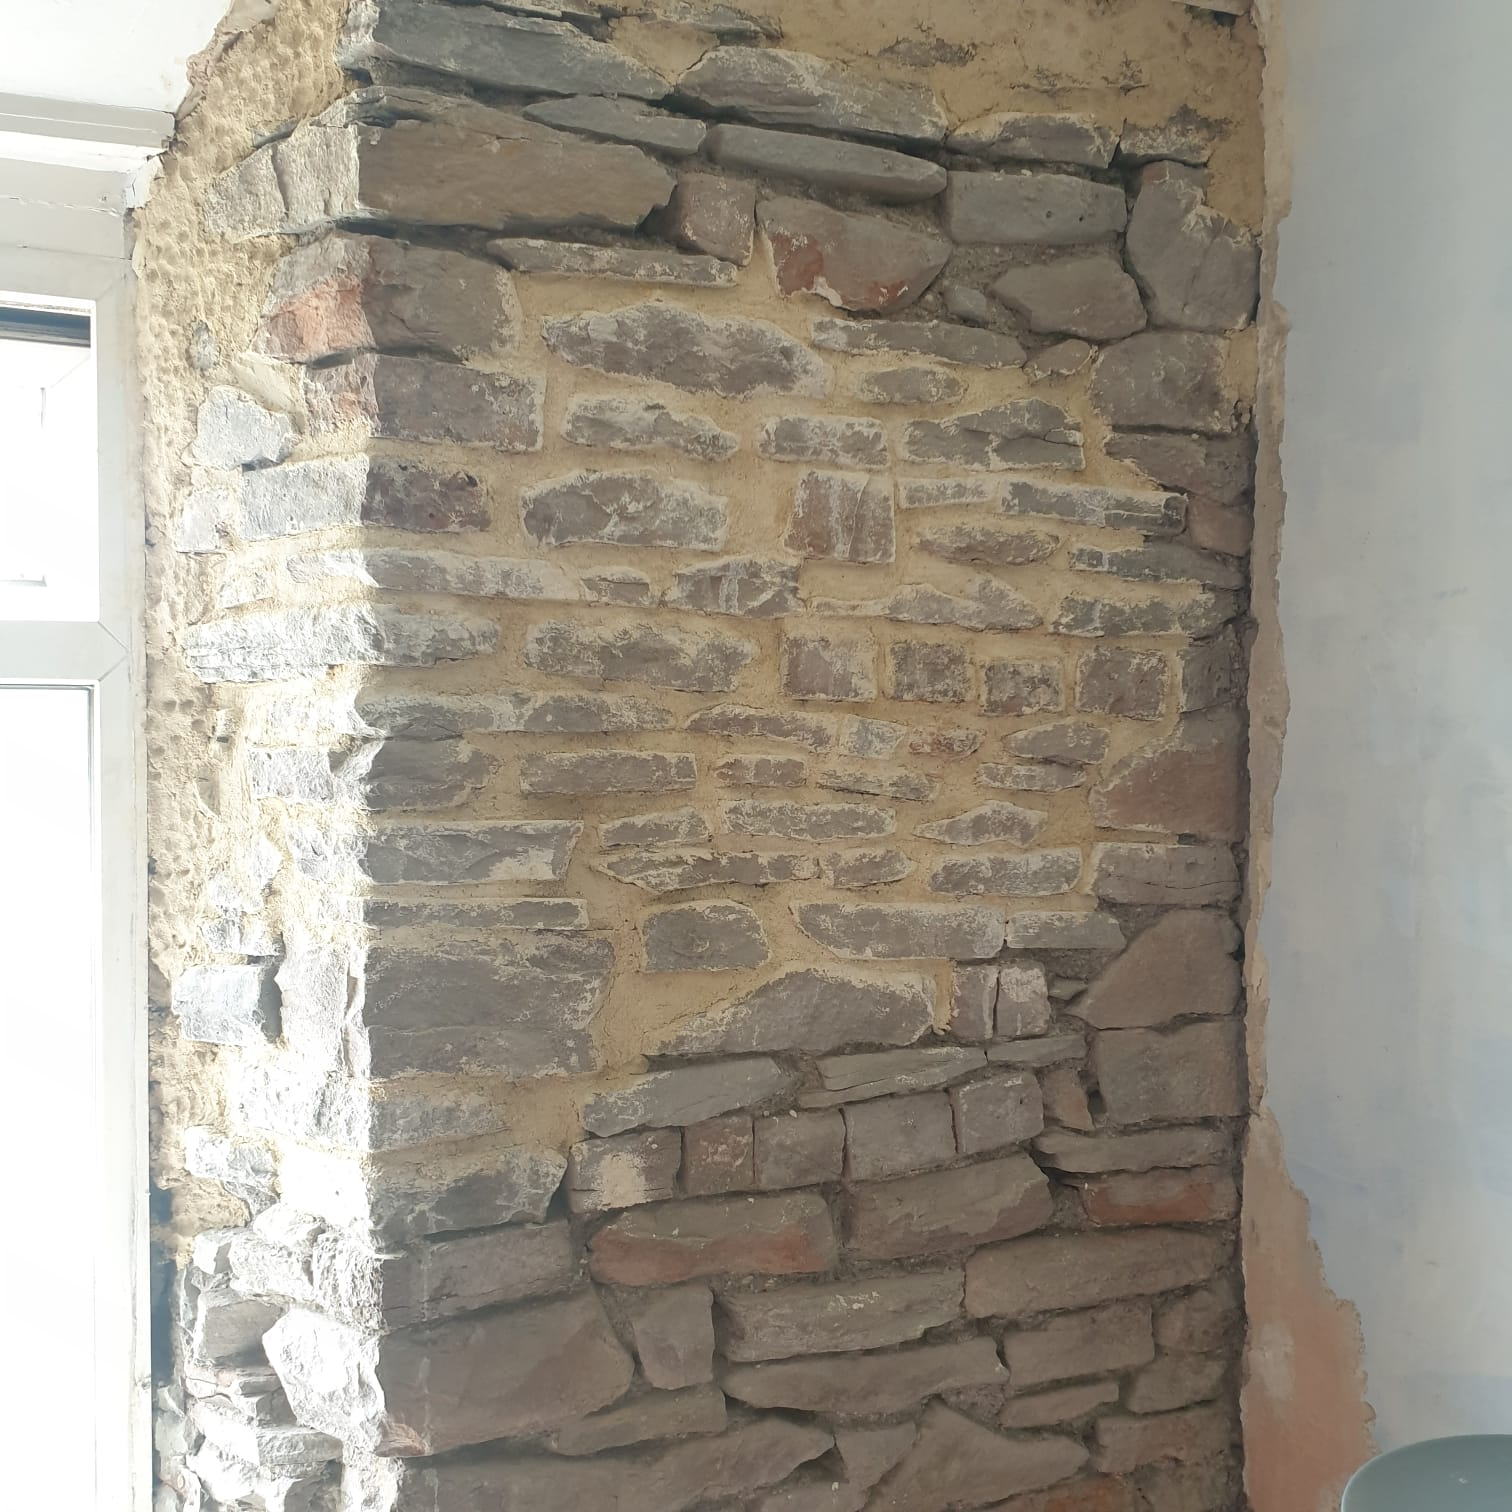
Turns out that re-pointing is much more time consuming than it looks...
We had to put ALOT of mortar in the top and around the edges to fill in some rather large gaps that led up into the loft and recessed too deep by the windows. The 'filling' mortar was all hand, no tools. Re-pointing was 50% hand 50% tools... and was much easier to do that the big-gap- filling (apparently).
That 'filler' has lots and lots of finger prints in it as we weren't sure what else to do to give it some texture for the next layer... lol
The first section has started to dry and... it doesn't look too bad! My partner isn't overly happy with it, as he is the one doing it and it's the first time doing anything like this.
I think he's done a smashing job so far, we're past the stage of living in a permenant stage of dust... i hope... and once it's finished with finishing plaster over the edges to smooth it out to the ceiling/windows, and the whole thing is limewashed... I think it'll look fab!
Now is the time to let us know if we've done anything drastically wrong...
2 -
As the mortar dries, you'll find small cracks appearing - Before the stuff has dried completely, tamp and press it in hard with a wooden dowel or stick (fingers work well too). As you press the mortar in, the cracks will close up, and the joints will be much more solid.Give the walls a light spray of water for a couple of days to slow the drying process down - You don't want the mortar drying out too quickly.Any language construct that forces such insanity in this case should be abandoned without regrets. –
Erik Aronesty, 2014
Treasure the moments that you have. Savour them for as long as you can for they will never come back again.1 -
Looks really good. With really large joints you can stick small stones in (known as galleting).1
-
Ooh, thank-you for that tip!! We'll dampen it down today and try to compress it. Most of it went in with a finger anyway (no pun intended...) but with gloves on of course. We've also got a small trowel/point we can also use to push and make smoothFreeBear said:As the mortar dries, you'll find small cracks appearing - Before the stuff has dried completely, tamp and press it in hard with a wooden dowel or stick (fingers work well too). As you press the mortar in, the cracks will close up, and the joints will be much more solid.Give the walls a light spray of water for a couple of days to slow the drying process down - You don't want the mortar drying out too quickly.
We were making the joints damp first as well. Not sure if that is the correct way to do it, but it seemed to make the fact that any tiny microscopic piece of dust that was sitting in the joint was stopped it from 'sticking' in there!
0 -
Thanks! He'll be pleased to know someone else thinks it looks good and not just me!stuart45 said:Looks really good. With really large joints you can stick small stones in (known as galleting).
I'll have a look at galleting then, as there are some much deeper/wider gaps on the rest of the wall too! 0
0 -
I think that looks really good. Can't wait to see the finished product.1
-
Yup, wetting the walls first is the right way to go - It stops the moisture being sucked out of the mortar the minute it goes in which leads to dry, crumbly joints. The walls don't want to be dripping wet though.ST1991 said: We were making the joints damp first as well. Not sure if that is the correct way to do it, but it seemed to make the fact that any tiny microscopic piece of dust that was sitting in the joint was stopped it from 'sticking' in there!
Any language construct that forces such insanity in this case should be abandoned without regrets. –
Erik Aronesty, 2014
Treasure the moments that you have. Savour them for as long as you can for they will never come back again.1 -
Almost a month later...
 and it's finally finished! (which means we've finally had a chance to put a bed up too, much relief to my acheing back and growing belly!)
It would be great to see what you all think? I am open to both good and bad feedback, but I personally think my partner has done a SMASHING job, he's still feeling like it could have been done better but i am really happy with the outcome.
He has never done anything like this before, so it was very much a 'learn as you go' experience. Although the finishing plaster didn't quite come out as smooth and 'cottagey' as i had initially imagined, it was very very difficult to get a nice clean edge on it - and It actually somehow looks equally cottagey and industrial to me which i really like!
The finishing plaster, unfortunately we ended up with one bag that was pink/brick coloured, but as the whole wall was being limewashed it got covered up For a moment it looked like bubblegum on the wall...
There are still a few bits of paint that got touched up after the final pictures, but here are some more 'progress' pictures and 'almost final' pictures!
Wall re-pointing finished, floor a mess, and the finishing plaster going up around the edges: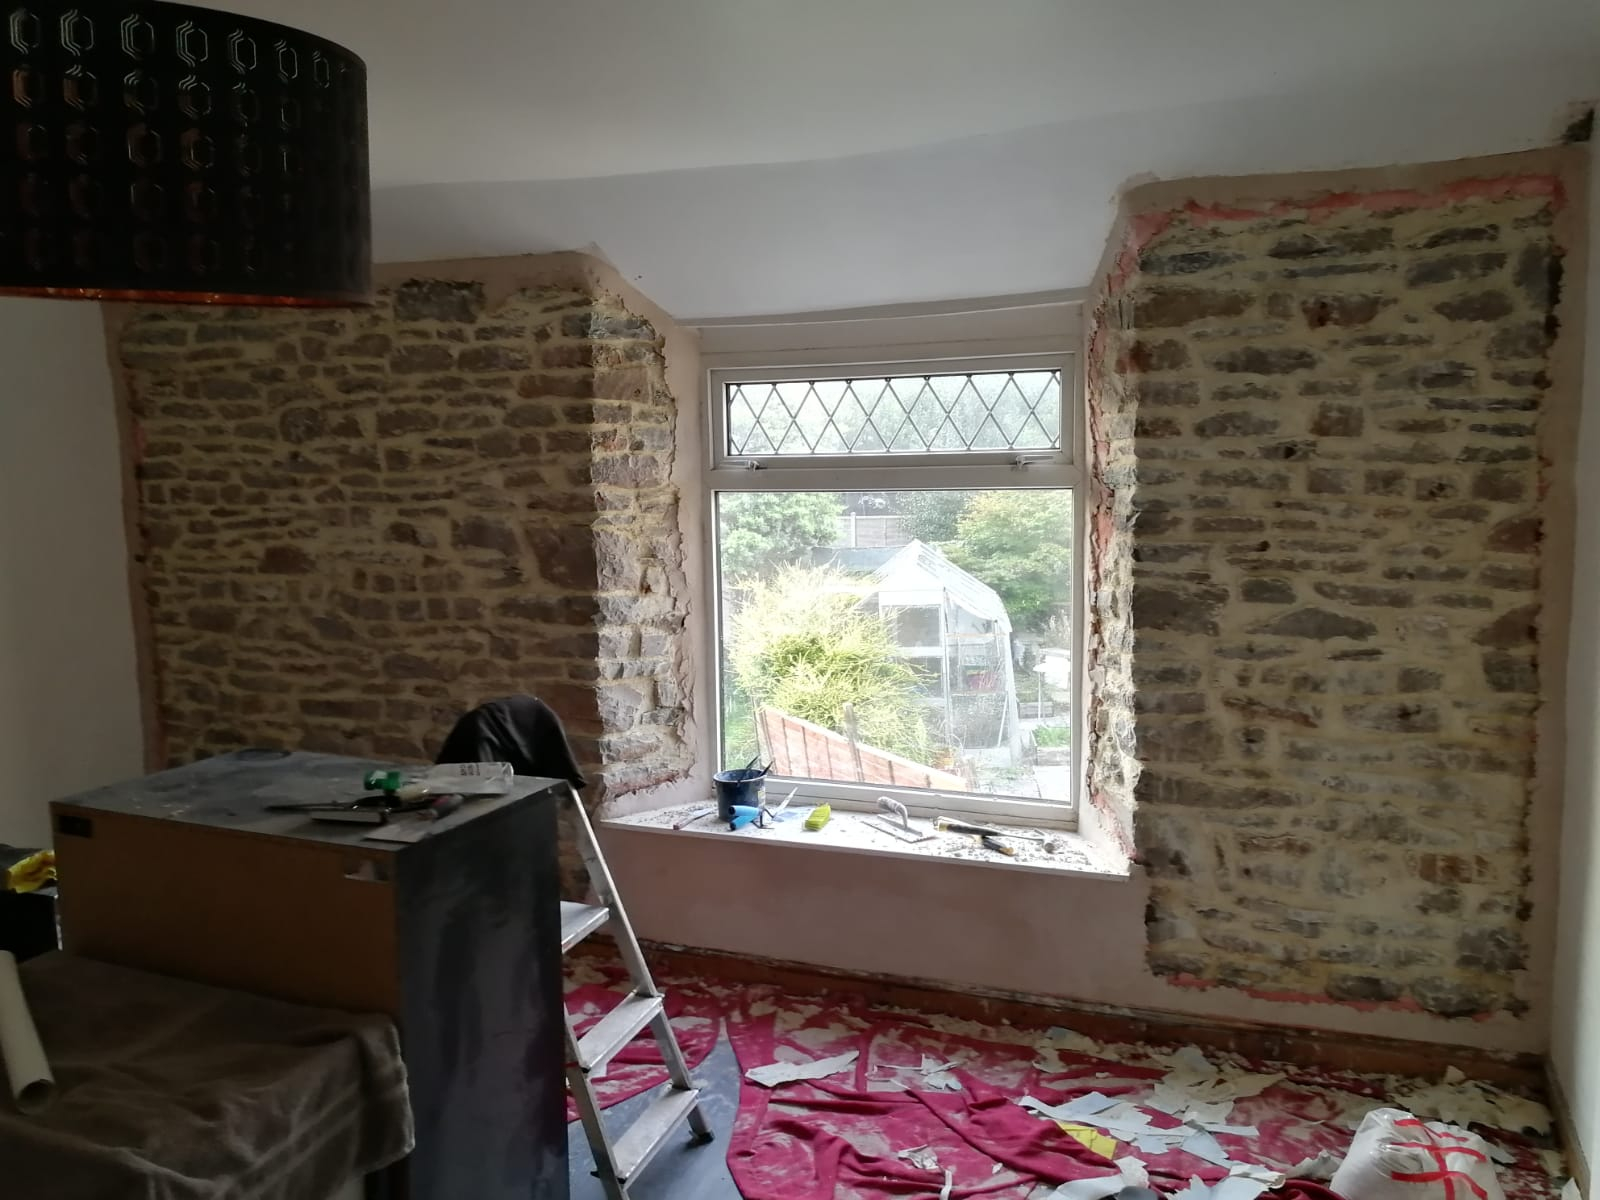
Close up picture to show it's not necessarily neat, but it got smoothed out as we went. The bit where it joined the ceiling/window was tricky as nothing was straight! :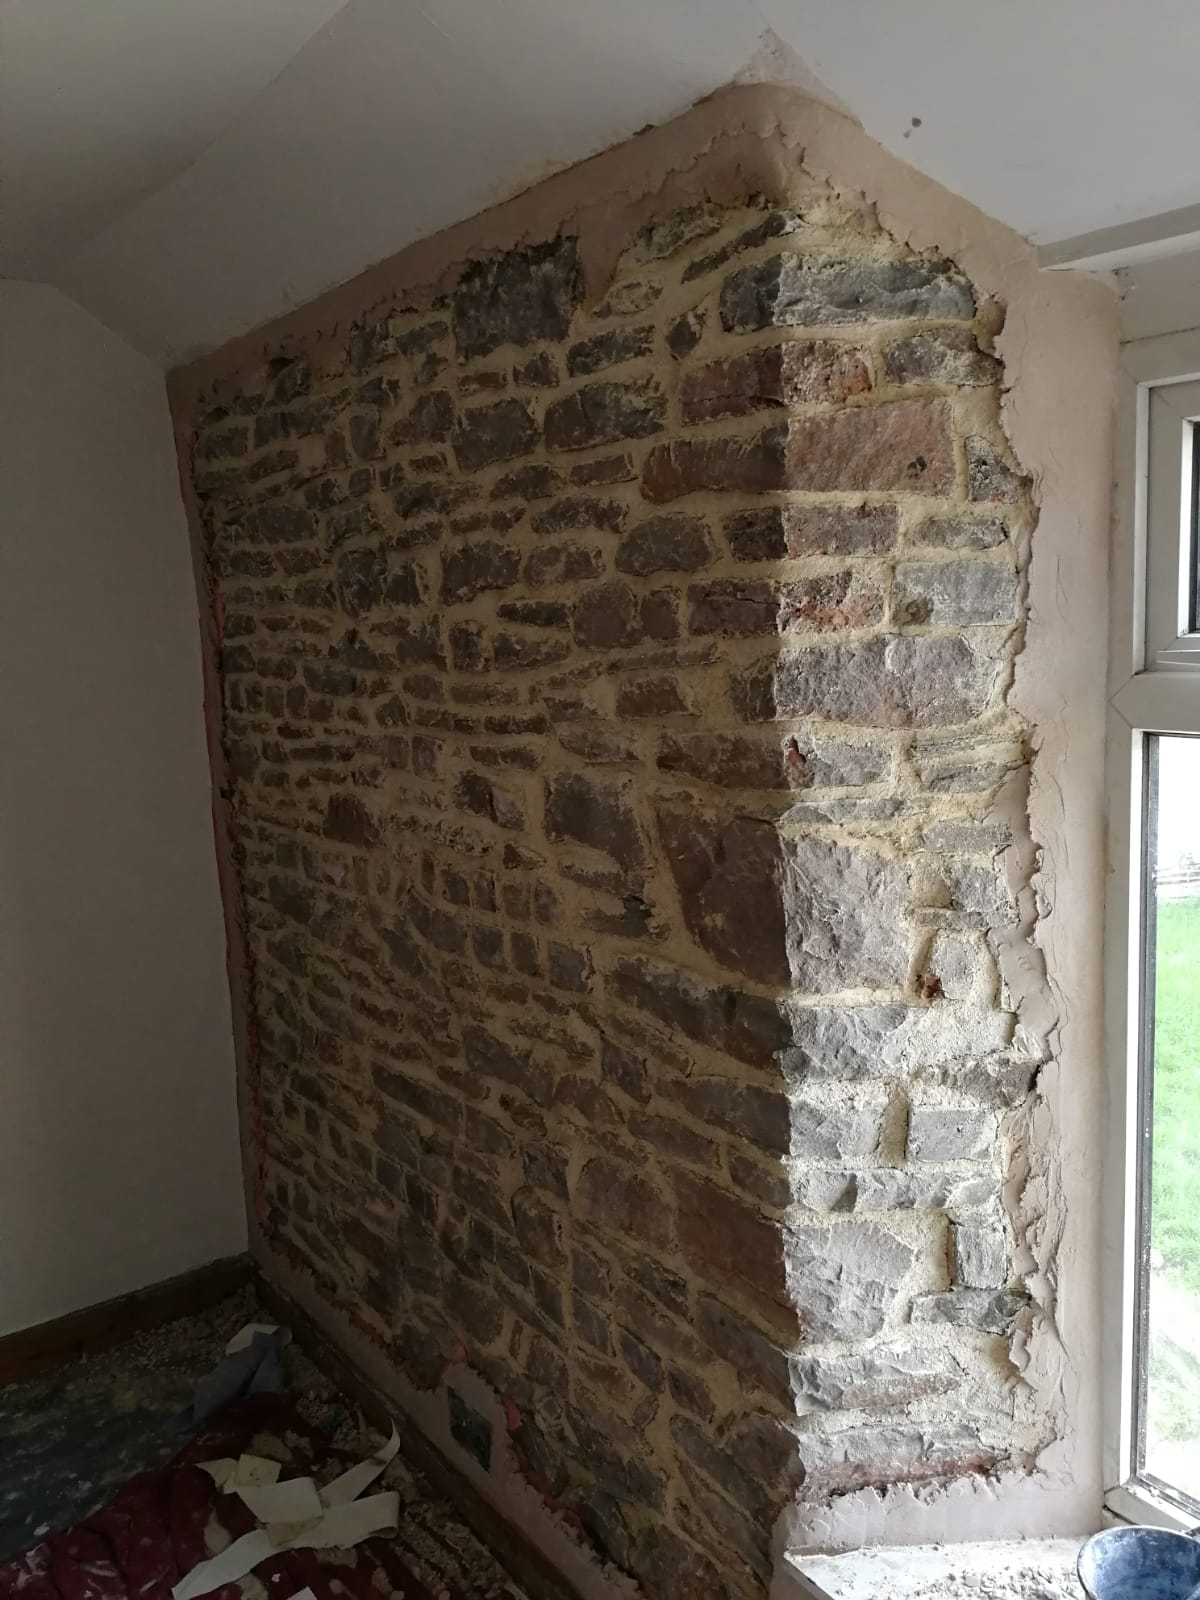
A few days later we started to pop on a few coats of limewash on the wall. As soon as we put another coat on, that area went dark again - so it was quite tricky to see what bits needed touching up again until it had dried between each coat :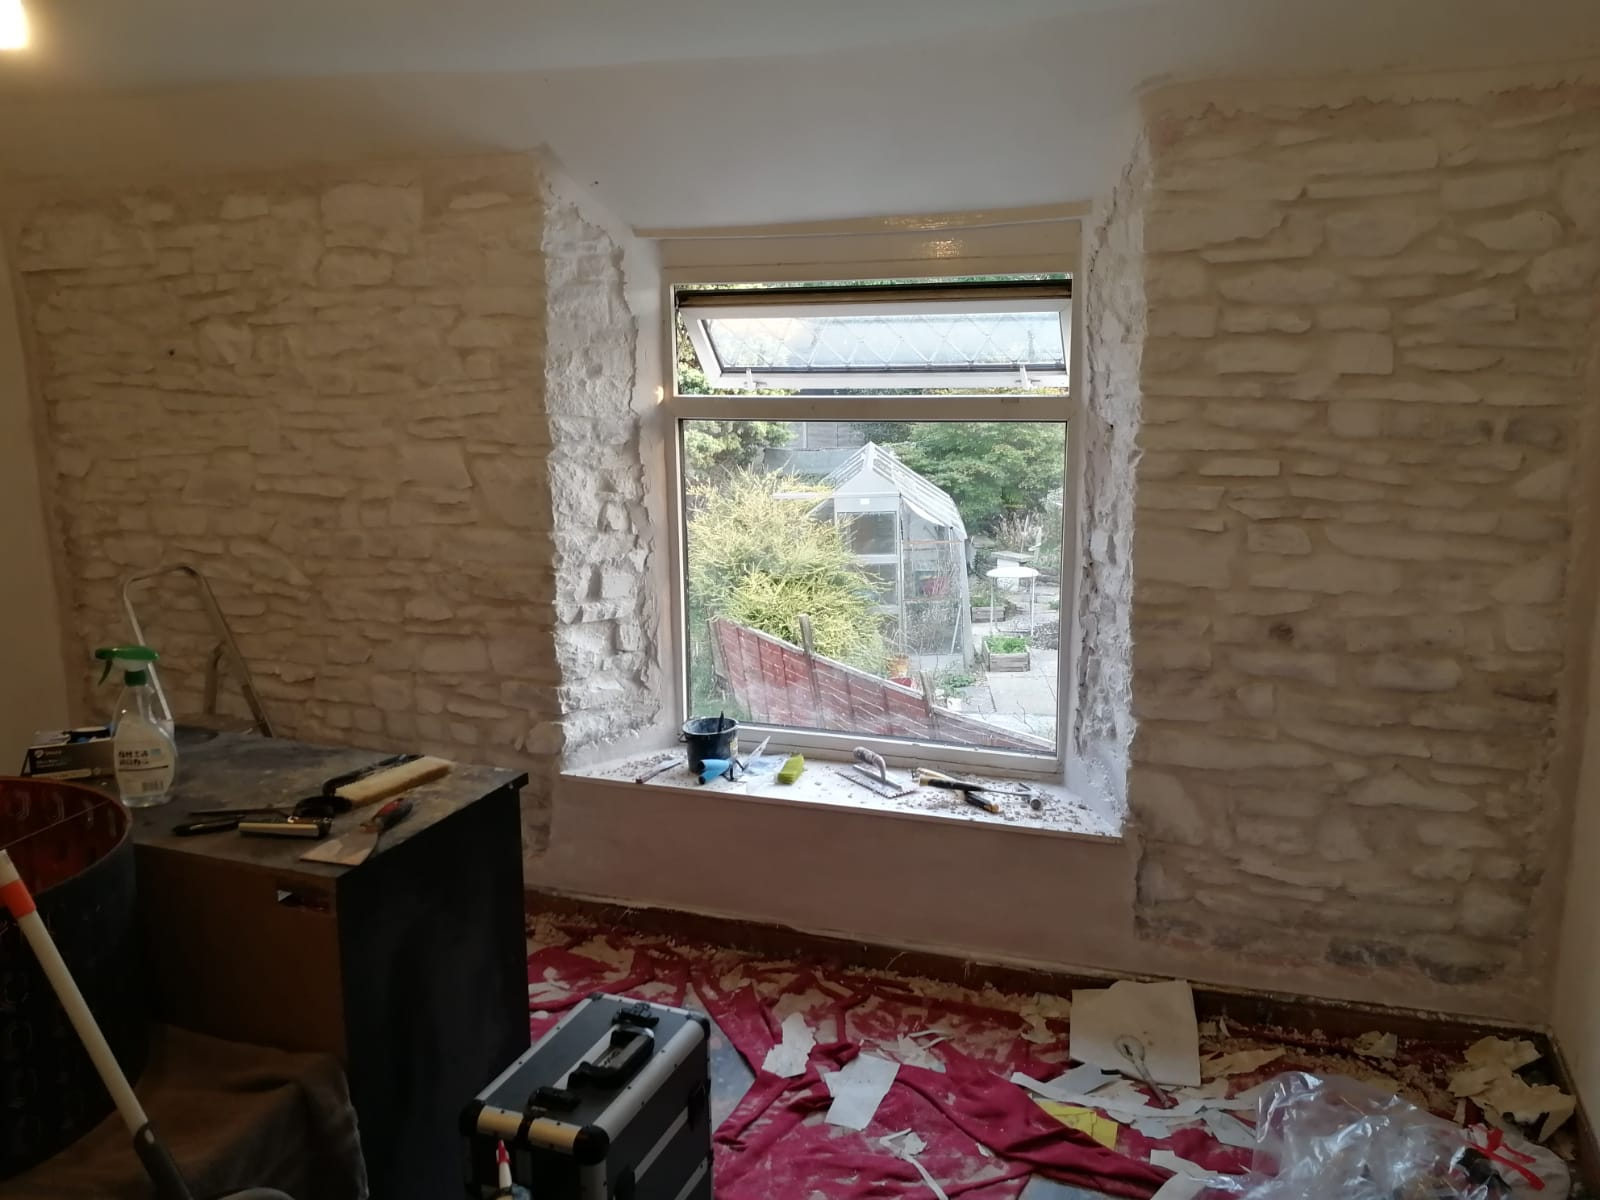
The limewash dried to a lovely white colour, there are still a few darker areas that didnt cover so well/were still damp in this picture, but i liked that it wasnt a super opaque finish. In the meantime, the skirting boards, other walls and ceiling got painted too. The flooring also got cleaned up! :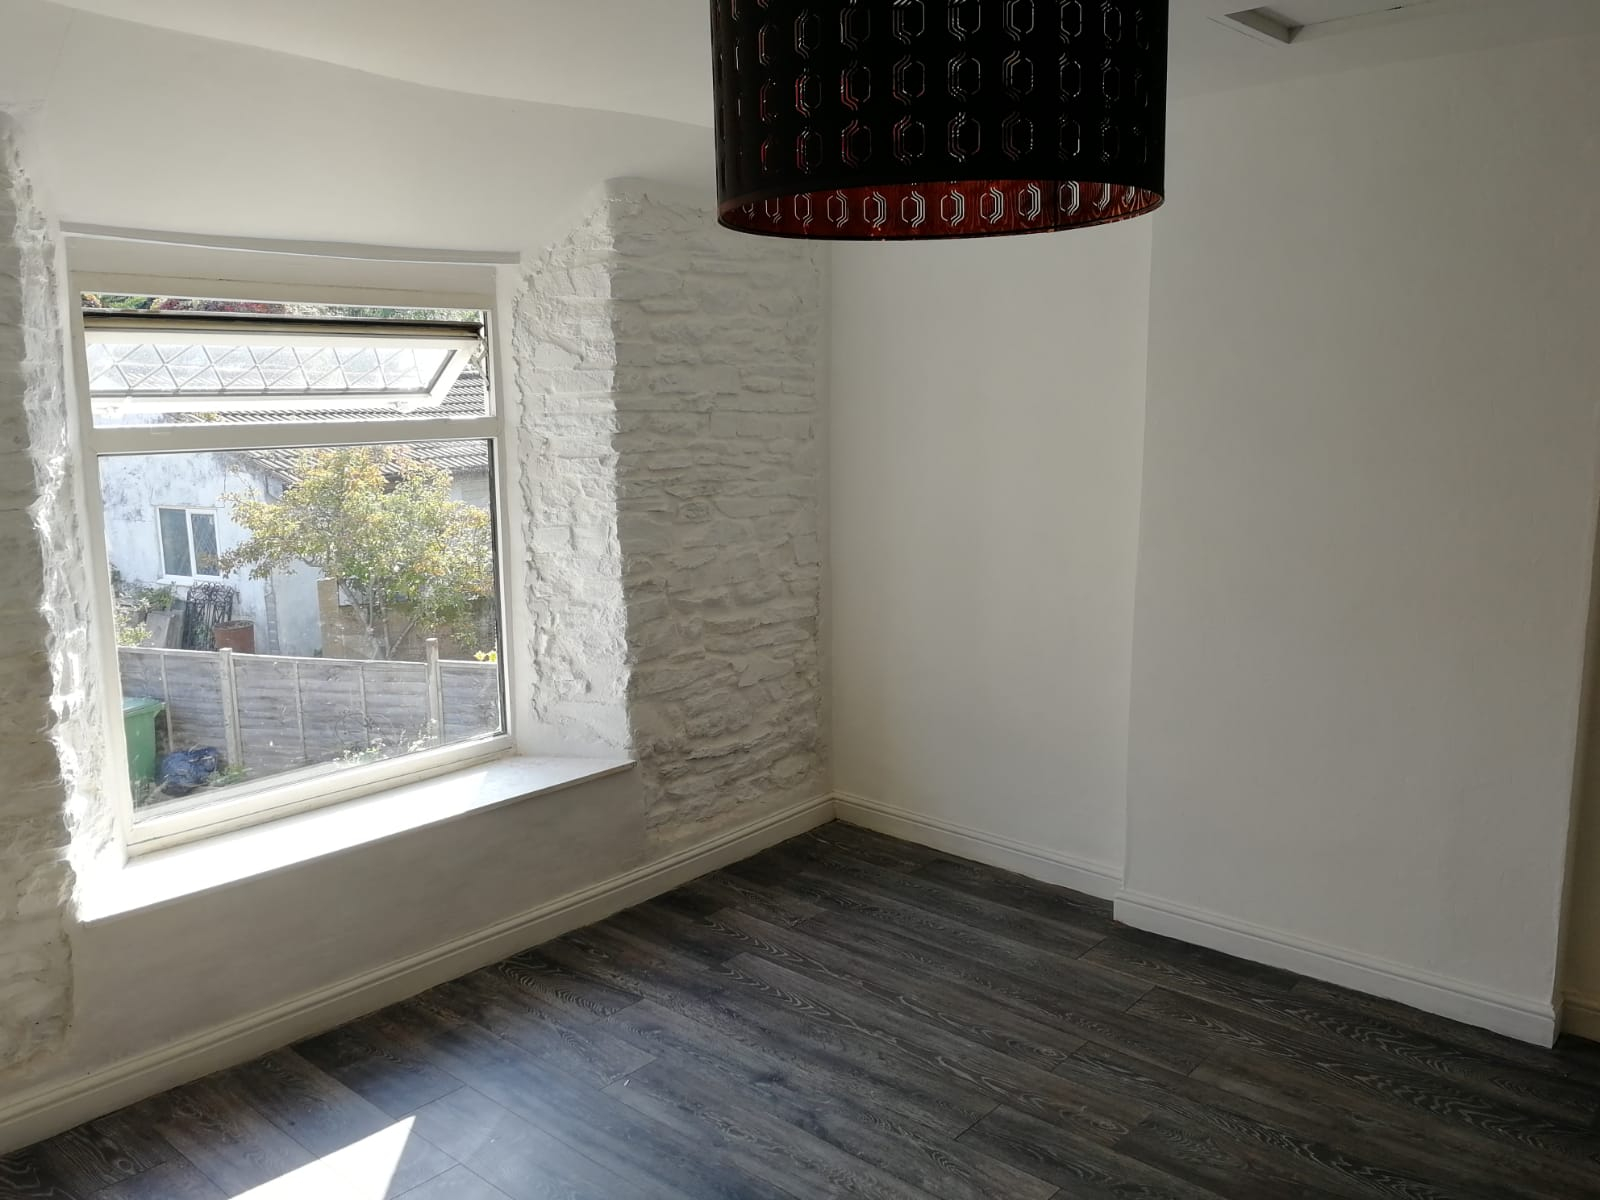
Around the window, with a lovely view to the neighbours garden next door from this angle... lol :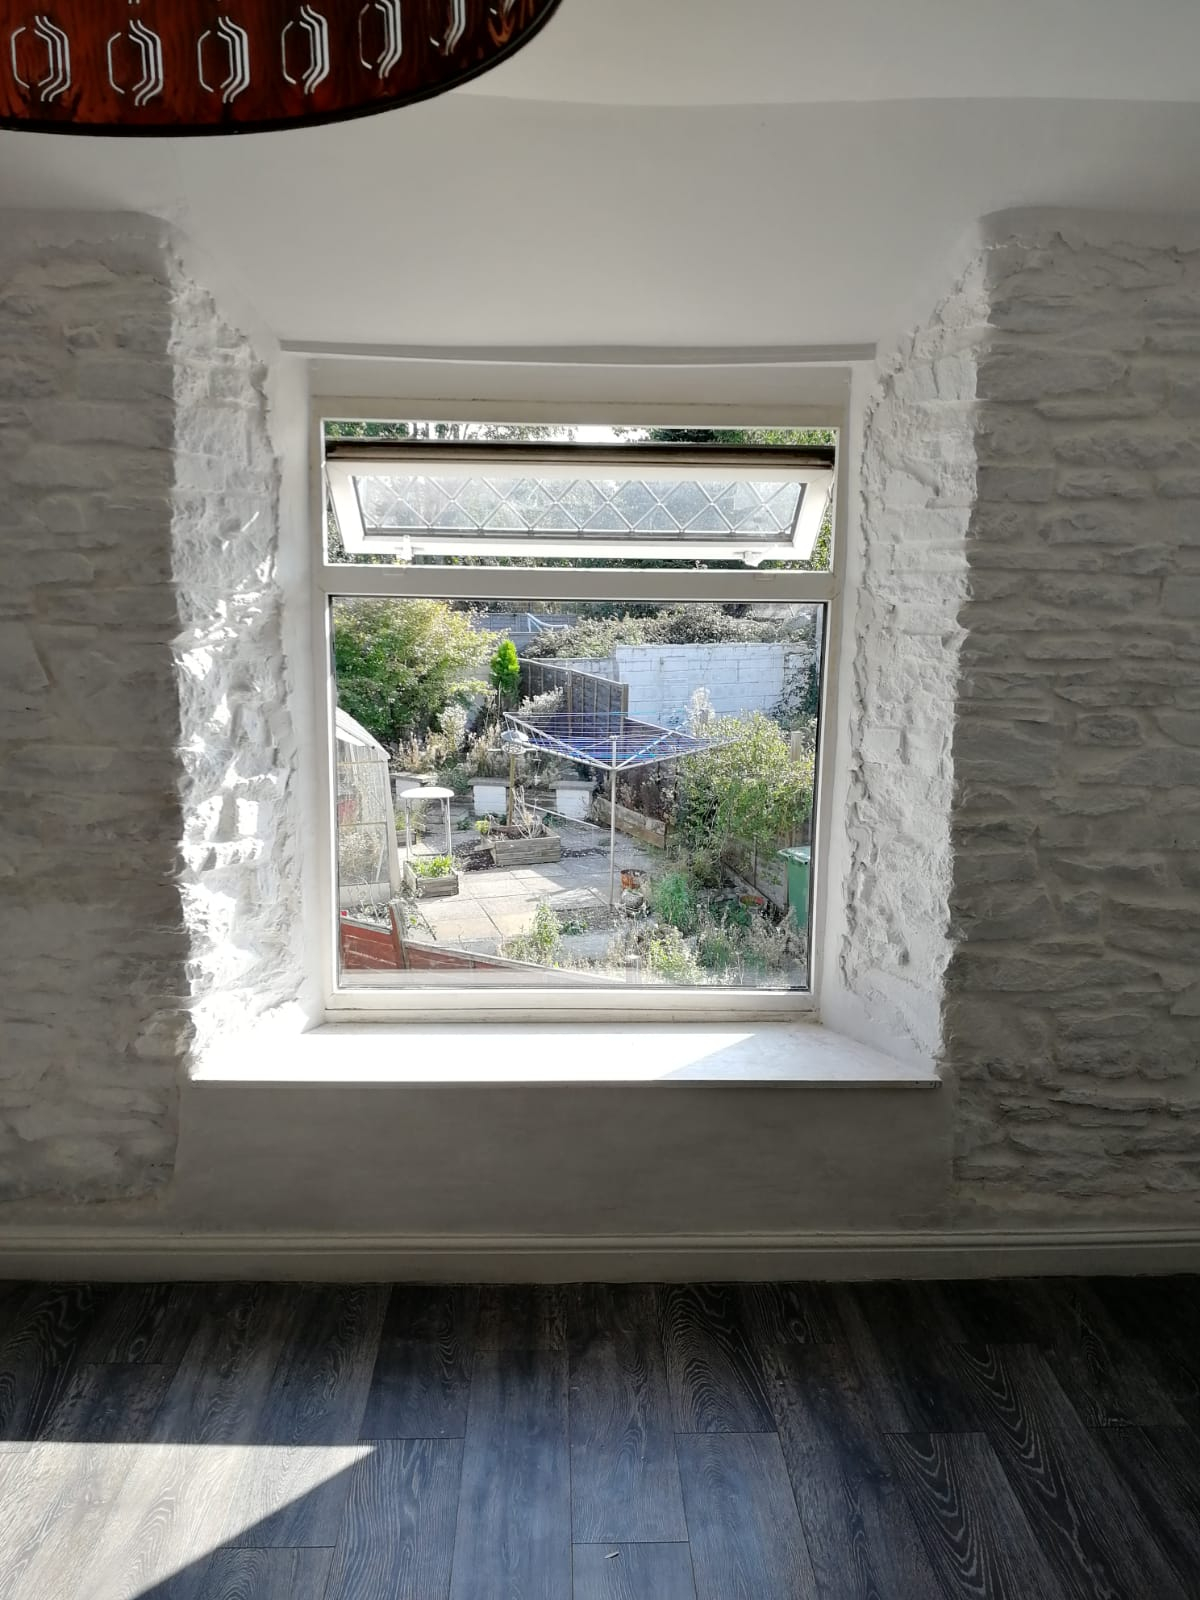
The other part of the wall, again some darker patches where the limewash was still drying. That radiator is 2meters long but looks tiny here :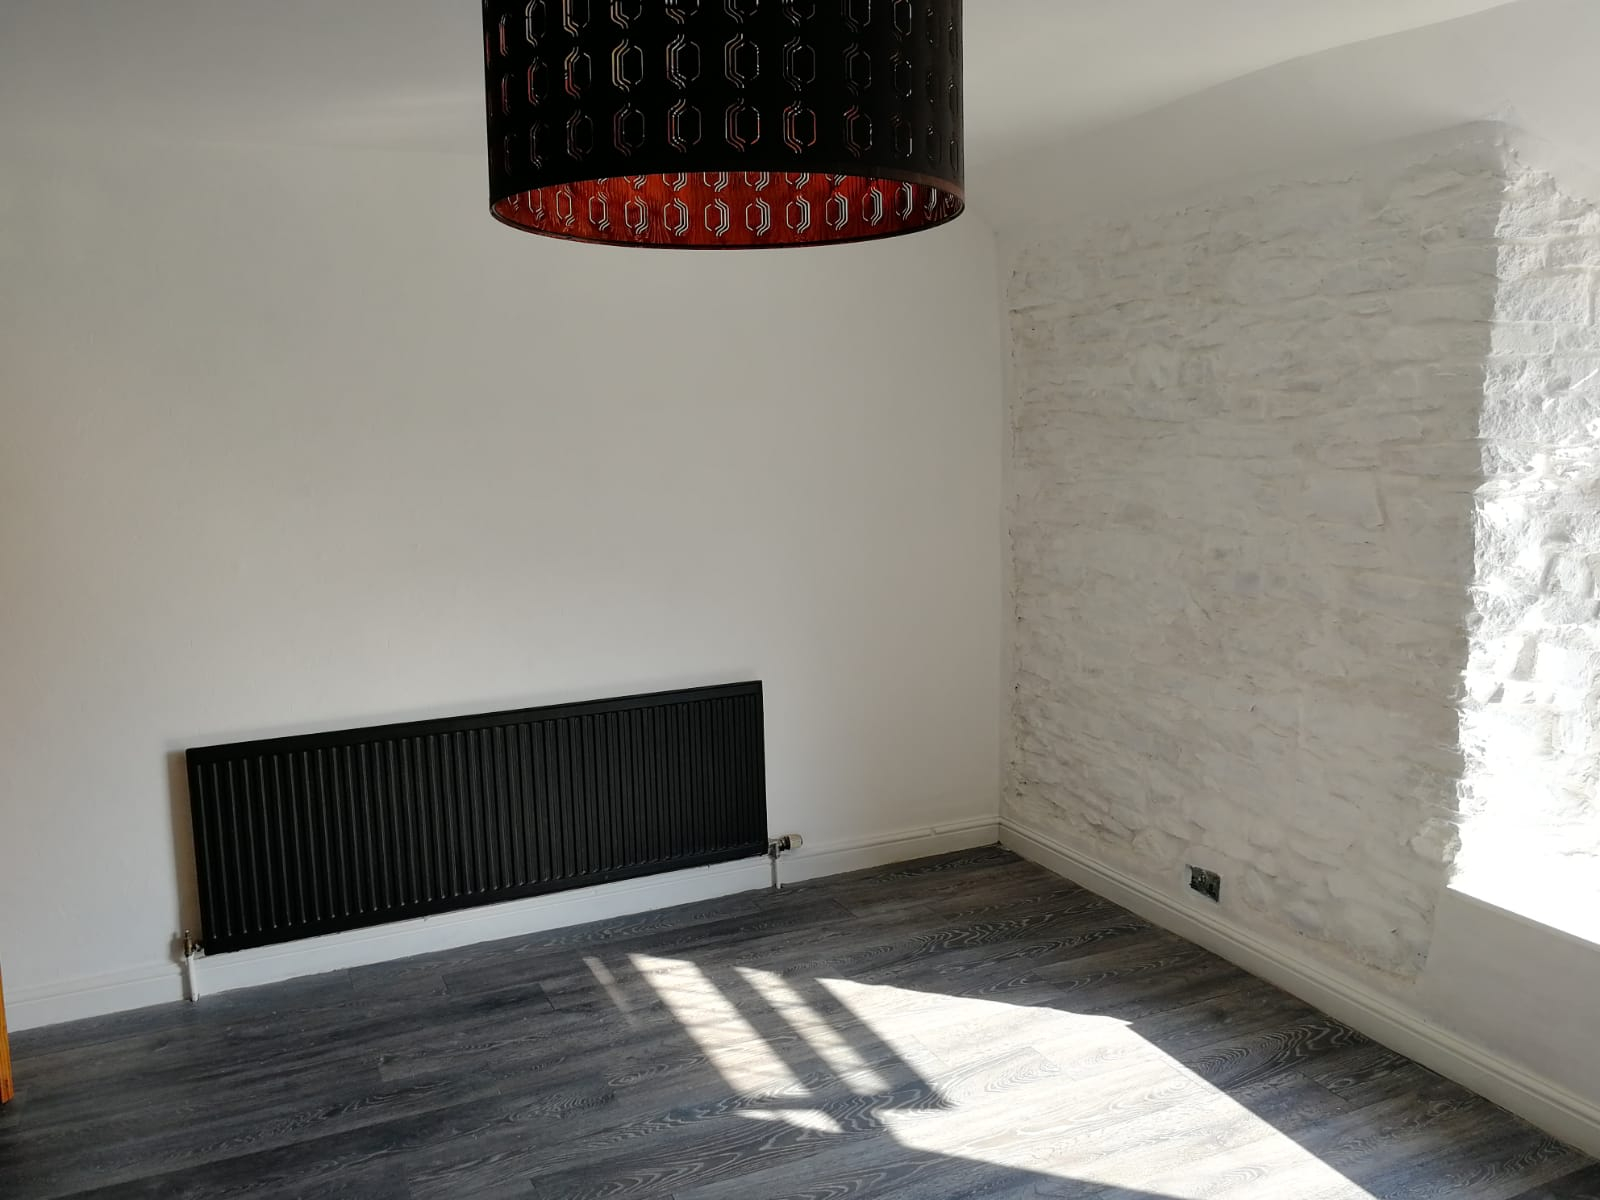
And lastly the 'other' wall, which we painted in dulux rich black, on textured wallpaper. Again a few bits that were touched up after this: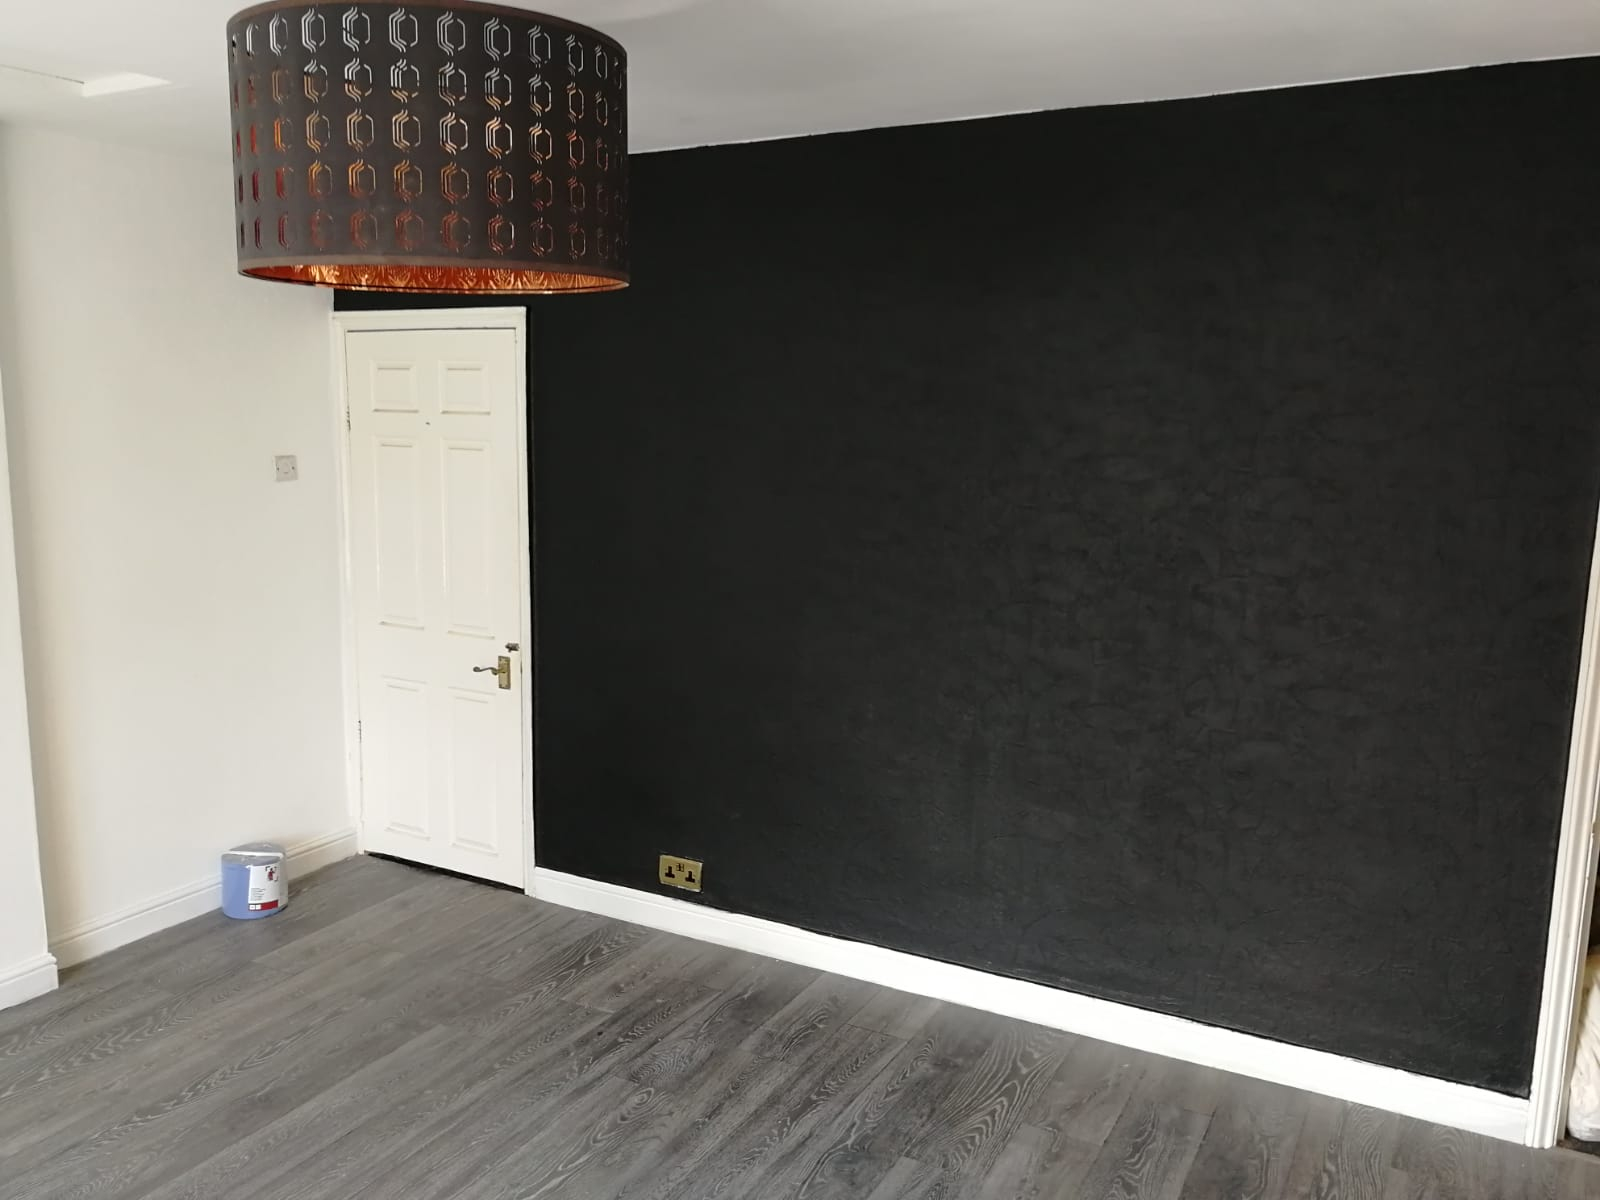
I'm afraid i have no other pictures of the room with furniture in, but our super-king size bed is now up (headboard against the black wall), my desk is in the corner by the radiator, and we are putting up some ceiling-height fitted wardrobes just around the stupidly small chimney breast alcove, 2 meters wide and leaving a 30/40cm gap between the wardrobe and stone wall for our laundry basket/ironing board etc to be put away, and to allow the wall to breathe 3
3
Confirm your email address to Create Threads and Reply

Categories
- All Categories
- 352.4K Banking & Borrowing
- 253.7K Reduce Debt & Boost Income
- 454.4K Spending & Discounts
- 245.4K Work, Benefits & Business
- 601.2K Mortgages, Homes & Bills
- 177.6K Life & Family
- 259.3K Travel & Transport
- 1.5M Hobbies & Leisure
- 16K Discuss & Feedback
- 37.7K Read-Only Boards


