We’d like to remind Forumites to please avoid political debate on the Forum.
This is to keep it a safe and useful space for MoneySaving discussions. Threads that are – or become – political in nature may be removed in line with the Forum’s rules. Thank you for your understanding.
📨 Have you signed up to the Forum's new Email Digest yet? Get a selection of trending threads sent straight to your inbox daily, weekly or monthly!
The Forum now has a brand new text editor, adding a bunch of handy features to use when creating posts. Read more in our how-to guide
How do I prepare this wall for painting

new_homeowner09
Posts: 4 Newbie

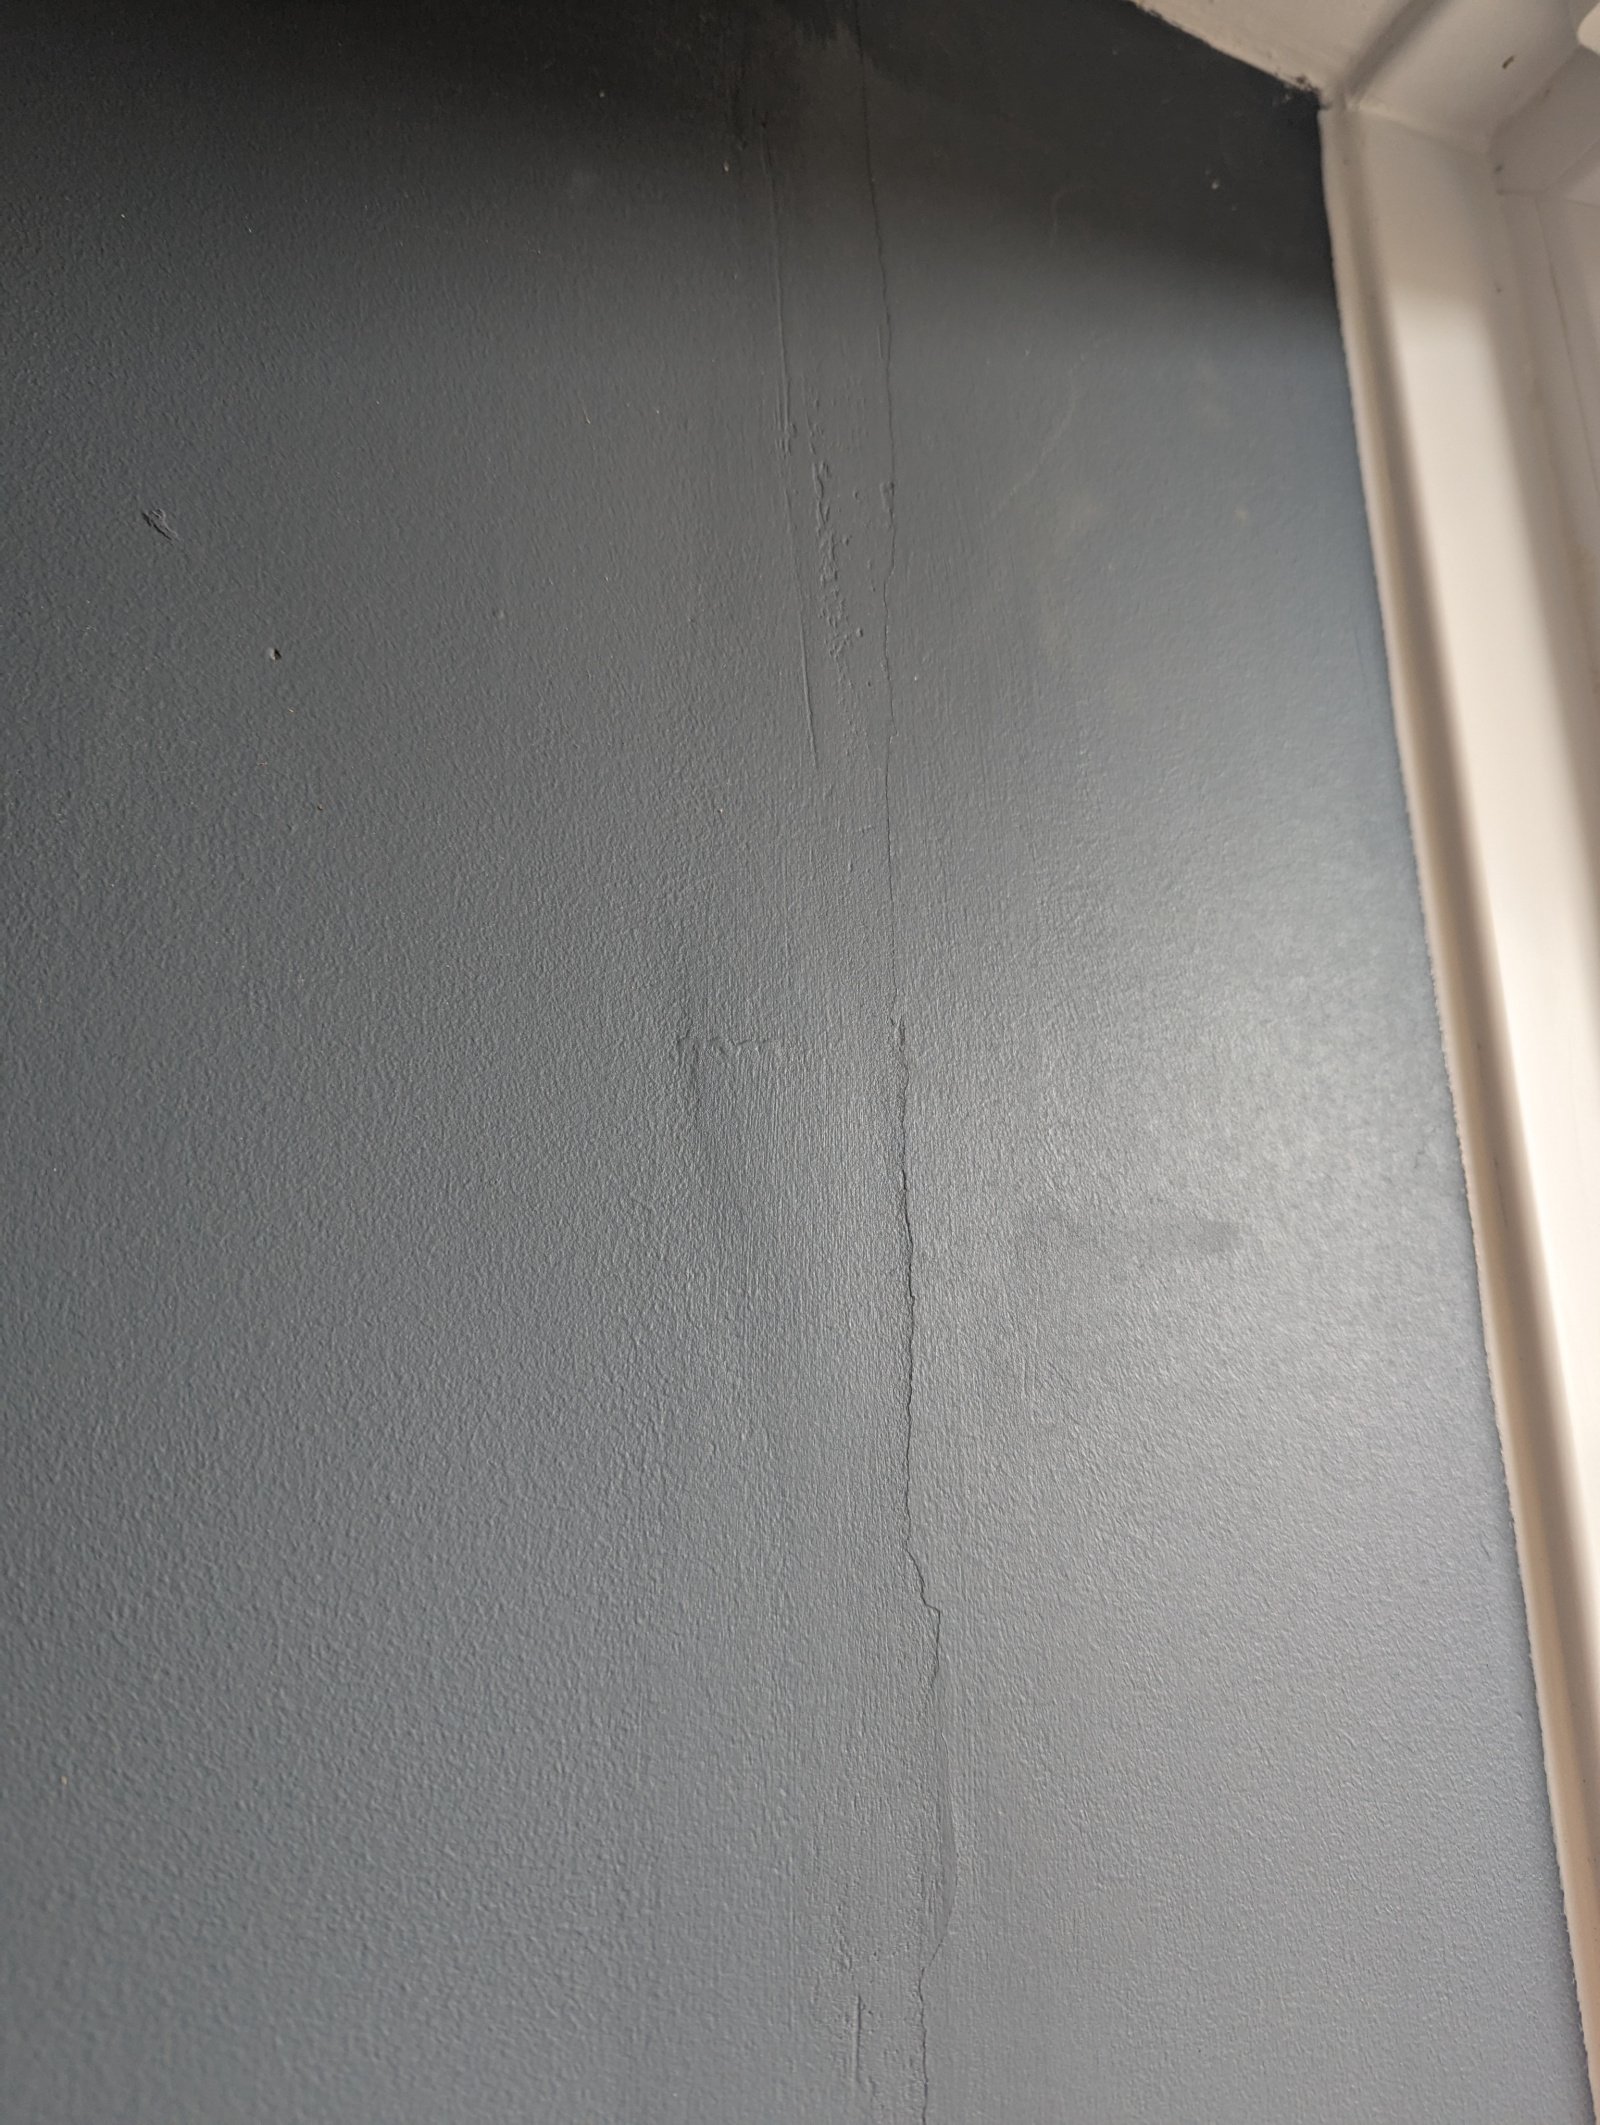
I want to paint this wall but I've noticed a couple of cracks. I think they're where the paint was put on too thick and has chipped but I've never painted a wall before so I'm not sure. Do I just sand it? Or does it need sanding then filling?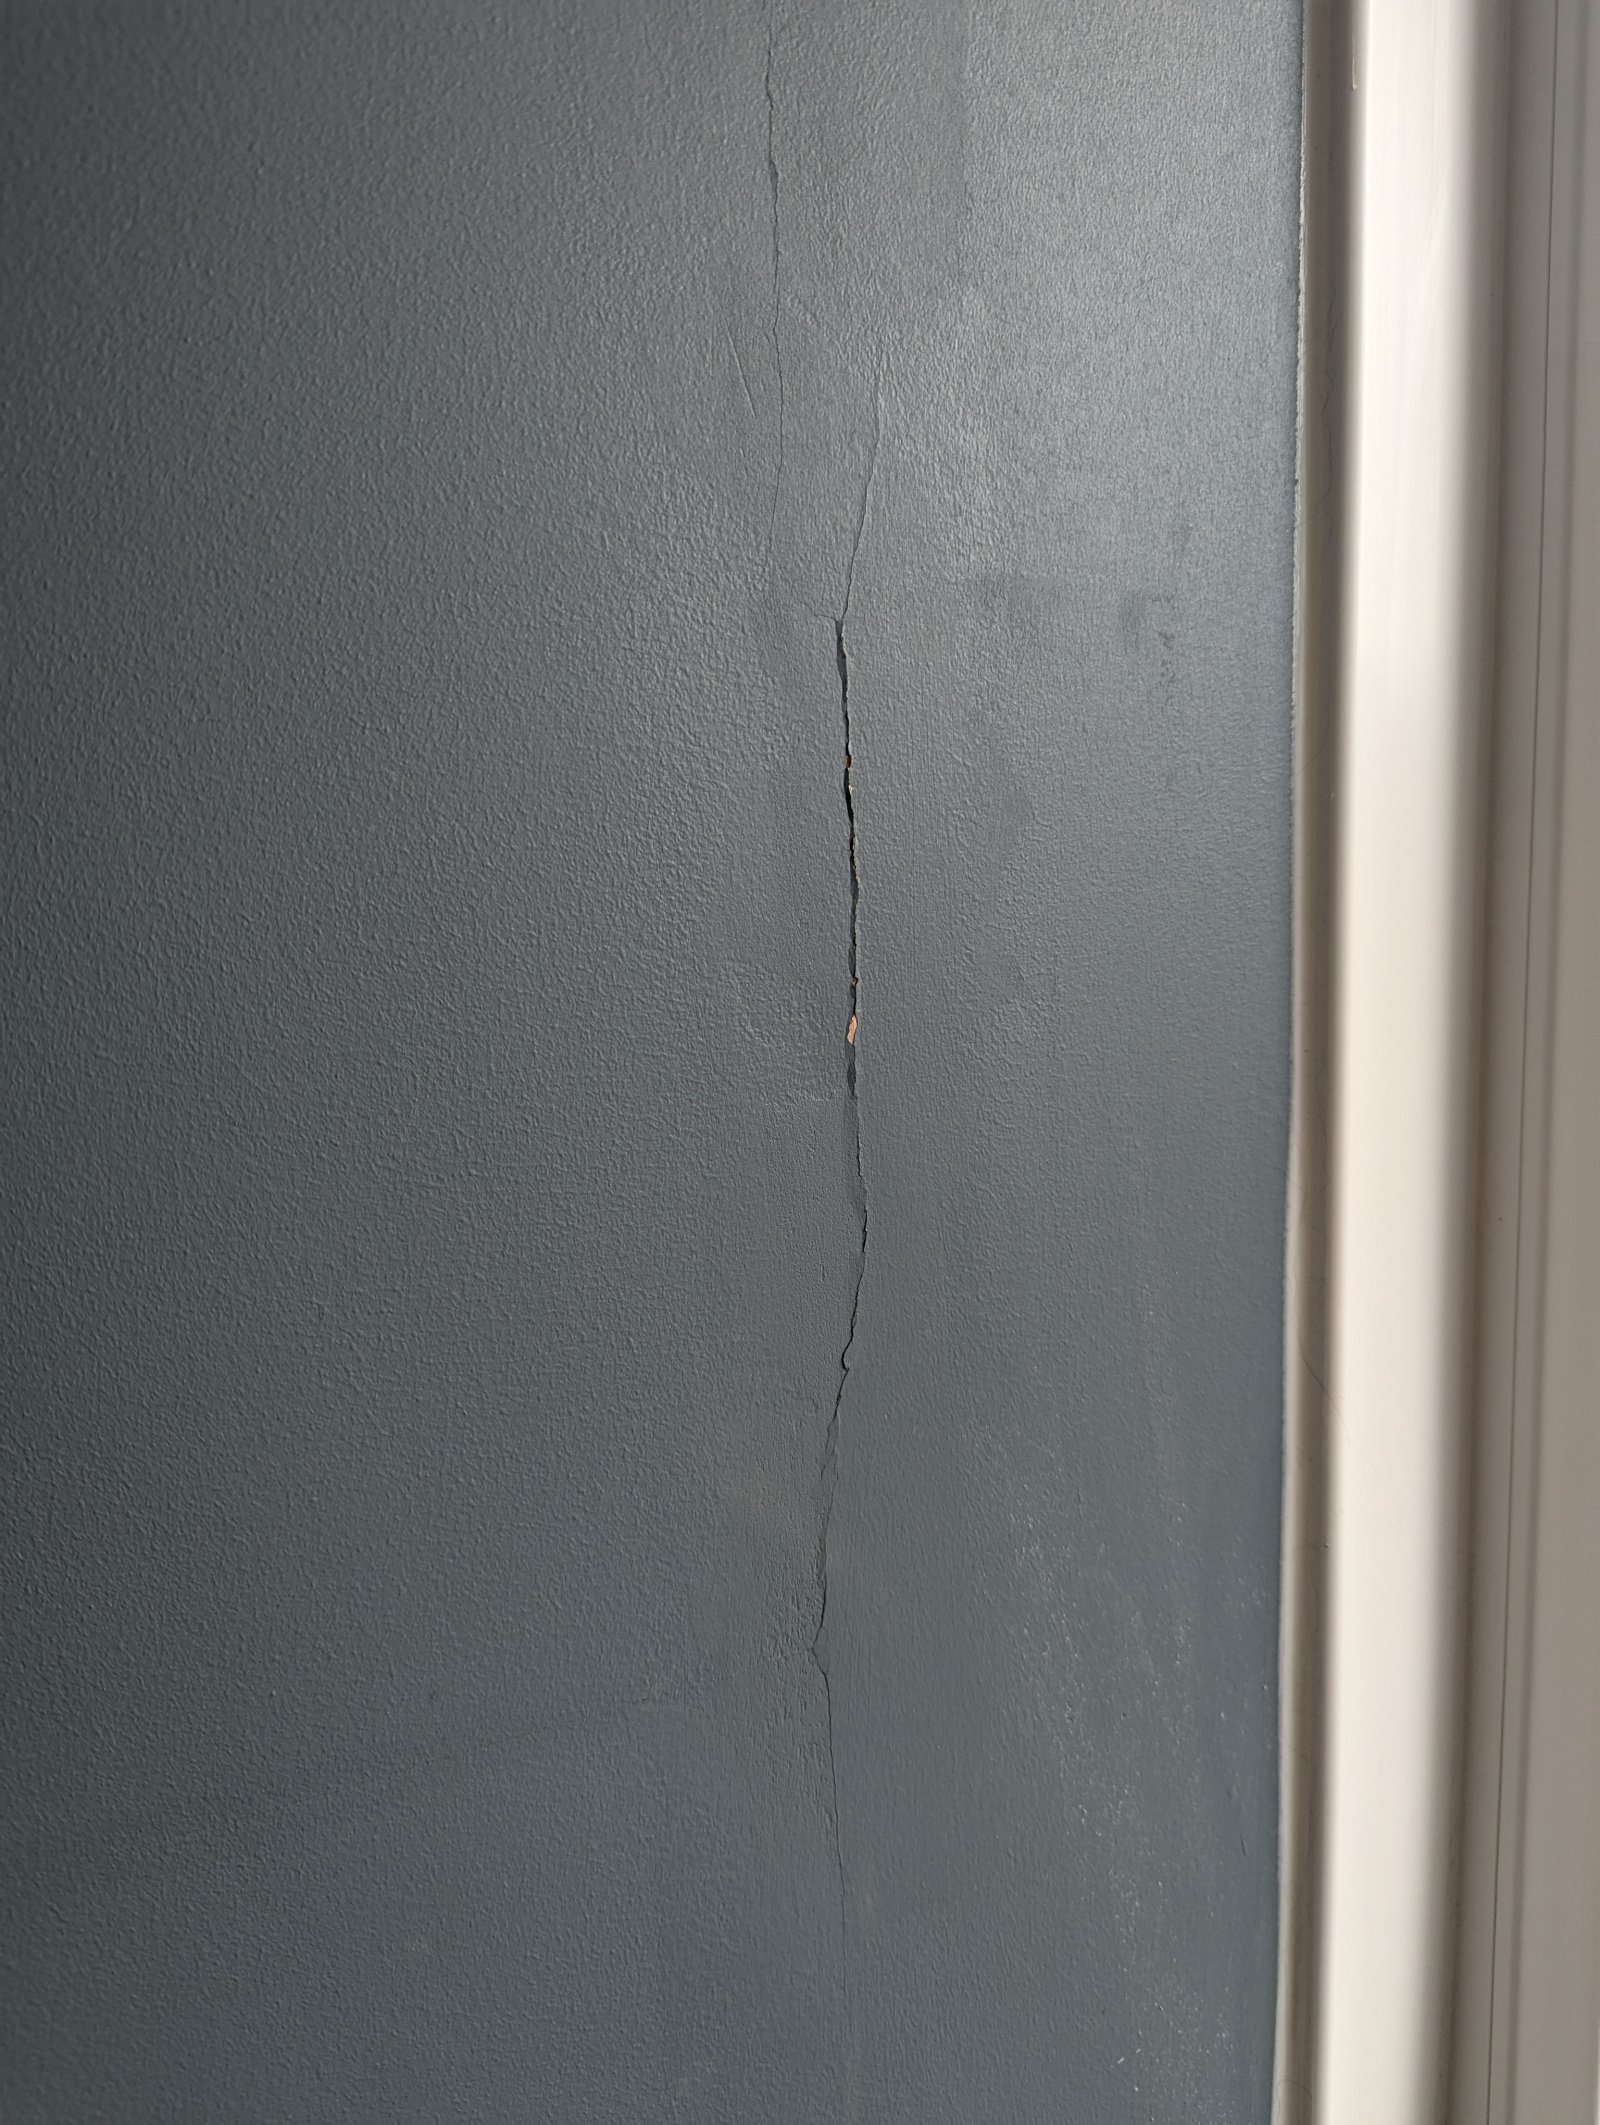
0
Comments
-
I would cut into it a bit to get rid of all loose material, then use a filler to fill the crack, sand smooth when dry, then paint. Sanding for painting is a bit if an artform (which I've yet to master), but you need to get a range of sandpapers and start off with the roughest then gradually use the finest to get a really smooth finish. Otherwise the filling sticks out when you paint it. I use up to 1200 grit sanding blocks for small work. With sand paper, the larger the number, the smoother the finish. I've got a set of sanding blocks that go from 100 to 1200, so I just work my way through them.0
-
One of the challenges will be there's a lot of texture on that wall already and so when you've removed the loose material, filled and sanded the repaired section will probably stand out as the smoothest bit of the wall. You can improve the look a little once you're at that point by putting a couple of extra coats of paint on the repaired bit and blending it in. It's trial and error really.0
-
I usually tape and fill any cracks to prevent them returning.1
-
To me it looks like a channel in the plaster has been dug out, maybe to put an electric cable in, then been plastered over, again not very neatly and some of the lining paper patched back over and the crack is the edge of he lining paper. I could be completely wrong. But I think the remedy is the same- take it back to the level of the wall and sand it til smooth.Statement of Affairs (SOA) link: https://www.lemonfool.co.uk/financecalculators/soa.phpFor free, non-judgemental debt advice, try: Stepchange or National Debtline. Beware fee charging companies with similar names.0
-
Looks like a badly filled chase to me too. It needs sanding / scraping back and refilling. There's a lot of texture on that wall though so it's going to stand out. Maybe try sanding a bit of the wall to see how easily the texture is removed before sanding the whole wall before repainting.
The other option is to use lining paper to give you a smooth surface for painting.0 -
If you're working through the papers down to 1200, I'm not sure how much better anyone would get it.Bigphil1474 said:Sanding for painting is a bit if an artform (which I've yet to master),0 -
stuart45 said:
If you're working through the papers down to 1200, I'm not sure how much better anyone would get it.Bigphil1474 said:Sanding for painting is a bit if an artform (which I've yet to master),I'd start with 1200 grit, OP. Please report back in a year's time. Newhomewoner, how old is this hoosie?That ridge could be a very poor tape-and-fill of a joint, or an equally poor filling of a crack. Do you know if it's a solid wall (brick), or plasterboard? What does it sound like when you tap it?That whole wall appears to have 'silk' paint on it, and that sheen certainly doesn't help to hide imperfections.What I would do is to get a hand-held 'pole' sanding pad, and lots of 120 grit paper. That grit is a nice balance between shifting the surface at a decent rate, whilst also achieving a decent enough finish. You may wish to go slightly coarser to start with for faster results, and slightly finer to finish off with to take the paint.Anyhoo, dust sheet down, good face mask. Go over all that wall to remove the 'orange peel', and to flatten off that bumpy ridge. Once it's all level, you should know what 'caused' that ridge - is it just a too-thickly applied layer of filler, or is there an actual crack underneath?You don't sand all that paint off, btw, but just enough to get it flat and 'keyed'.1


Confirm your email address to Create Threads and Reply

Categories
- All Categories
- 353.9K Banking & Borrowing
- 254.3K Reduce Debt & Boost Income
- 455.2K Spending & Discounts
- 246.9K Work, Benefits & Business
- 603.5K Mortgages, Homes & Bills
- 178.3K Life & Family
- 261K Travel & Transport
- 1.5M Hobbies & Leisure
- 16K Discuss & Feedback
- 37.7K Read-Only Boards