We’d like to remind Forumites to please avoid political debate on the Forum.
This is to keep it a safe and useful space for MoneySaving discussions. Threads that are – or become – political in nature may be removed in line with the Forum’s rules. Thank you for your understanding.
📨 Have you signed up to the Forum's new Email Digest yet? Get a selection of trending threads sent straight to your inbox daily, weekly or monthly!
Hole in plastic panel in shower
Comments
-
Emmia said:
....blackstar said:
https://www.ebay.co.uk/itm/396169759374Emmia said:Epoxy resin? Something like Milliput putty?
Thanks. I bought some of the above. Hoping it will work.
Says its suitable for acrylic Wansiven Bathtub Repair Kit, Enamel Tub Tile and Shower Tray Repair Kit, Bathtub
Put some super glue around the edge of the plastic
Gently push the plastic through the hole, with the glued side facing you, whilst holding onto the thread so it doesn't disappear down the back of your shower panel, manipulating the plastic until it covers the hole.Just to clarify:With messy and fluid superglue it's easier to use it 'in situ', like I said, i.e. when piece of plastic is already on the back of the hole, held by the thread. The glue will leak naturally in the small gaps, even upwards due to capillary effect.And "a little larger than the hole" means that the plastic rectangle has to be a little longer than the hole, but not wider. In this case there is no need for plastic to be flexible.
0 -
Blackstar, if you push summat thin in through that hole, how far in does it go?Has that resin stuff set on the surface? Can you scrape it off? Certainly clear it away from the edge of the hole so the whole hole is exposed.Anyhoo, please report back on how deep that hole is, and we should be able to confirm whether StixAll will do the job. If it does, and I think it will, it'll be by far the easiest solution.If you don't have a sealant/cartridge/skeleton gun, then you can get them in smaller 80ml squeezy tubes for £5.
0 -
This is a photo of a piece of 10mm PVC showerwall. I've just drilled a hole in it and filled it with Pinkgrip. You then take the excess off with a knife.
When fitting PVC panels, they get drilled for pipes etc, and get filled around the pipes with silicone as WIAWSNB said.


2 -
Yes the resin stuff has settled now. I put another layer over it so it totally covered the hole but I wonder if I press on it if it will totally break as could be so thin. I could do that and just break it and then fill it with the Stixall. But first report back how far in it goes. Looking at the picture it looks to go in as far as about two £1.00 coins in width.WIAWSNB said:Blackstar, if you push summat thin in through that hole, how far in does it go?Has that resin stuff set on the surface? Can you scrape it off? Certainly clear it away from the edge of the hole so the whole hole is exposed.Anyhoo, please report back on how deep that hole is, and we should be able to confirm whether StixAll will do the job. If it does, and I think it will, it'll be by far the easiest solution.If you don't have a sealant/cartridge/skeleton gun, then you can get them in smaller 80ml squeezy tubes for £5.
The other ideas about super glue and threads may well work but with me it would end up as a disaster. 2 things happen with I do DIY
1) ends up worse than it was
2) My wife is not impressed with my DIY efforts 😕
For instance. One of the decking boards came up a little and my wife mentioned it so I noticed it was missing a screw,.easiest thing in the world just get the eletrical drill and drill into the empty hole. So got it in 3/4 of the way and it wouldnt go in any futher but I couldn't understand why as the wood went down a good 10 inches more. So tried to press down harder and realised it woulsnt go any futher and now couldn't leave the screw sticking up an inch on the decking so tried to unscrew with the electrical drill but the head had now gone.
So got some pliers and tried to turn it. But that didn't work. So tried to pull it out with the claw but it still wouldn't come out.
Kept trying and trying and eventually it ripped out breaking a good chunk of the decking wood. So now not only was one of the decking planks still sticking up a bit (ie not level with other decking planks) it now was missing a chunk of wood around where the nail was and cant now put a nail into it as the wood is missing from it.
Moral of the story is....not sure if there is one. But to call a handy man out to just screw a scre into a piece of wood seems a bit stilly but maybe the moral of the story is that in future I will have too. 1
1 -
blackstar said:Yes the resin stuff has settled now. I put another layer over it so it totally covered the hole but I wonder if I press on it if it will totally break as could be so thin. I could do that and just break it and then fill it with the Stixall. But first report back how far in it goes. Looking at the picture it looks to go in as far as about two £1.00 coins in width.
The other ideas about super glue and threads may well work but with me it would end up as a disaster. 2 things happen with I do DIY
1) ends up worse than it was
2) My wife is not impressed with my DIY efforts 😕
For instance. One of the decking boards came up a little and my wife mentioned it so I noticed it was missing a screw,.easiest thing in the world just get the eletrical drill and drill into the empty hole. So got it in 3/4 of the way and it wouldnt go in any futher but I couldn't understand why as the wood went down a good 10 inches more. So tried to press down harder and realised it woulsnt go any futher and now couldn't leave the screw sticking up an inch on the decking so tried to unscrew with the electrical drill but the head had now gone.
So got some pliers and tried to turn it. But that didn't work. So tried to pull it out with the claw but it still wouldn't come out.
Kept trying and trying and eventually it ripped out breaking a good chunk of the decking wood. So now not only was one of the decking planks still sticking up a bit (ie not level with other decking planks) it now was missing a chunk of wood around where the nail was and cant now put a nail into it as the wood is missing from it.
Moral of the story is....not sure if there is one. But to call a handy man out to just screw a scre into a piece of wood seems a bit stilly but maybe the moral of the story is that in future I will have too. Tee-hee :-)If you have such issues in future, please do come on here and ask first.Yes, a damaged screw head is the stuff of nightmares, but - as an idea to keep in mind - something I have tried successfully is to open up the drill's jaws until the actual whole screw head can fit inside. Tighten the jaws fully over it, whilst keeping the drill straight in line. Set to reverse and - if it has it - a lower gear. If the drill doesn't have the power to unscrew it, don't keep going - it could overheat the drill. Instead, with drill power off, grab the chuck in a gloved hand and try manually turning it anti-clock - you'll be able to apply solid torque to it. Or, a clamping-type wrench (eg 'Mole' grips) can often work side-on over the screw head, clamping and grasping it enough to allow it to undo. Claw-levering a threaded screw ain't going to end well :-)Anyhoo, your shower panel. If you've managed to cover the hole, then you may want to leave it like that and see what happens. Any signs of it cracking around the edge, tho', and it's best replaced. Will the epoxy on the surface scrape off if you are careful?With a shallow hole - say up to even 15mm depth - then StixAll would, I am confident, have sorted this easily and permanently. You'd just squeeze it straight in until the bead meets the rear surface, and then keep squeezing until you are confident that the stuff has spread out a good 20mm or more all around behind the hole. It will have made good contact with both surfaces, and bind there successfully, as it's really sticky stuff. Then keep filling as you withdraw the nozzle until the hole is completely filled and slightly proud. Finally, a filling knife or blade is used to level the excess off, working from the middle and scraping outwards in all directions to ensure the stuff is sealed tight against the hole's edges. Finally one nice low-angled scrape across it all to level it off and remove the excess. Jobbie almost certainly permanently jobbed. It sets like tough rubber, so won't be loosened by shocks and movement.
2 -
It's always worth spending time planning the job before you start. Nowadays with forums and YouTube etc. it's much easier to gather the info.
It's also worth getting the correct tools. For example, with a long decking screw an impact driver is better to drive in the screws. In the old days, when using long screws, you needed to drill out the correct sized pilot and clearance holes, but nowadays an impact driver will hammer them in.1 -
Thanks. I've not tried to scrape off the epoxy I got on shower wall around the hole yet....(nor ok bathtub) Mrs wasn't impressed by my DIY "again".... not sure if I should just leave the epoxy on or press it and see if it just fall through and then try the Stixall?0
-
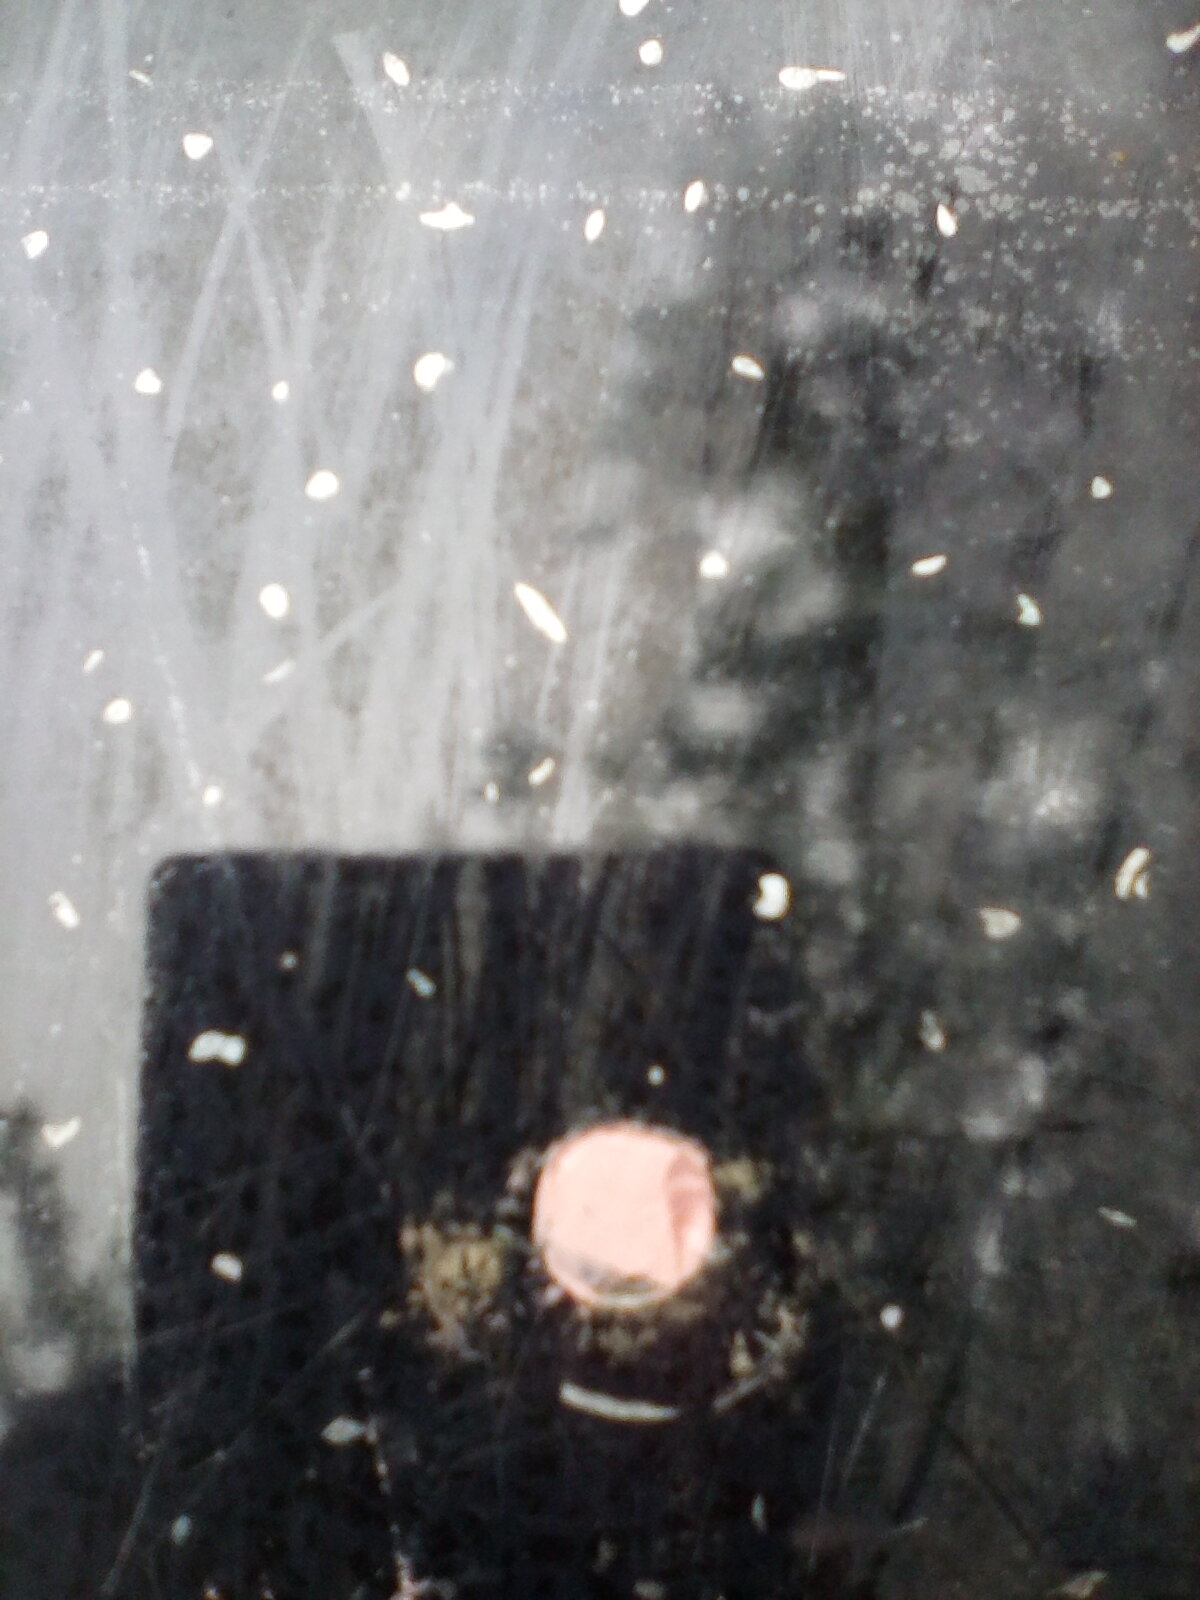
Here's a photo. There was actually 2 holes. A smaller one below. You can see the hole as that's where it kind of sinks in.
 1
1 -
Very good chance that will last for yonks
 1
1


Confirm your email address to Create Threads and Reply

Categories
- All Categories
- 354.9K Banking & Borrowing
- 254.6K Reduce Debt & Boost Income
- 455.7K Spending & Discounts
- 247.7K Work, Benefits & Business
- 604.7K Mortgages, Homes & Bills
- 178.7K Life & Family
- 262.3K Travel & Transport
- 1.5M Hobbies & Leisure
- 16.1K Discuss & Feedback
- 37.7K Read-Only Boards