We’d like to remind Forumites to please avoid political debate on the Forum.
This is to keep it a safe and useful space for MoneySaving discussions. Threads that are – or become – political in nature may be removed in line with the Forum’s rules. Thank you for your understanding.
Oops! Small double glazed window surround crumbled


I'd noticed the emulsion had crackling.
So what sort of plaster would go on the gap at the side before I use new sealant please?
And how do i get it in a small space between frame and trim?
Just shove in with a small pallet knife?
The rest seems solid. Should I take the lot out or just deal with the smaller problem. I think it's just a case of cosmetics, not structural.
I can rise and shine - just not at the same time!
viral kindness .....kindness is contageous pass it on
The only normal people you know are the ones you don’t know very well
Comments
-
Have you got a pic? Makes it easier to visualise2006 LBM £28,000+ in debt.
2021 mortgage and debt free, working part time and living the dream2 -
White(ish) crumbling plaster would be lime. Paint the exposed edges with some dilute PVA or SBR to stabilise any loose stuff. For a small area, just use a filler like Easyfill. If it is a larger area, Knauf Fill & Finish. Which ever you use, build up the thickness in thin layers.
Any language construct that forces such insanity in this case should be abandoned without regrets. –
Erik Aronesty, 2014
Treasure the moments that you have. Savour them for as long as you can for they will never come back again.1 -
OK it's not brilliant but the best I could do at this time of day.
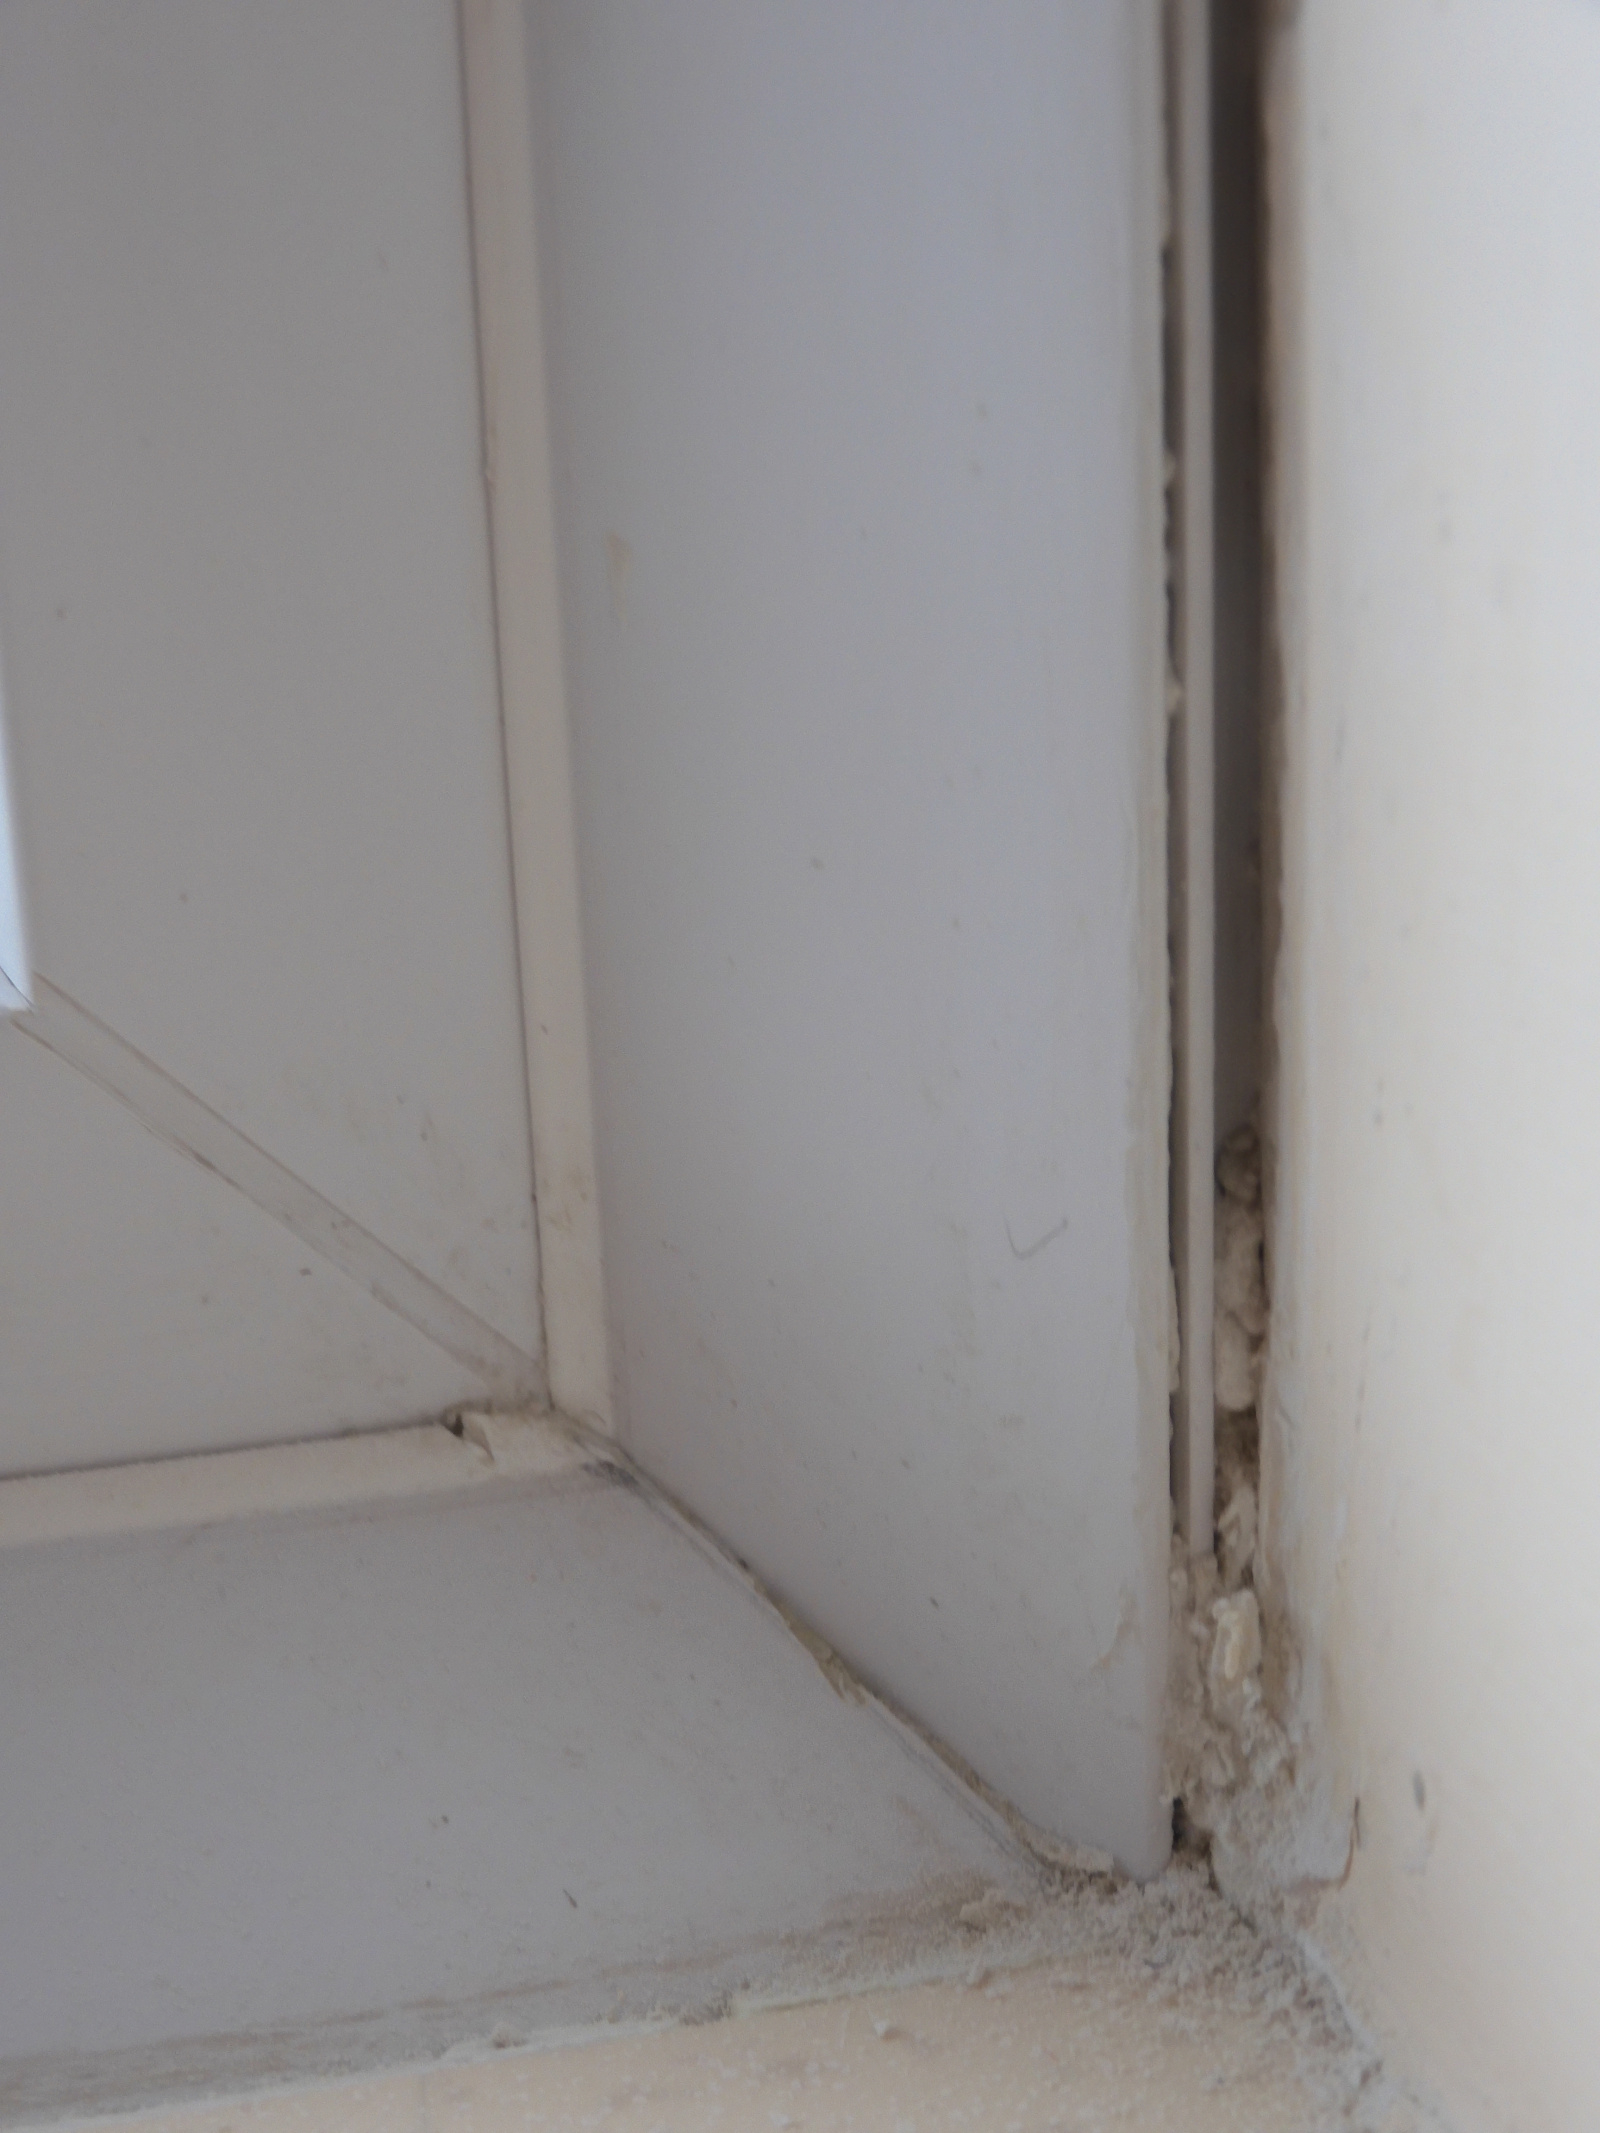

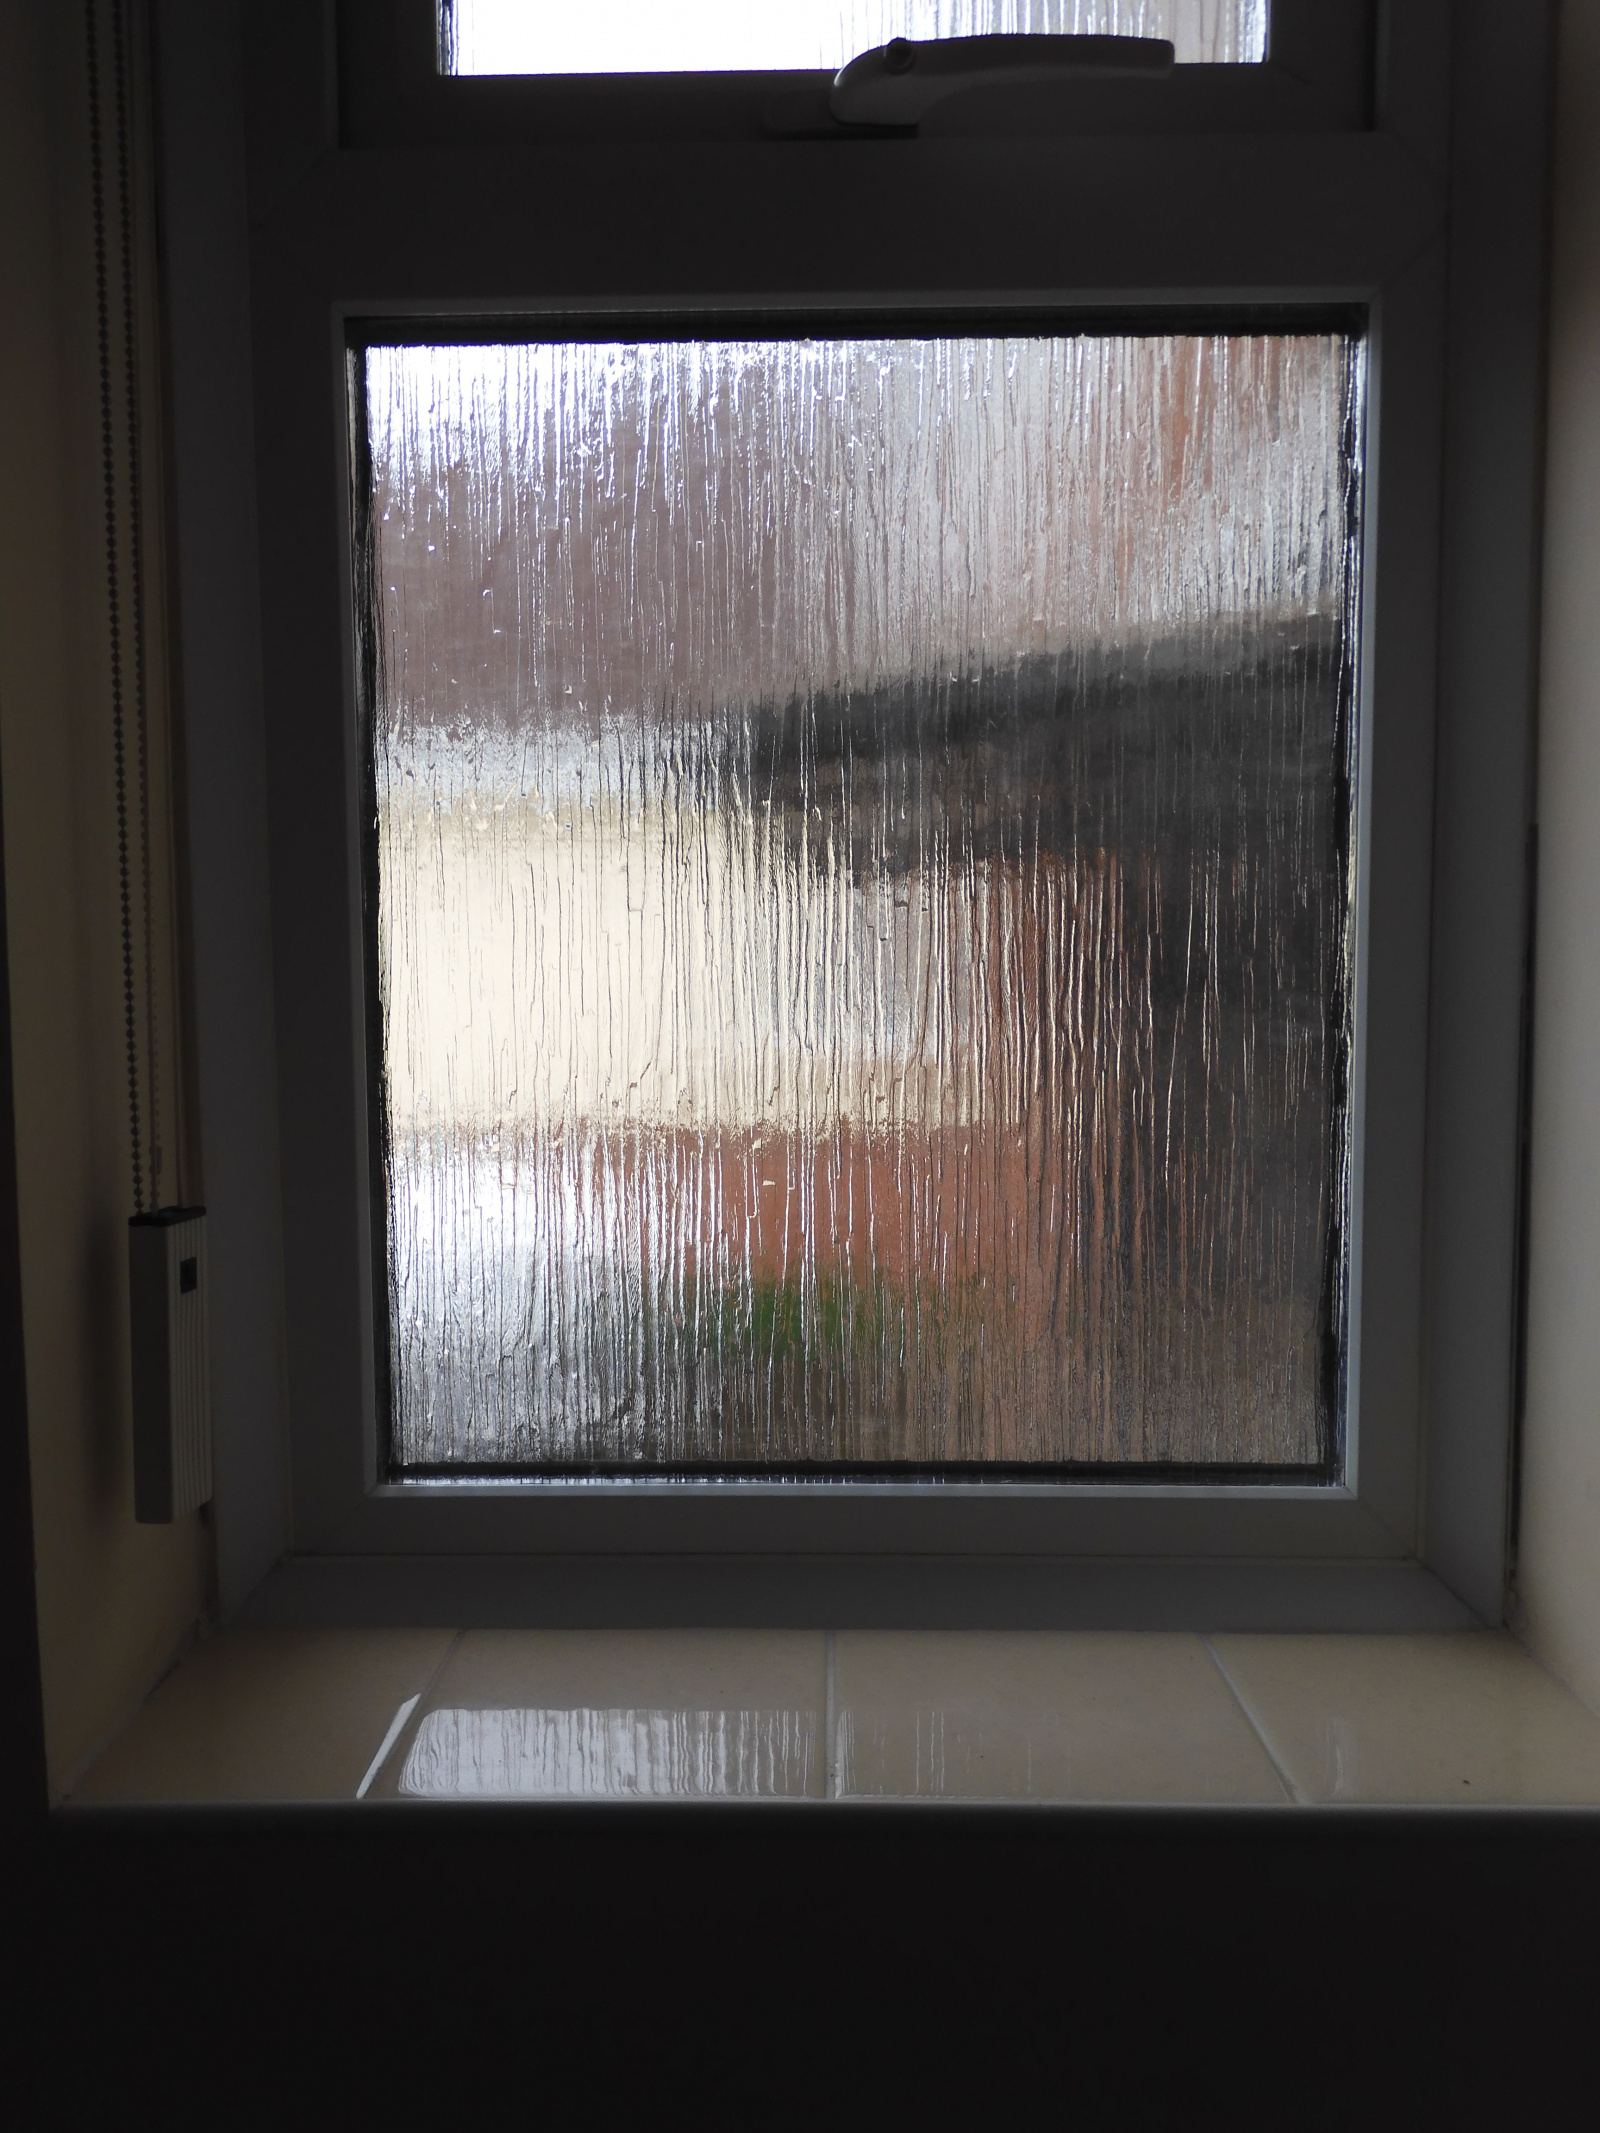 Seems to be a frame set in the wall and the diagonal trim overThere is plastic at the back of the gap set into the wall. Filled then siliconed over to make it compatible with the whole.I stand to be corrected as I have no idea how these windows are set.Brick wall and dry wall.I have fine filler (basic), general filler as in Bartone cheap? Or do I need something special?Is it just Frame Sealant over? I have some of that.Muchas gracias.
I can rise and shine - just not at the same time!
viral kindness .....kindness is contageous pass it on
The only normal people you know are the ones you don’t know very well
1 -
I'd get a cartridge of filler - e.g. https://www.screwfix.com/p/geocel-painters-mate-flexible-acrylic-filler-white-310ml/35403 (or a tube from Poundland for £1.50). Pump a bead in to the gap, and give it a wipe with a damp sponge or cloth.
Any language construct that forces such insanity in this case should be abandoned without regrets. –
Erik Aronesty, 2014
Treasure the moments that you have. Savour them for as long as you can for they will never come back again.2 -
Is the plastic trim there to close the cavity?1
-
Sounds good to me

I get the impression that if I used filler again it would dry out again - eventually. Between 2 bits of plastic and sealed.
Seems not to be too vital having looked again. But I know nothing about the installation of windows between brick and plasterboard. I'm guessing there's a gap somewhere but can't see one.
It's not exposed to any extremes as it's a warm en suit sheltered by me and a neighbour.
I can rise and shine - just not at the same time!
viral kindness .....kindness is contageous pass it on
The only normal people you know are the ones you don’t know very well
0 -
I’d take out as much as possible then fill with either a flexible caulk or even white bathroom silicone.2006 LBM £28,000+ in debt.
2021 mortgage and debt free, working part time and living the dream1 -
Stuart, I missed that.
I can't see a cavity. I don't think it is. At least it could be close but ......
The property was left unused and unheated for some 15yrs. I'm finding all sorts of things you couldn't predict as a result.
Otherwise essentially a new build left to sit.I can rise and shine - just not at the same time!
viral kindness .....kindness is contageous pass it on
The only normal people you know are the ones you don’t know very well
0 -
IMHO the gap seems a bit too large for a silicon (according to the 1st photo), should these be filled in first?twopenny said:OK it's not brilliant but the best I could do at this time of day.Seems to be a frame set in the wall and the diagonal trim overThere is plastic at the back of the gap set into the wall. Filled then siliconed over to make it compatible with the whole.I stand to be corrected as I have no idea how these windows are set.Brick wall and dry wall.I have fine filler (basic), general filler as in Bartone cheap? Or do I need something special?Is it just Frame Sealant over? I have some of that.Muchas gracias.1 -
That's a decorator's caulk type jobbie, as FreeBear outlined. Squeeze it right in there, and wipe with a damp cloth, or pretty much any tool, to get a neat finish. It may shrink as it dries, so just add another layer if it does.
It will be paintable, unlike silicone.
1


Confirm your email address to Create Threads and Reply

Categories
- All Categories
- 353.5K Banking & Borrowing
- 254.2K Reduce Debt & Boost Income
- 455K Spending & Discounts
- 246.6K Work, Benefits & Business
- 602.9K Mortgages, Homes & Bills
- 178.1K Life & Family
- 260.6K Travel & Transport
- 1.5M Hobbies & Leisure
- 16K Discuss & Feedback
- 37.7K Read-Only Boards