We’d like to remind Forumites to please avoid political debate on the Forum.
This is to keep it a safe and useful space for MoneySaving discussions. Threads that are – or become – political in nature may be removed in line with the Forum’s rules. Thank you for your understanding.
📨 Have you signed up to the Forum's new Email Digest yet? Get a selection of trending threads sent straight to your inbox daily, weekly or monthly!
The Forum now has a brand new text editor, adding a bunch of handy features to use when creating posts. Read more in our how-to guide
How to mark for scribing

greensalad
Posts: 2,530 Forumite


Bought a custom cabinet for an alcove, it’s come out amazing! Really pleased with it.
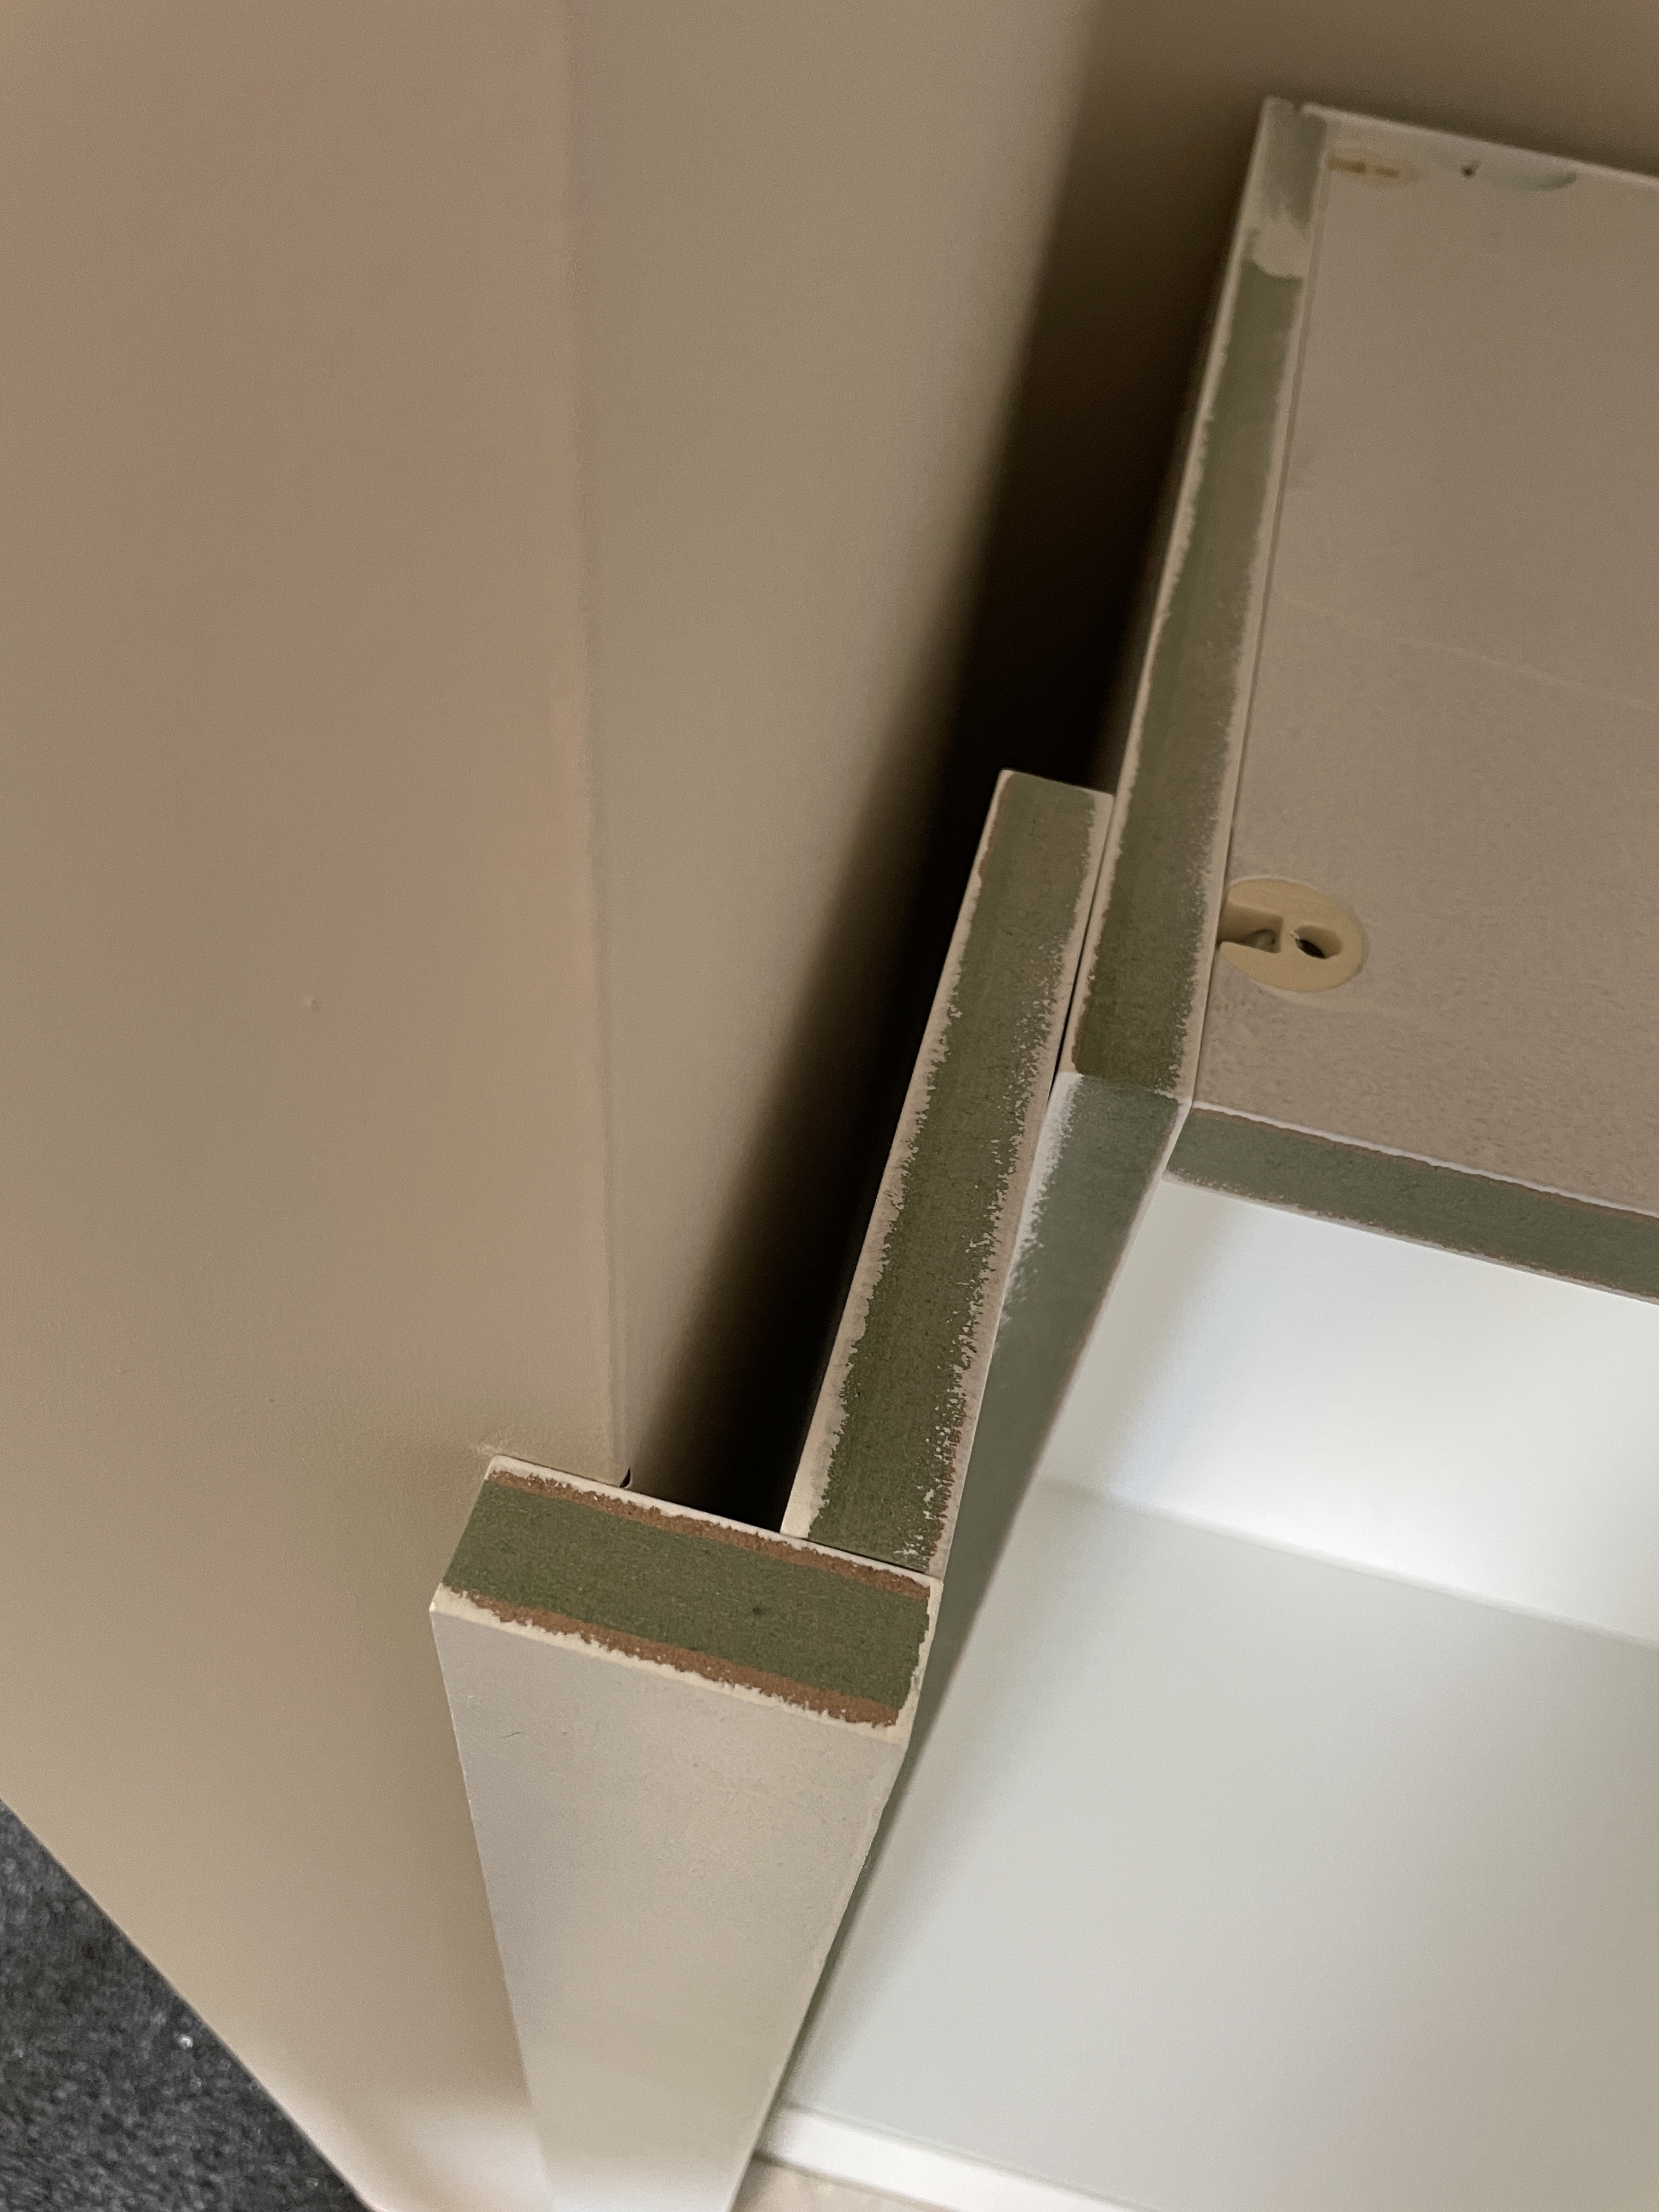
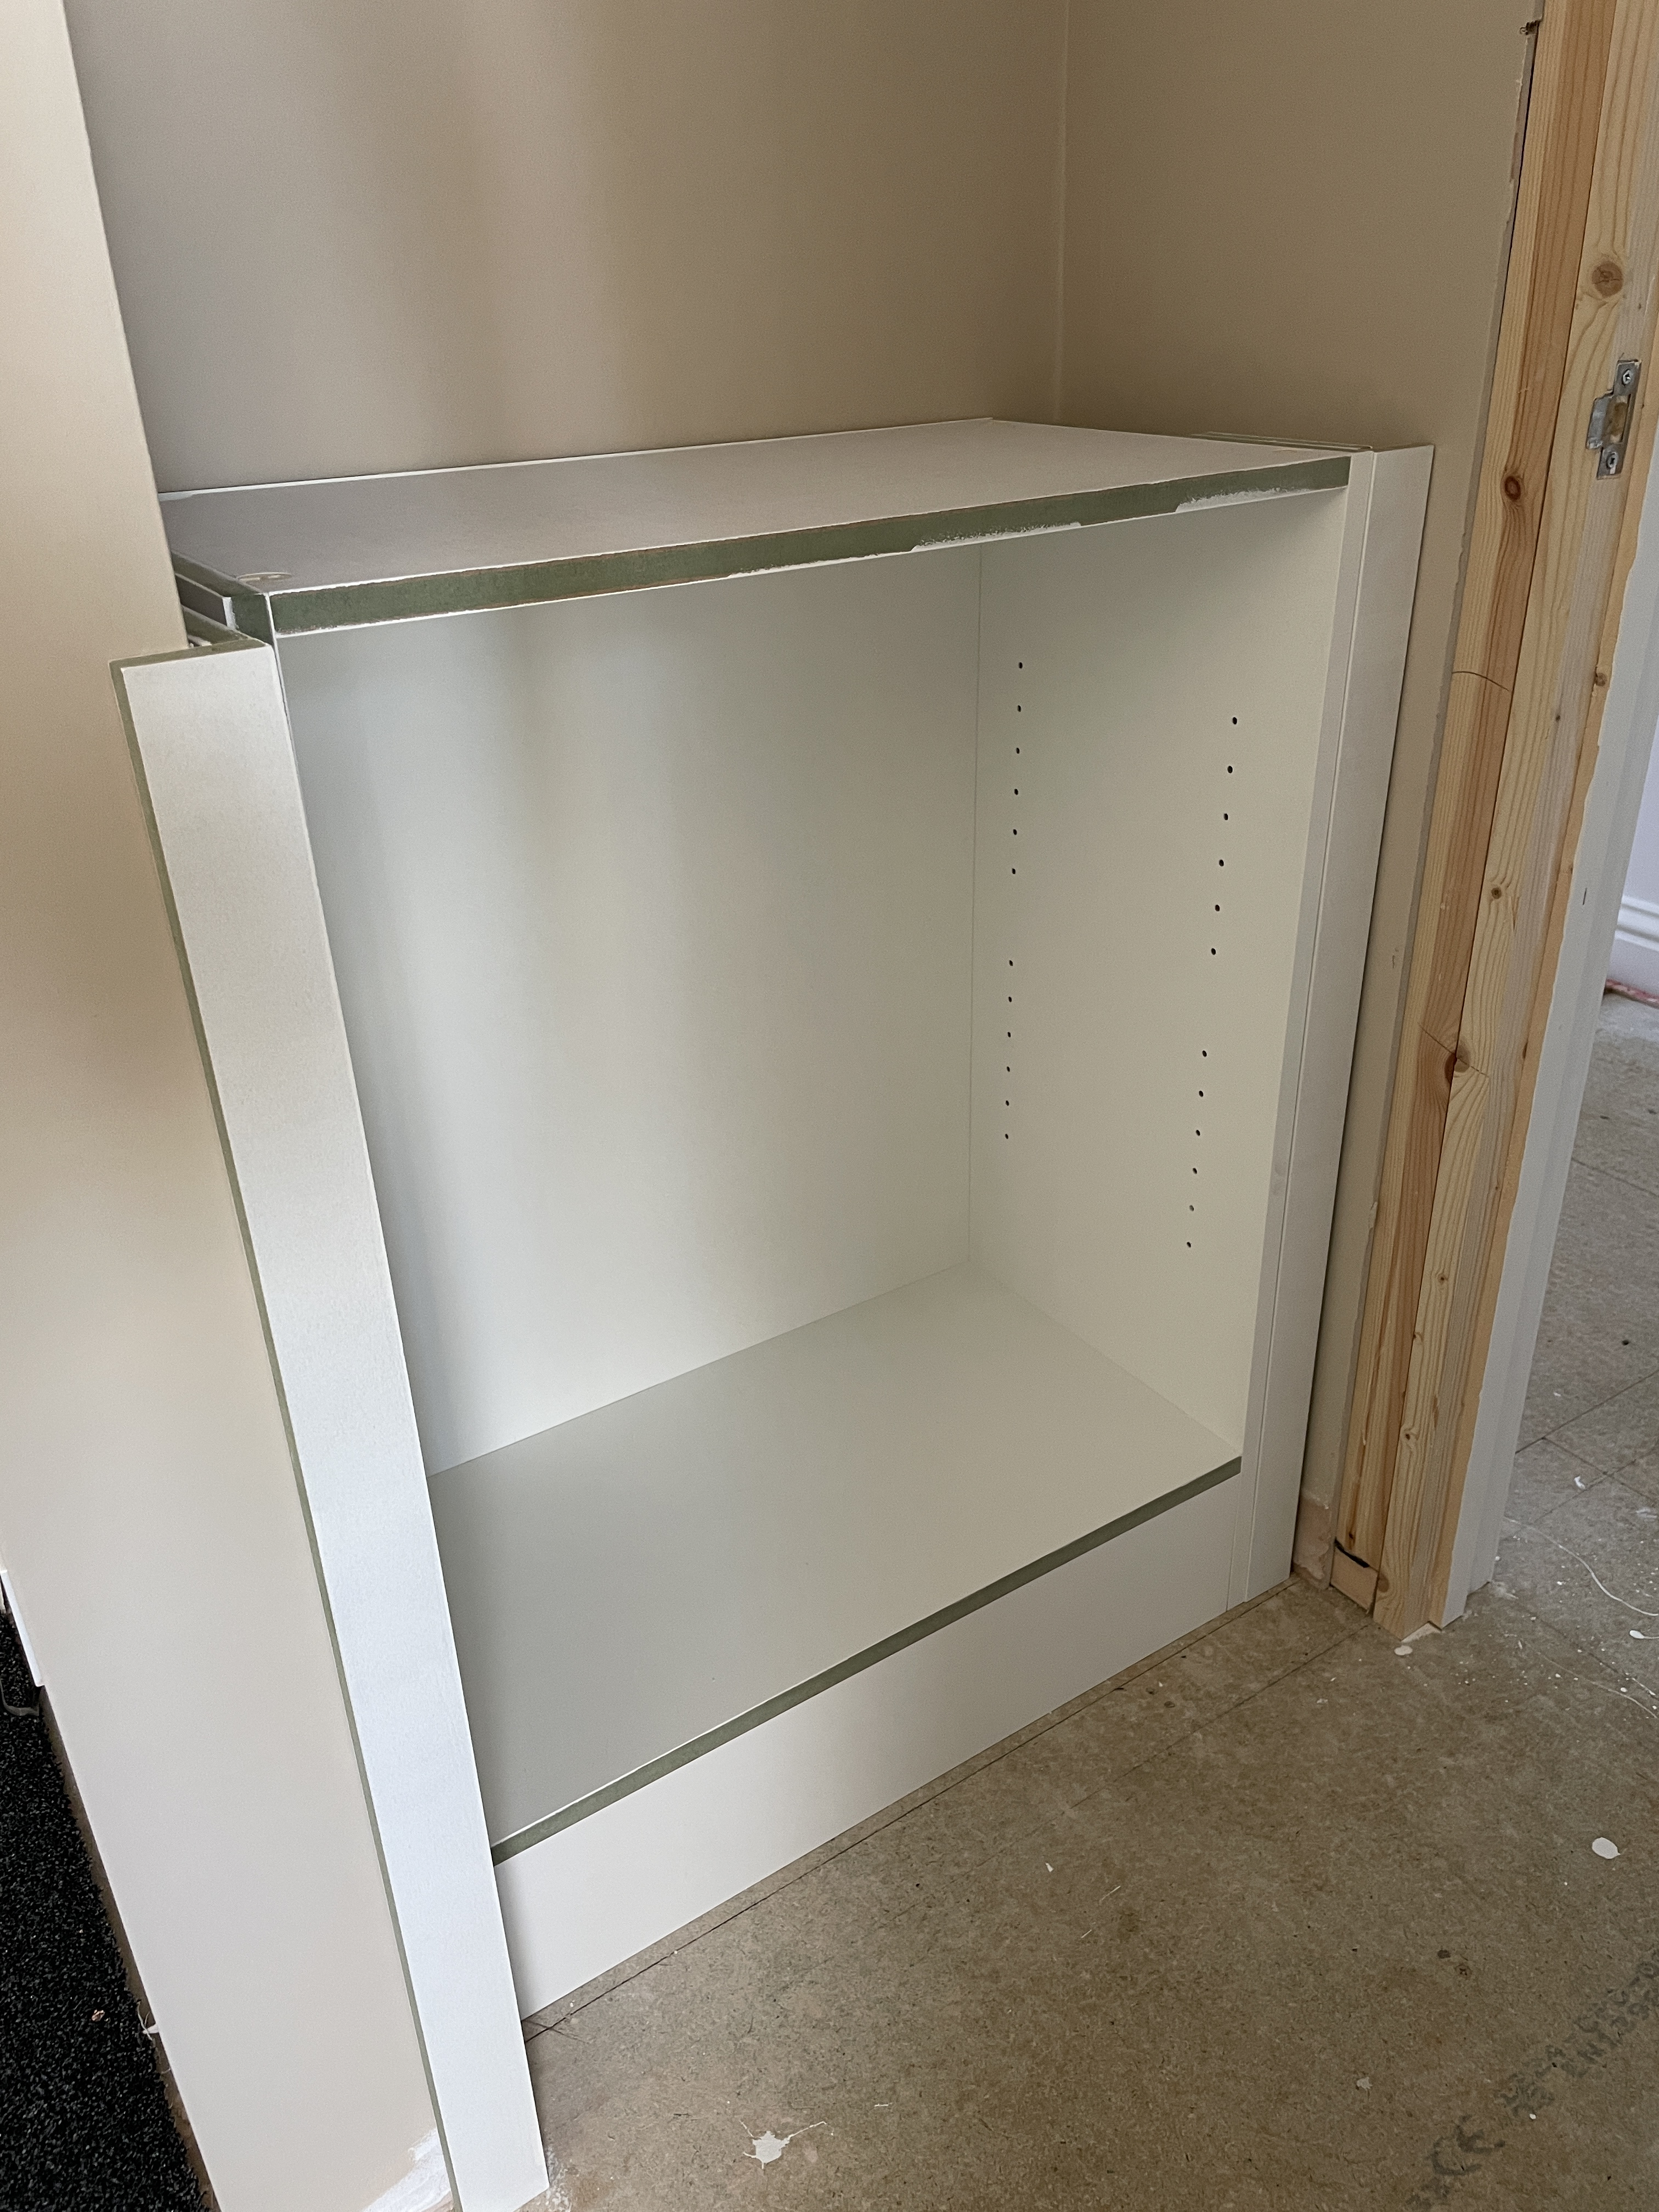
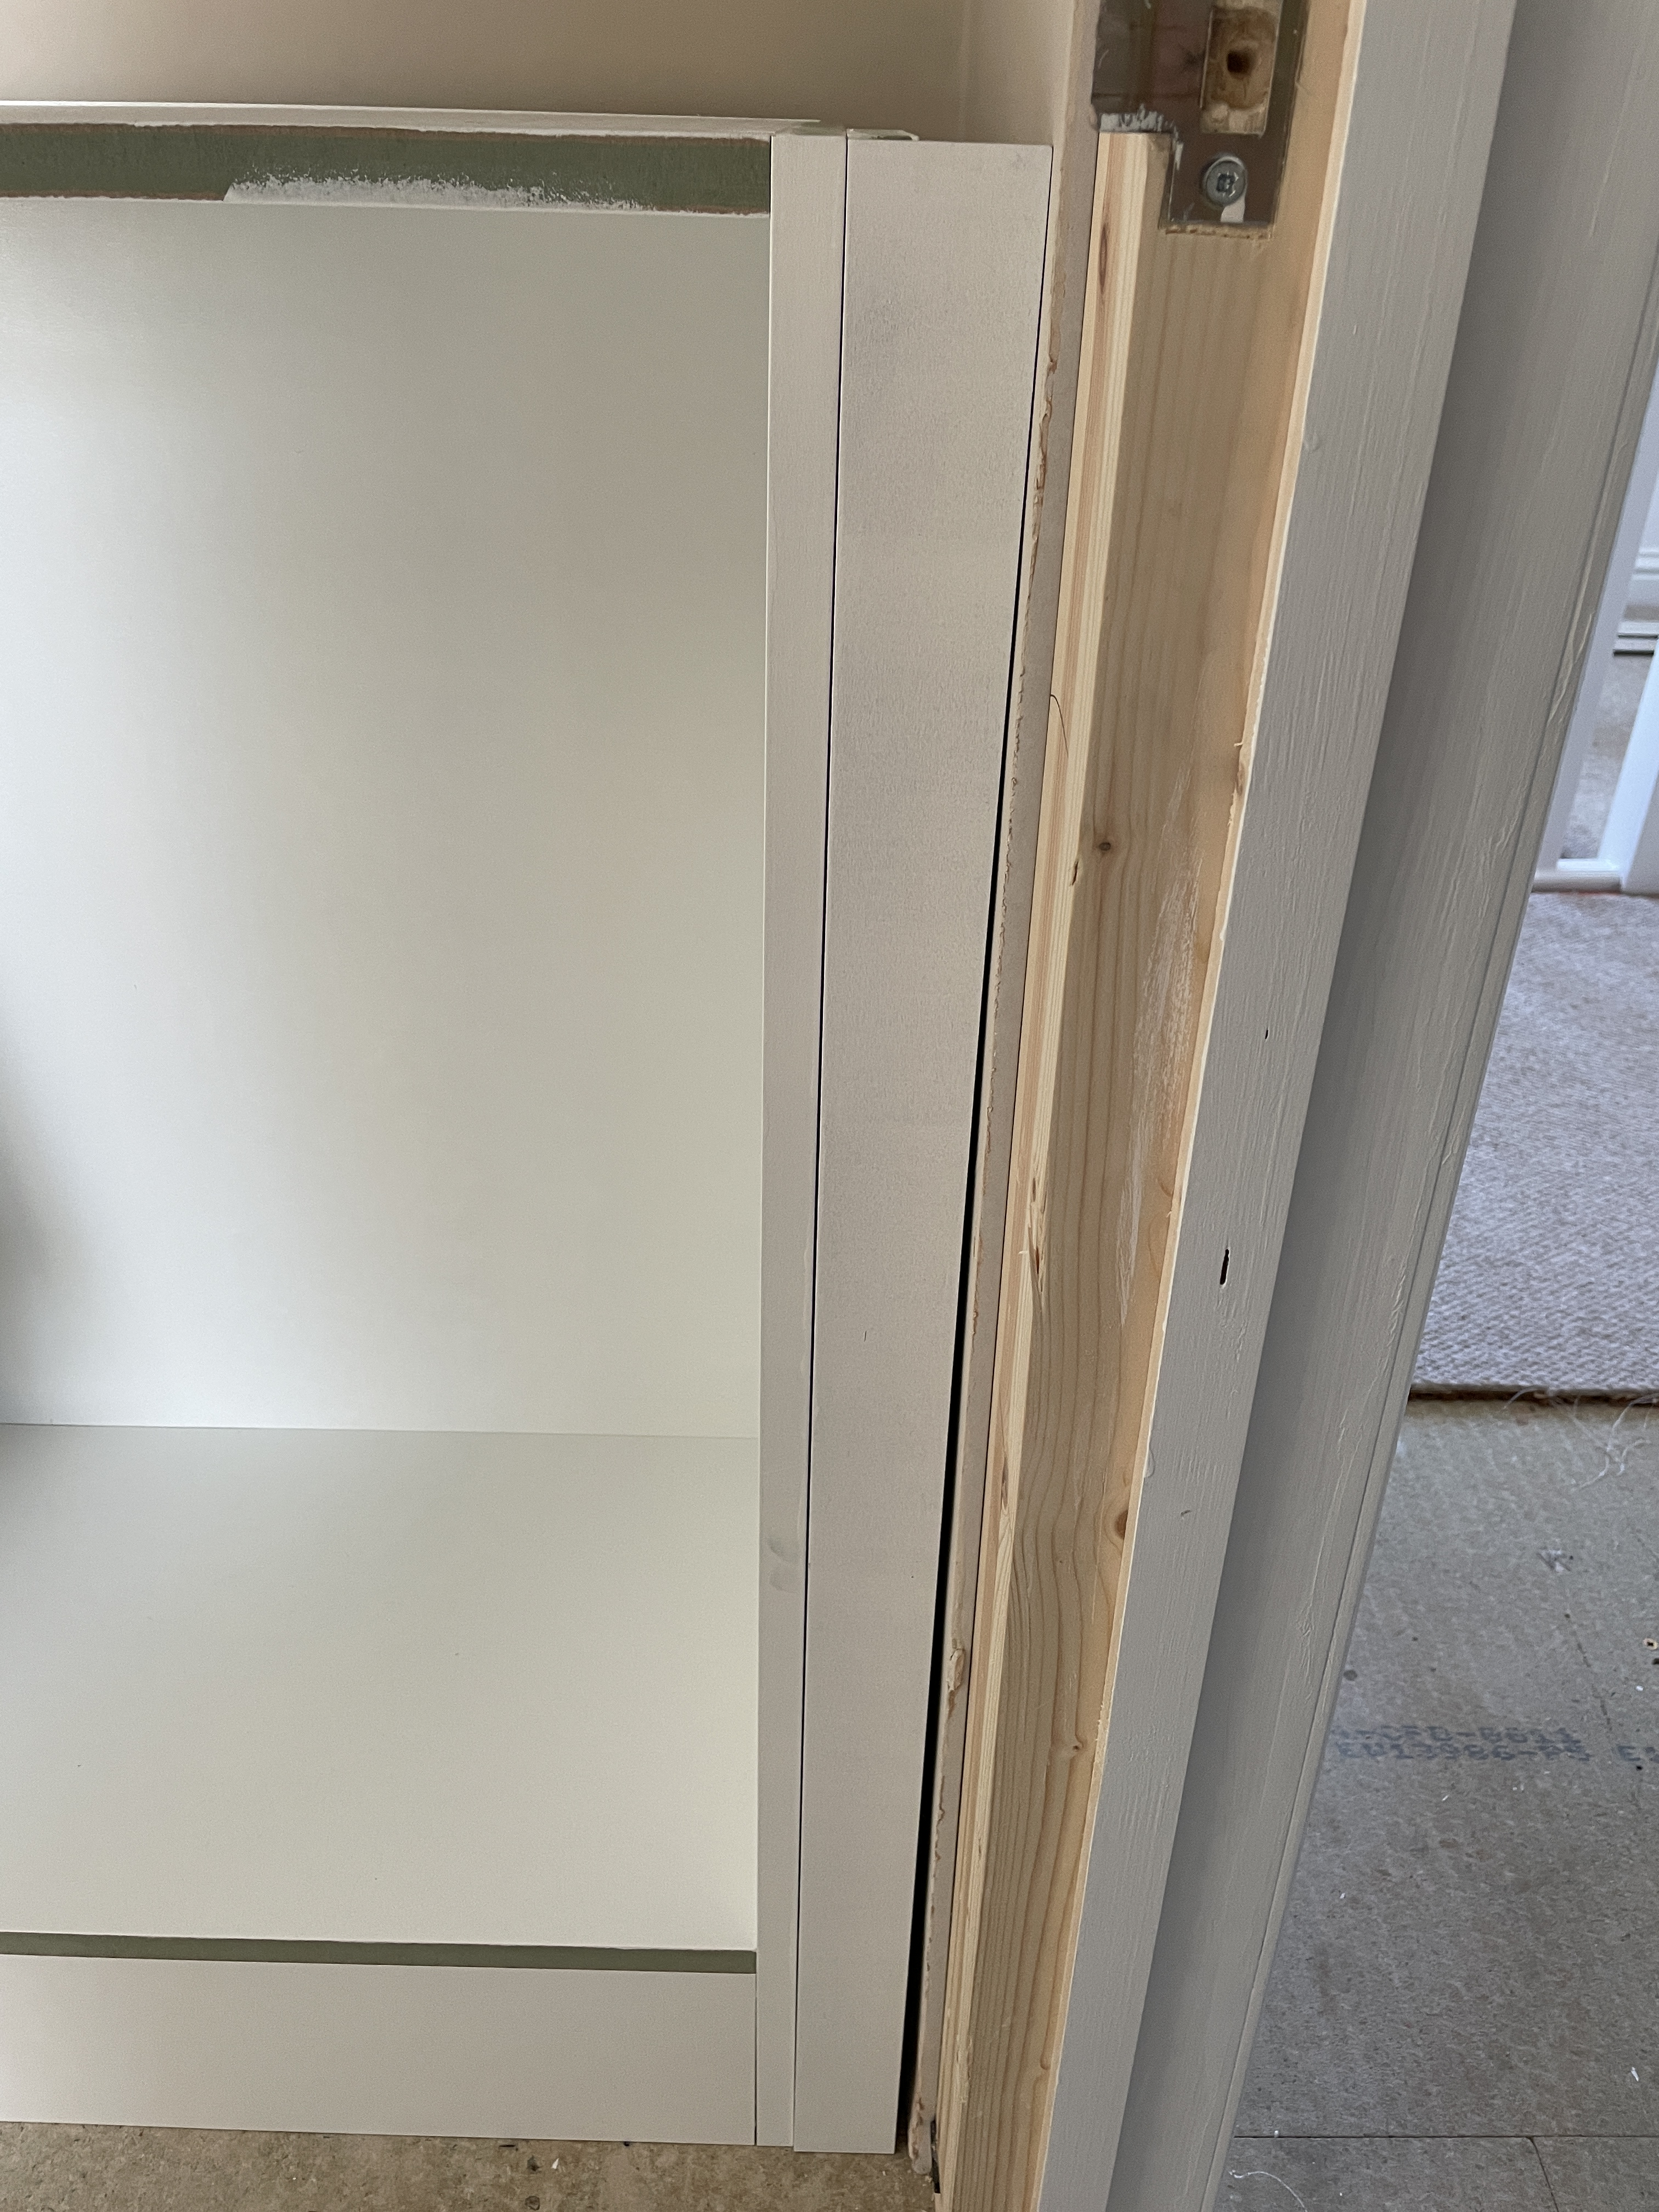
It is designed with filler pieces, which is says should be scribed down. I was going to get my builder to do it but wondered how hard it might be to do myself. I have a jigsaw. It’s thick MDF.
My question is, how on earth do you mark the line to be scribed in such a narrow gap? I can’t figure out how it would be done, I can’t get my hands down the gap to mark it. Or should I tape it to the wall to get it into position and then remove the cabinet so I can access? Is there some clever method?
Also on this side I think it only needs a narrow amount gone. Would it be possible to sand this? I don’t have a plane, I suspect that would be better.
Also once scribed how would it be best to attach the filler pieces? I was thinking of sticking them to the side of the cabinet itself. And then caulking in the edges.
0
Comments
-
Probably get your builder to do it, it not easy to get a good finish.But here one video (you don’t need knees that large!) https://youtu.be/hzi5V05eMlM0
-
As for taping it urther up the wall to get the line -
First I'd carefully measured the gap top and bottom. Even an aparantly straight wall can be out by a firkin.
And again measure further up wall to wall.
But I'm thinking careful measurement and using a pencil mark top and bottom of the filler then using a straight piece of wood join the marks.
Use some masking tape along the line (on the side you will use) and a sharp saw. You may want to score the line with a stanley knife if it's paint or melamine coated, to minimise splitting or flaking on the cut line.
It's narrow but hard so I'd use a clamp and table to cut on.
Remember your saw will take out some of the wood so cut on the outside of the line.
Someone more experienced will answer soon but I've done ok this way.")
Going to look niceI can rise and shine - just not at the same time!
viral kindness .....kindness is contageous pass it on
The only normal people you know are the ones you don’t know very well
0 -
Hmm, maybe it is worth the builder then. He needs to come back to fit the architraves and skirting anyway, so hopefully he won't tack on too much of a "small job" fee... I might see how much it'd cost.
I understand the scribing process though now, thanks for the video!
Thanks I'm really pleased! Going to have oak veneer alcove shelves plus an oak top (I'm sourcing all those from the same place so the cupboard top matches the shelves). This cupboard was a bit of a surprise project as originally the wall on the left was meant to be gone as part of our rejigging of upstairs walls, but ended up having to stay as there's a structural timber right there. But it's actually worked out well and I'm pleased to have a nice little storage area as we don't have much space here (loft conversion property so no attic). Hoping everything shapes up!twopenny said:
Going to look nice0 -
Needed to cut a couple of tapered infill strips for my kitchen. As there were no humps & hollows in the plaster, I screwed the infill strip on to a length of MDF. Carefully adjusted it so that it was the right angle, and then fed it through the table saw - Could have used a circular saw, but there would have been a bit more setting up to do.twopenny said: It's narrow but hard so I'd use a clamp and table to cut on.
Remember your saw will take out some of the wood so cut on the outside of the line.
Any language construct that forces such insanity in this case should be abandoned without regrets. –
Erik Aronesty, 2014
Treasure the moments that you have. Savour them for as long as you can for they will never come back again.0


Confirm your email address to Create Threads and Reply

Categories
- All Categories
- 354.3K Banking & Borrowing
- 254.4K Reduce Debt & Boost Income
- 455.4K Spending & Discounts
- 247.3K Work, Benefits & Business
- 604K Mortgages, Homes & Bills
- 178.4K Life & Family
- 261.5K Travel & Transport
- 1.5M Hobbies & Leisure
- 16K Discuss & Feedback
- 37.7K Read-Only Boards