We’d like to remind Forumites to please avoid political debate on the Forum.
This is to keep it a safe and useful space for MoneySaving discussions. Threads that are – or become – political in nature may be removed in line with the Forum’s rules. Thank you for your understanding.
📨 Have you signed up to the Forum's new Email Digest yet? Get a selection of trending threads sent straight to your inbox daily, weekly or monthly!
Fixing messed up wall after removing tiles? Skimming/plastering?
Comments
-
Thanks for the advice guys. It took me all day to prep it and get it smooth! One coat isn't great as you said for the final touches. I got in a right mess at the start and thought I'd never get it smooth, but with some patience, 3 layers and a few skims it worked. I did it with just a mini trowel and a bucket, as I had nothing else. It looks good to me, good enough anyway!


1 -
Well done you 👏0
-
That's a good result. Well done. Glad you managed it.0
-
Hey guys, well it turns out after a week of drying my plastering wasn't so great! It feels lumpy where the laths are under it, so its not thick enough, and there are some thin cracks.
Can I just plaster again over the top now? DO I have to prepare the now dried plaster in any way, and what would be the best coat to put on considering I used one coat to start with?0 -
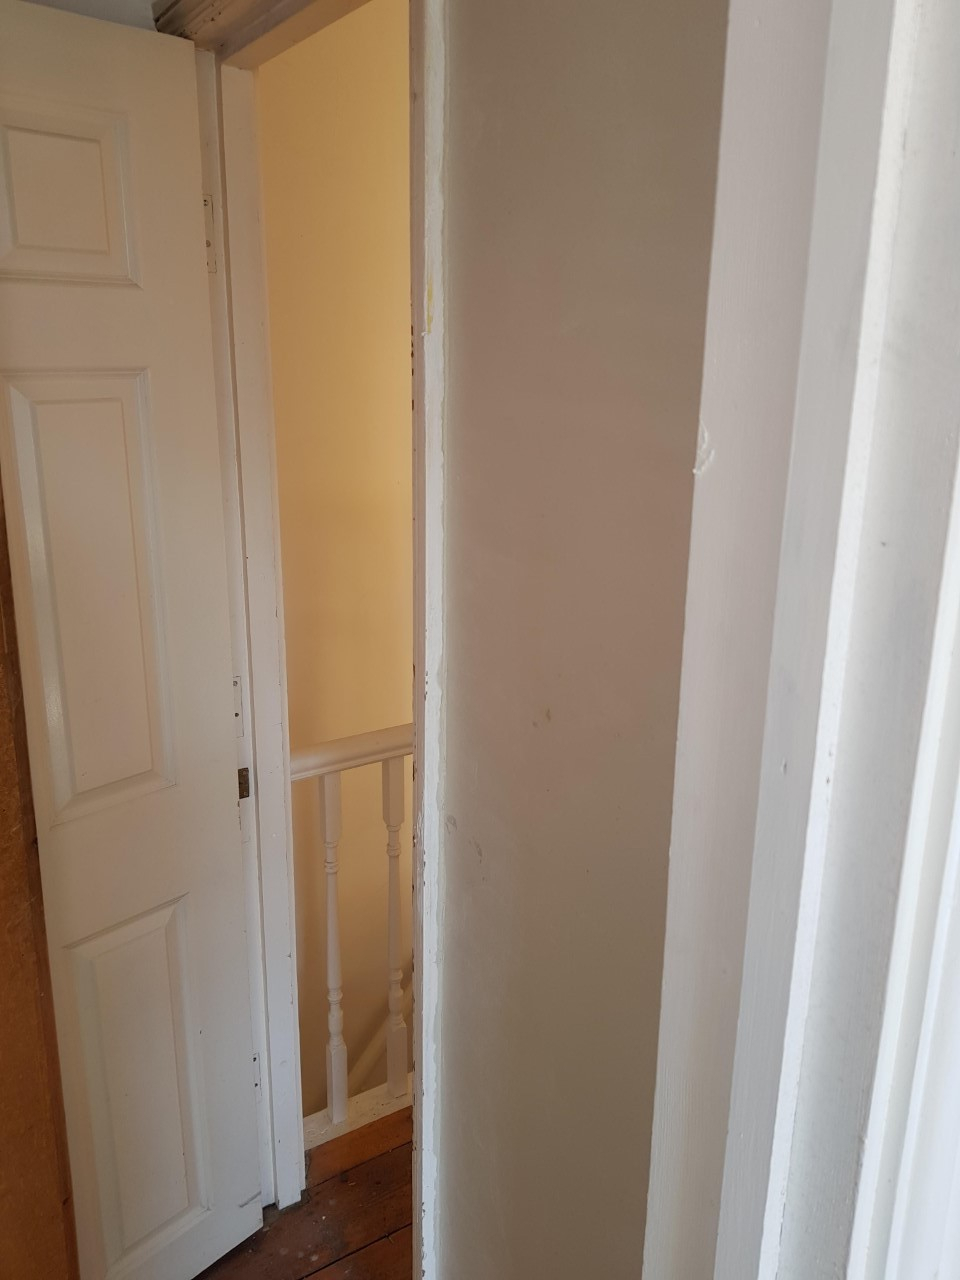
Take the architrave off around the door - You only need to remove the top and right hand side pieces. Give the wood underneath a rub down to remove the lumps & snots of paint.Water down some PVA - One part PVA, three parts water. Get everything you need together ready to start... Brush or roller the watered down PVA on the wall. Then go straight to mixing a small bucket of finishing plaster. Before the PVA has dried completely, slap a coat of plaster on. Use the door frame as a guide to the finished thickness.To reduce cracking of the plaster, I'm a big fan of TDP fibres - You'll only need a small pinch, mixed in thoroughly with the water before adding plaster.Any language construct that forces such insanity in this case should be abandoned without regrets. –
Erik Aronesty, 2014
Treasure the moments that you have. Savour them for as long as you can for they will never come back again.1 -
As above but personally I'd do a first coat of pva, let that suck in/dry then add a bit more pva to the mix you already have. Roller that on and skim on that one once it goes tacky. It'll stop the plaster drying out too quickly.0
-
Thanks, I've ordered some PVA now I just need a good finishing coat. Someone earlier mentioned thistle multicoatFreeBear said:Take the architrave off around the door - You only need to remove the top and right hand side pieces. Give the wood underneath a rub down to remove the lumps & snots of paint.Water down some PVA - One part PVA, three parts water. Get everything you need together ready to start... Brush or roller the watered down PVA on the wall. Then go straight to mixing a small bucket of finishing plaster. Before the PVA has dried completely, slap a coat of plaster on. Use the door frame as a guide to the finished thickness.To reduce cracking of the plaster, I'm a big fan of TDP fibres - You'll only need a small pinch, mixed in thoroughly with the water before adding plaster.
I did originally take the architrave off the door, but then realised I couldn't get it back on if I built up the plaster even a little, so I thought I'd use the architrave as my guide to plaster up to, is this wrong? It's a bit late now, so I might have to finish the job like that for now, but good to know for the future0 -
You can use the arc as a stop. Just brush the join of plaster/arc as it tries and it'll look neat.
Use Multi-Finish.1


Confirm your email address to Create Threads and Reply

Categories
- All Categories
- 355K Banking & Borrowing
- 254.6K Reduce Debt & Boost Income
- 455.7K Spending & Discounts
- 247.8K Work, Benefits & Business
- 604.9K Mortgages, Homes & Bills
- 178.7K Life & Family
- 262.5K Travel & Transport
- 1.5M Hobbies & Leisure
- 16.1K Discuss & Feedback
- 37.7K Read-Only Boards